marketplace buffet
almost done! here are the final steps in the process
Step 4 - stain and 2nd coat of paint
for the wood stain on the top, i used the color ‘kona’ by varathane (menards) for the stain on the top, simply wipe on with a lint free cloth and then wipe off the excess.
Next i put on a second coat of paint on the base, being mindful of brush strokes in roughly the same direction. Note: the first coat must be completely dry, i prefer to let dry overnight.
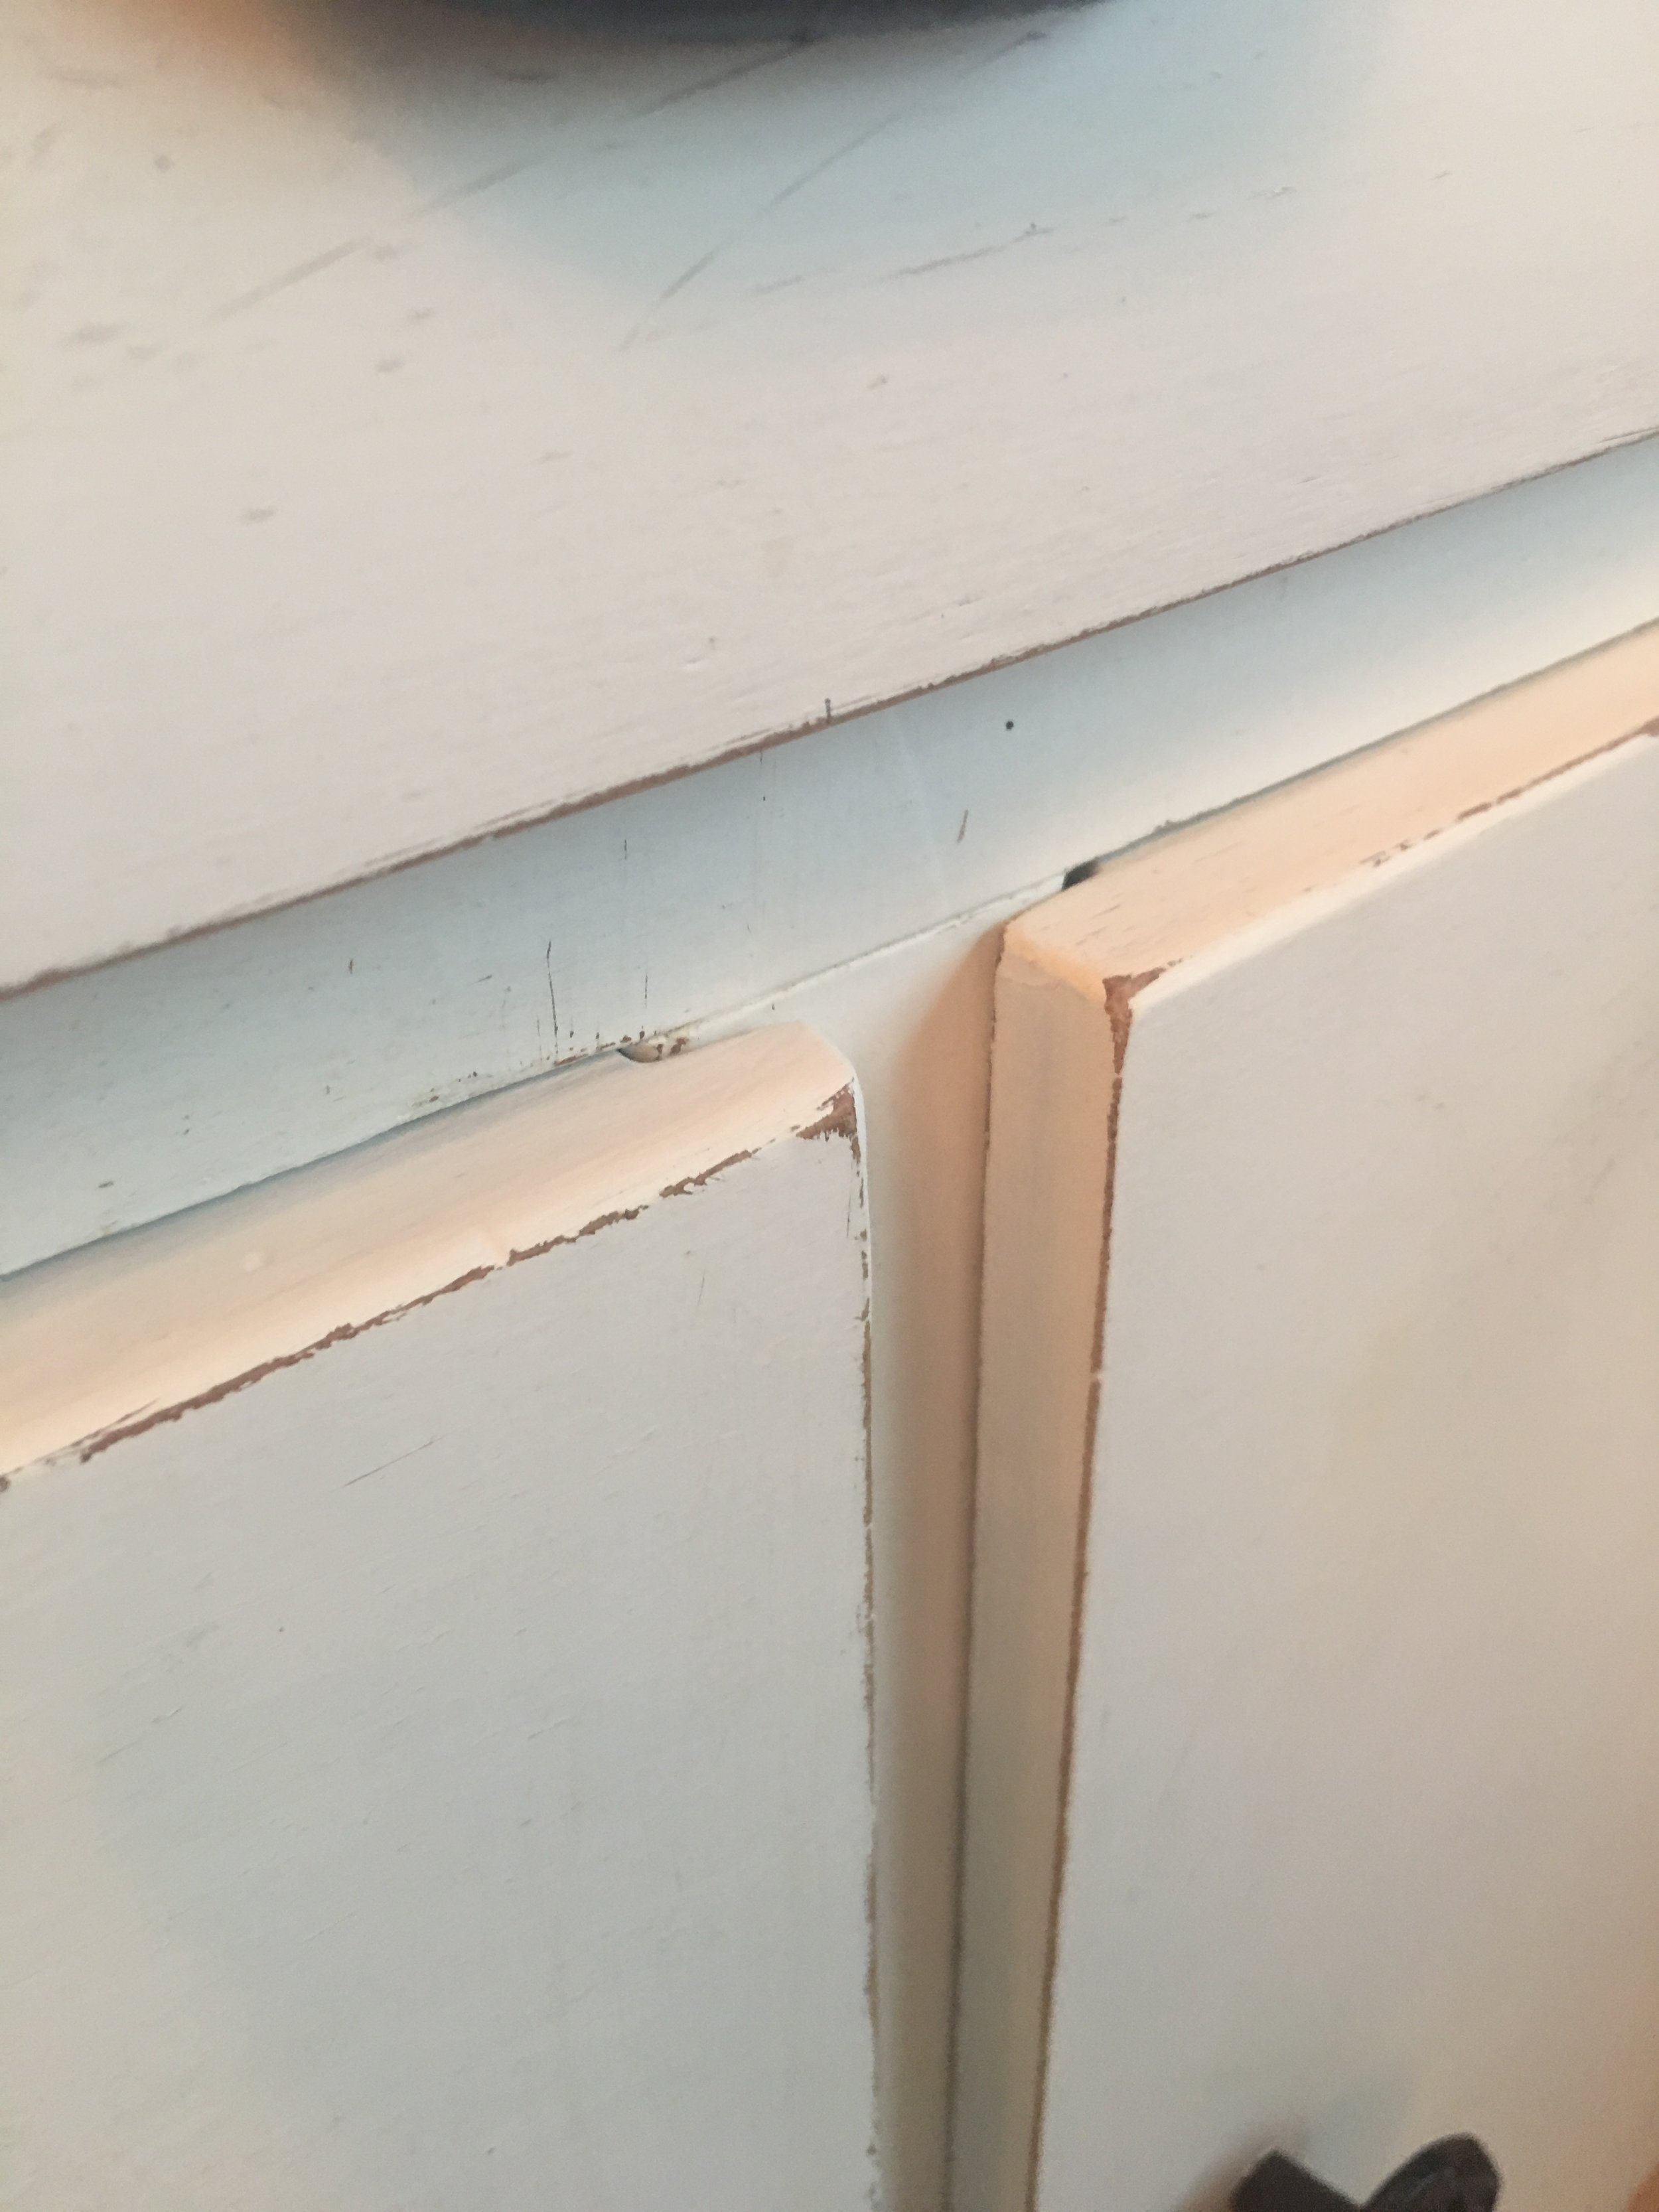
edges sanded./distressed
Step 5 - Distress and wax
This is the step that gives everyone the most anxiety, and while the idea might be strange to take sandpaper to this piece you just painstakingly painted for hours, it really is the best way to bring out a distressed or vintage look.
Start with a sanding block or just a piece of sandpaper and work the corners and edges in small strokes to show wear. this particular piece of furniture does not have many grooves or intricate details, but those would be good places to start if your piece has them. As you get more confident, add as much distressing as you want, to achieve the look you are going for. There is really no wrong way to do it! Just make sure to wipe off with a lint free cloth after you are finished, or spray with an air hose. .
Now for the wax - I used a wax from Valspar that dried clear (lowes) and applied it with the same brush I previously used for painting. Note: Make sure to wipe off any excess wax with a lint free cloth, especially from small cracks or grooves, so that it doesn't build up and dry a tinged yellow color.
Step 6 - hardware & decorate
CONGRATS! You made it! Time for the fun parts:
I enjoy a sale and thus found some knobs and pulls at my local hobby store on clearance, but any hardware store should have a decent selection.
Since I completed this piece toward the end of summer, I decorated it for fall for this picture and it has really brought a pop of color and provided some functional storage for my dining room! If you are interested in more of my budget friendly farmhouse fall décor, click on the button below! Thanks for reading!


