Christmas lantern
Here are the step-by-step instructions on creating your own Christmas lanterns this season. Use them for décor in your own home, an office desk Christmas tree, or as gifts!
Shown with fairy lights inside the base
Shown with lights inside the base and on branches
let’s get right to it!
This all started when I was at michael’s (craft store) one day, looking for deep discounts on fall décor. I was shocked to see these glass ‘tealight holders’ discounted to $1 each. I bought all of the remaining ones on the shelf and had no idea what I was going to do with them, but I knew I would come up with something!
Glass Tealight holder
Barcode shown, in case you want the ‘exact’ one
Step one
as with any project (especially glass) make sure the surface is clean before starting to paint. then add one coat of paint to just cover the surface, don't let it get too thick or pool in corners, etc.
Let your item dry completely between coats! <— very important
don't get hung up on brush strokes showing, there will be minimal to none after the second coat of paint fully dries.
I had some red chalk paint on hand, I like the folk art brand, but really any kind will do
After first coat of paint (ignore my messy table!)
Step two
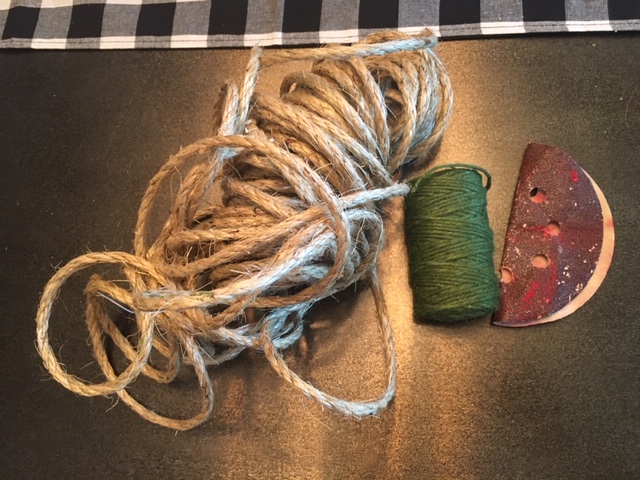
next, Round up some sand paper, old twine or ribbon, whatever you have in your garage or gift wrapping tub from years past.
Sand the jar as much or as little as you like, focusing on some of the raised edges for a vintage/worn look. then wipe off with a dust free cloth.
Note: twine was also on sale at michael’s, the green pictured below was less than $1 for 120 feet! Also, thick twine is often very reasonably priced in the ‘concrete’ section of a home improvement store
Various sizes of twine and a disc of sandpaper
Sanded the painted jar for a ‘distressed’ look, and so light is visible for the lantern effect
step three
I had some battery powered fairy lights in the basement from our wedding decorations, but any lights will work I would just recommend a short string (maybe 25 lights).
Wall plug lights would work too!
after some new batteries, they work!


