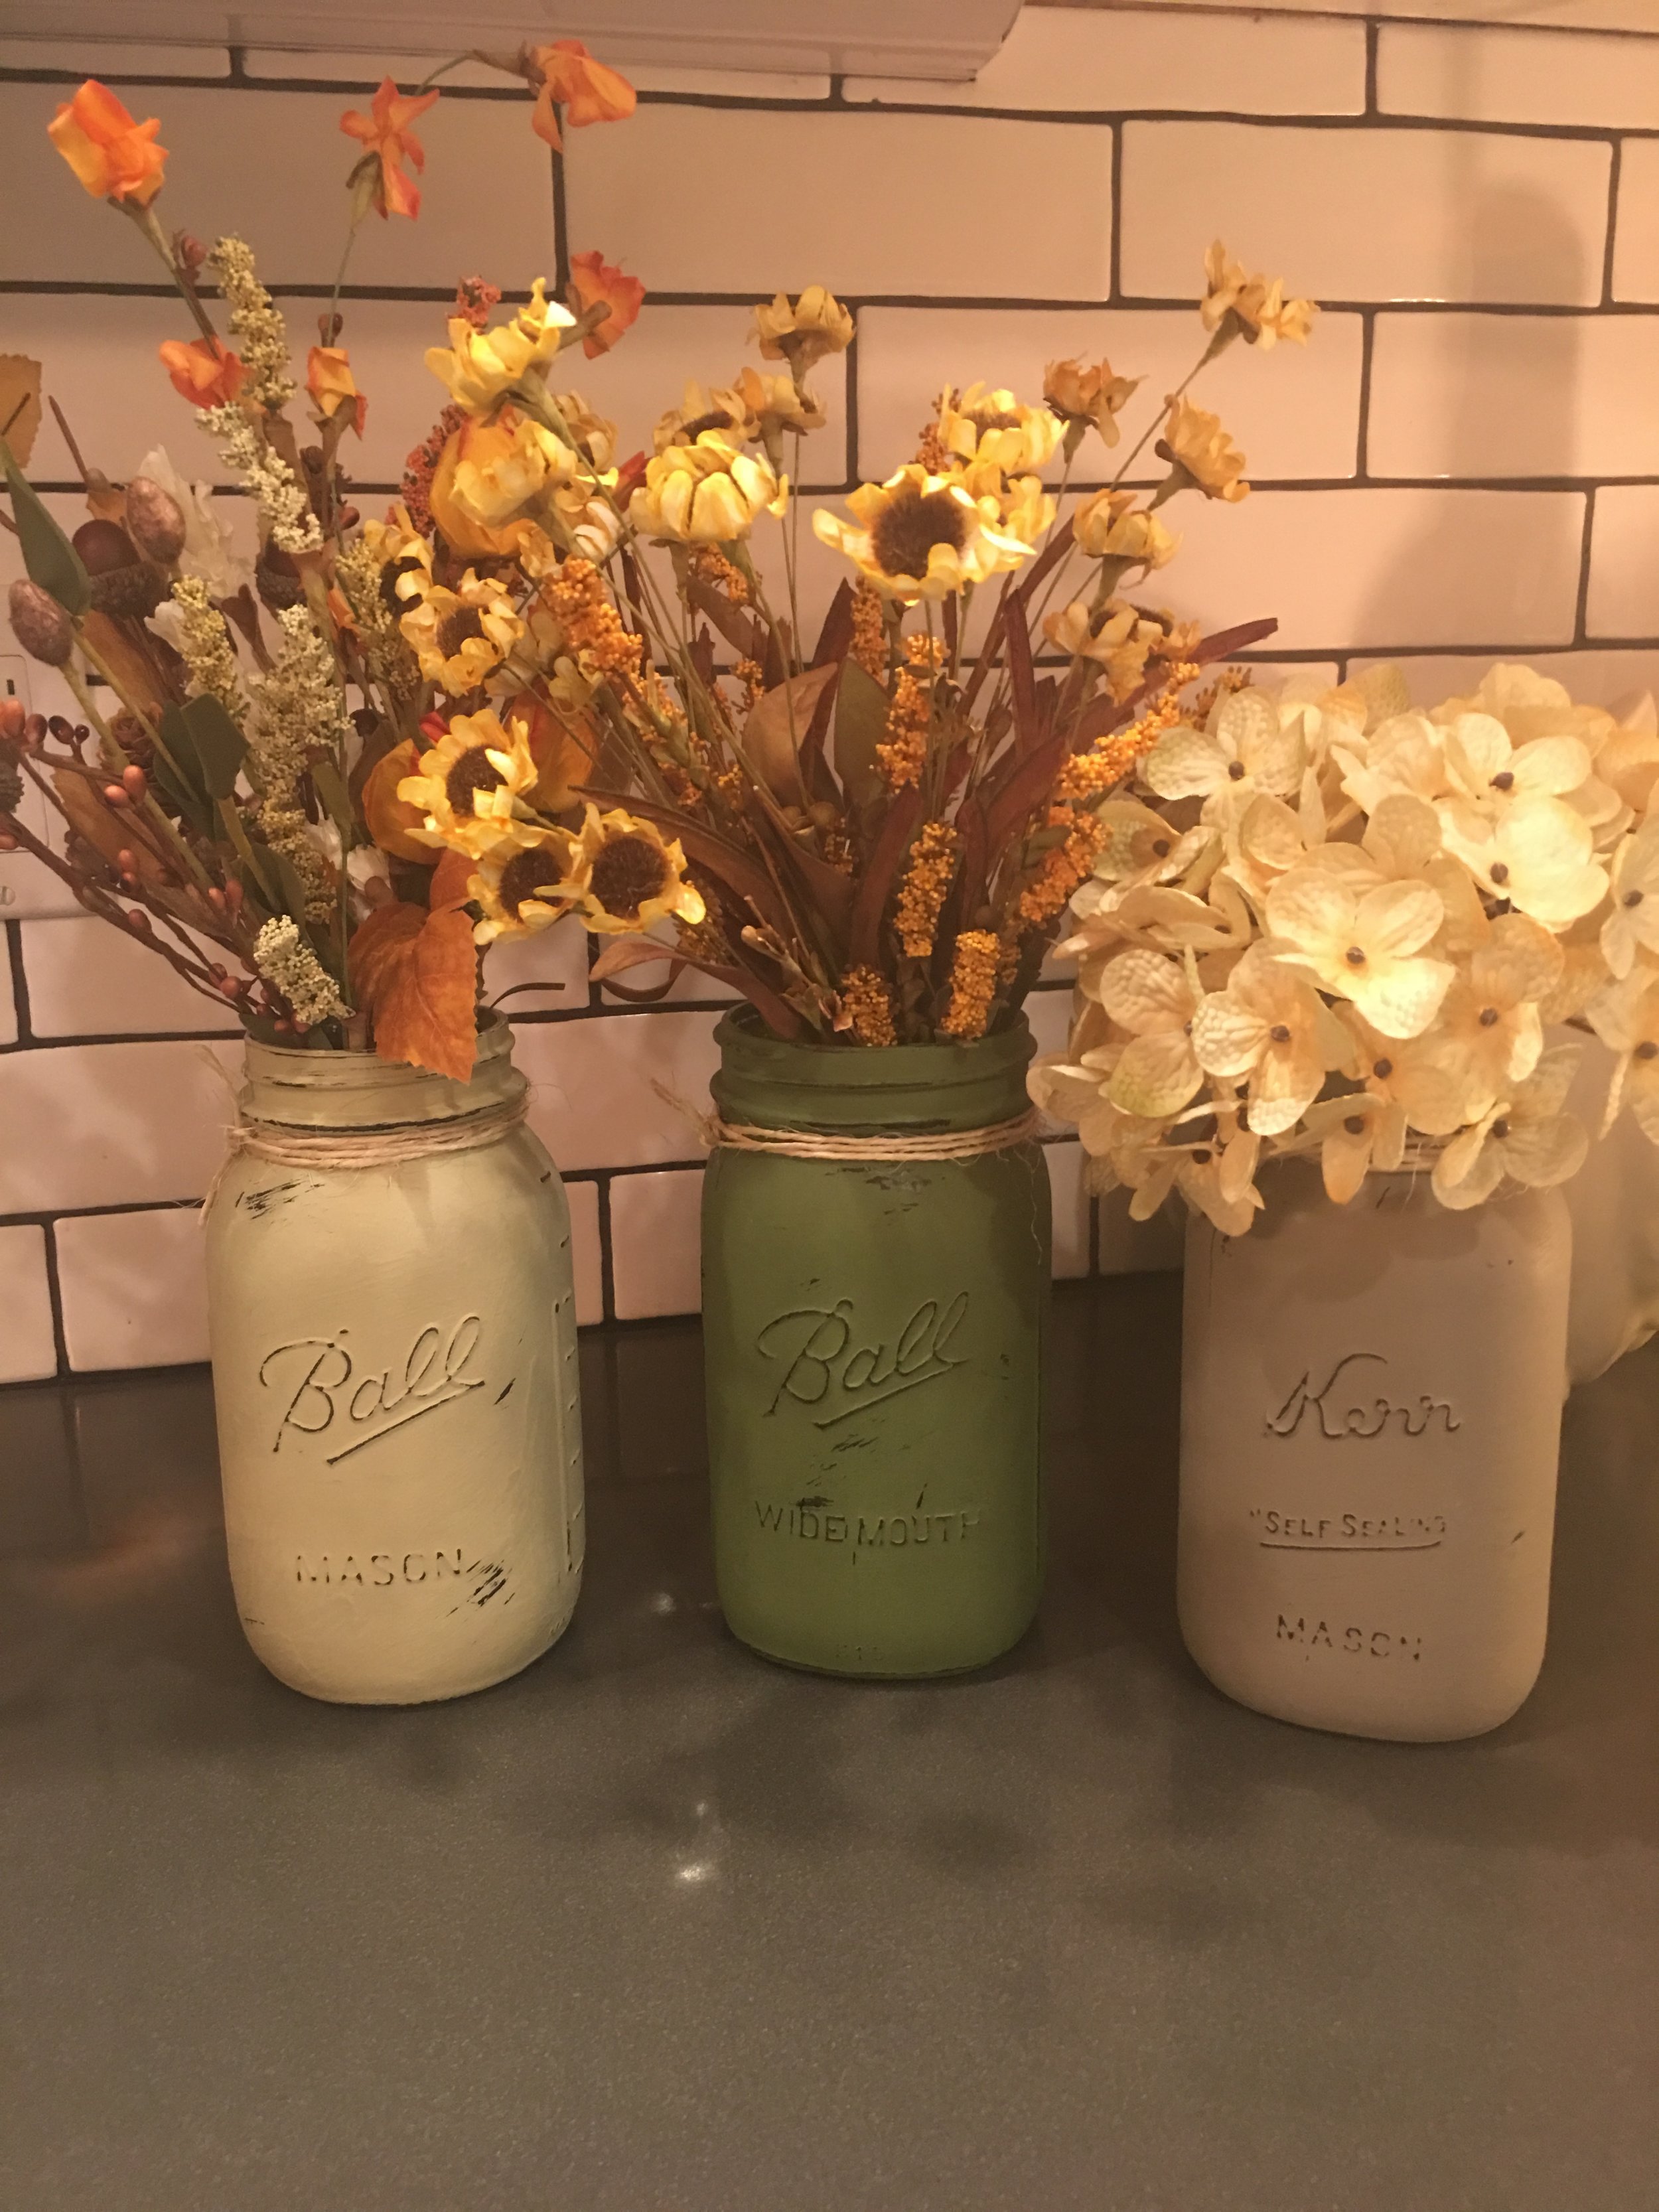
Distressed Mason Jars

Disclaimer: this post contains affiliate links which means I may receive a small commission if an item is purchased, however this never results in an increased cost of the product. The commission earned from affiliate links help pay the fees to keep this blog running.

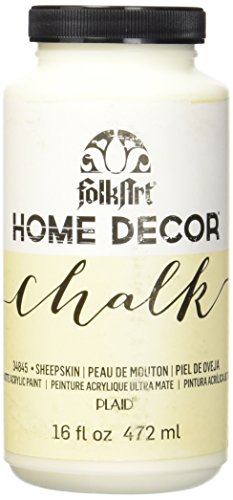
Materials List : paper towels, rubbing alcohol, jar, twine, sanding block, chalk paint, clear wax, brushes, scissors

 
Supplies!

Supplies!

Step 1 - prep and paint

Prepare the jar by wiping it down with some rubbing alcohol and paper towel, this ensures the paint will adhere evenly. Then take a paint brush and chalk paint (I used folk art paint from a local hobby store) and paint in generally the same direction, allowing it to completely dry between coats. You should not need more than two coats of paint.


Step 2 - sand

Grab a sanding block, preferably a higher grit, and start with any lettering or detail on the jar to wear off the paint and give it a vintage look. Sand the jar as much or as little as you wish, there is no right or wrong way to do it.

IMG_4749 (1).JPG

IMG_4747 (1).JPG

Step 3 - wax and decorate

wipe the jar clean with a lint free cloth to make sure the surface of the jar is clean after sanding, then coat with a clear drying wax. I suggest waiting overnight to further handle or decorate the jar, as the surface will be a bit sticky until the wax completely dries. Then, add your favorite twine or ribbon and decorate however you prefer! These make great homemade gifts for the holidays!

If you would prefer the exact paint that I used for these jars, you can get it here from amazon and there are dozens of colors available —>