SNOW JAR INSTRUCTIONS

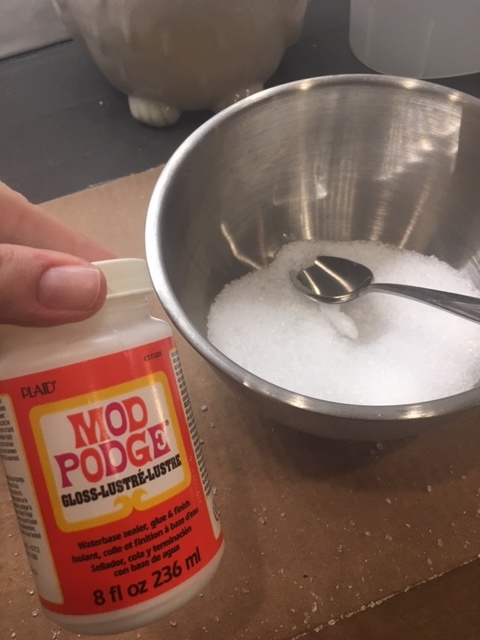
You will need: Glass jar, Epsom salt, modge podge adhesive, clear spray sealant, painters tape/stencil (optional)


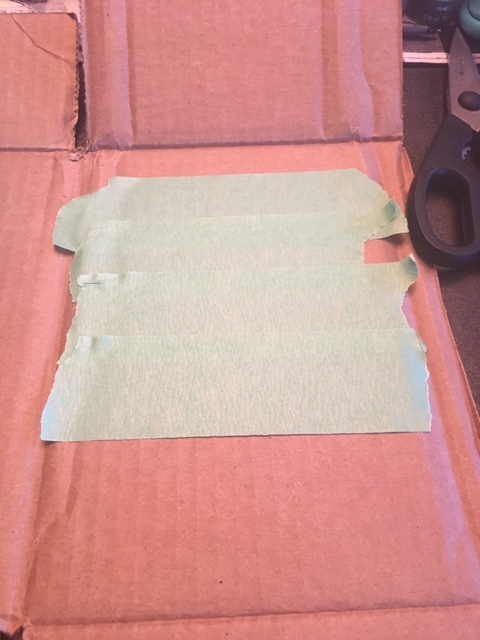
Optional Step: Stencil and painter’s tape

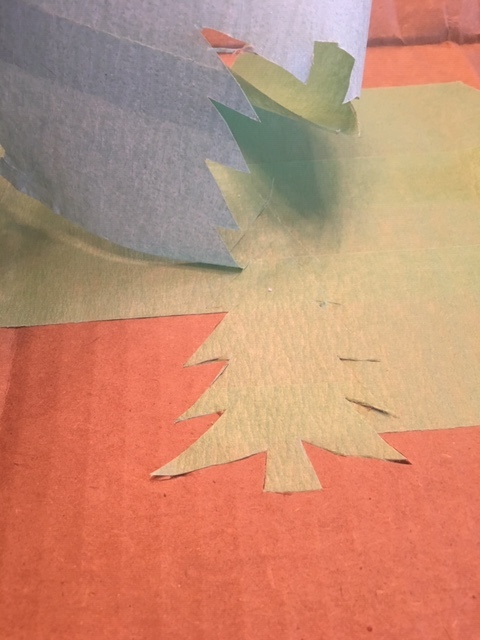
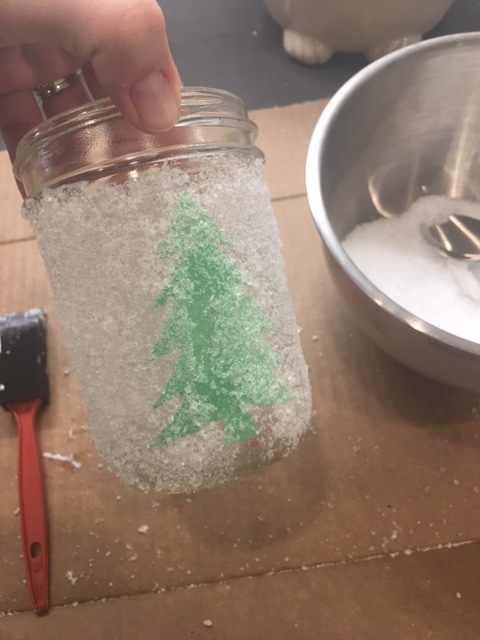
For this specific project, I experimented with making a ‘silhouette’ of a Christmas tree on the jar, which is the only part not covered in ‘snow’. you could use any stencil just make sure its appropriate for the size of the jar and not too small., because the detail will get lost in the ‘snow’.

I simply printed out a picture of a tree that I wanted to use, traced it onto some painter’s tape that I had previously taped down to a piece of cardboard and used an exact-o knife to cut it out.

The following steps are all the same, whether or not you chose to use a stencil

IMG_5073 (1).JPG

Step one

Grab a mason jar, or any glass jar, and make sure the surface is clean and dry. paint on a very thin layer of mod podge adhesive. make sure to do this part quickly so it does not dry!

IMG_5074 (1).JPG

Step two

Sprinkle Epsom salt all over the jar, making sure all surfaces are covered. I chose not to do the very top of the jar because I plan to decorate it with ribbon.

optional step; If you used a stencil, carefully remove it now

IMG_5075 (1).JPG

step three

use a clear spray sealant to keep your ‘snow’ from falling off of your jar in the future. This just happens to be the brand that I had at home, any will work.

*note: be careful not to spray too much at once, rather use a ‘less is more’ technique, otherwise some of the salt might dissolve

IMG_0049 (1).jpg

Finished product!

These would also be cute with a tealight inside or even fairy lights in a larger jar.

Happy crafting!