DIY: Budget Friendly Pantry Organizing!

Hi friends! I’m writing to you from frigid Iowa, where it’s a whopping 1 degree today, but hey we are over halfway through January so this won’t last a whole lot longer! I haven’t posted a DIY for a while, so I wanted to share with you what I recently did with my pantry.

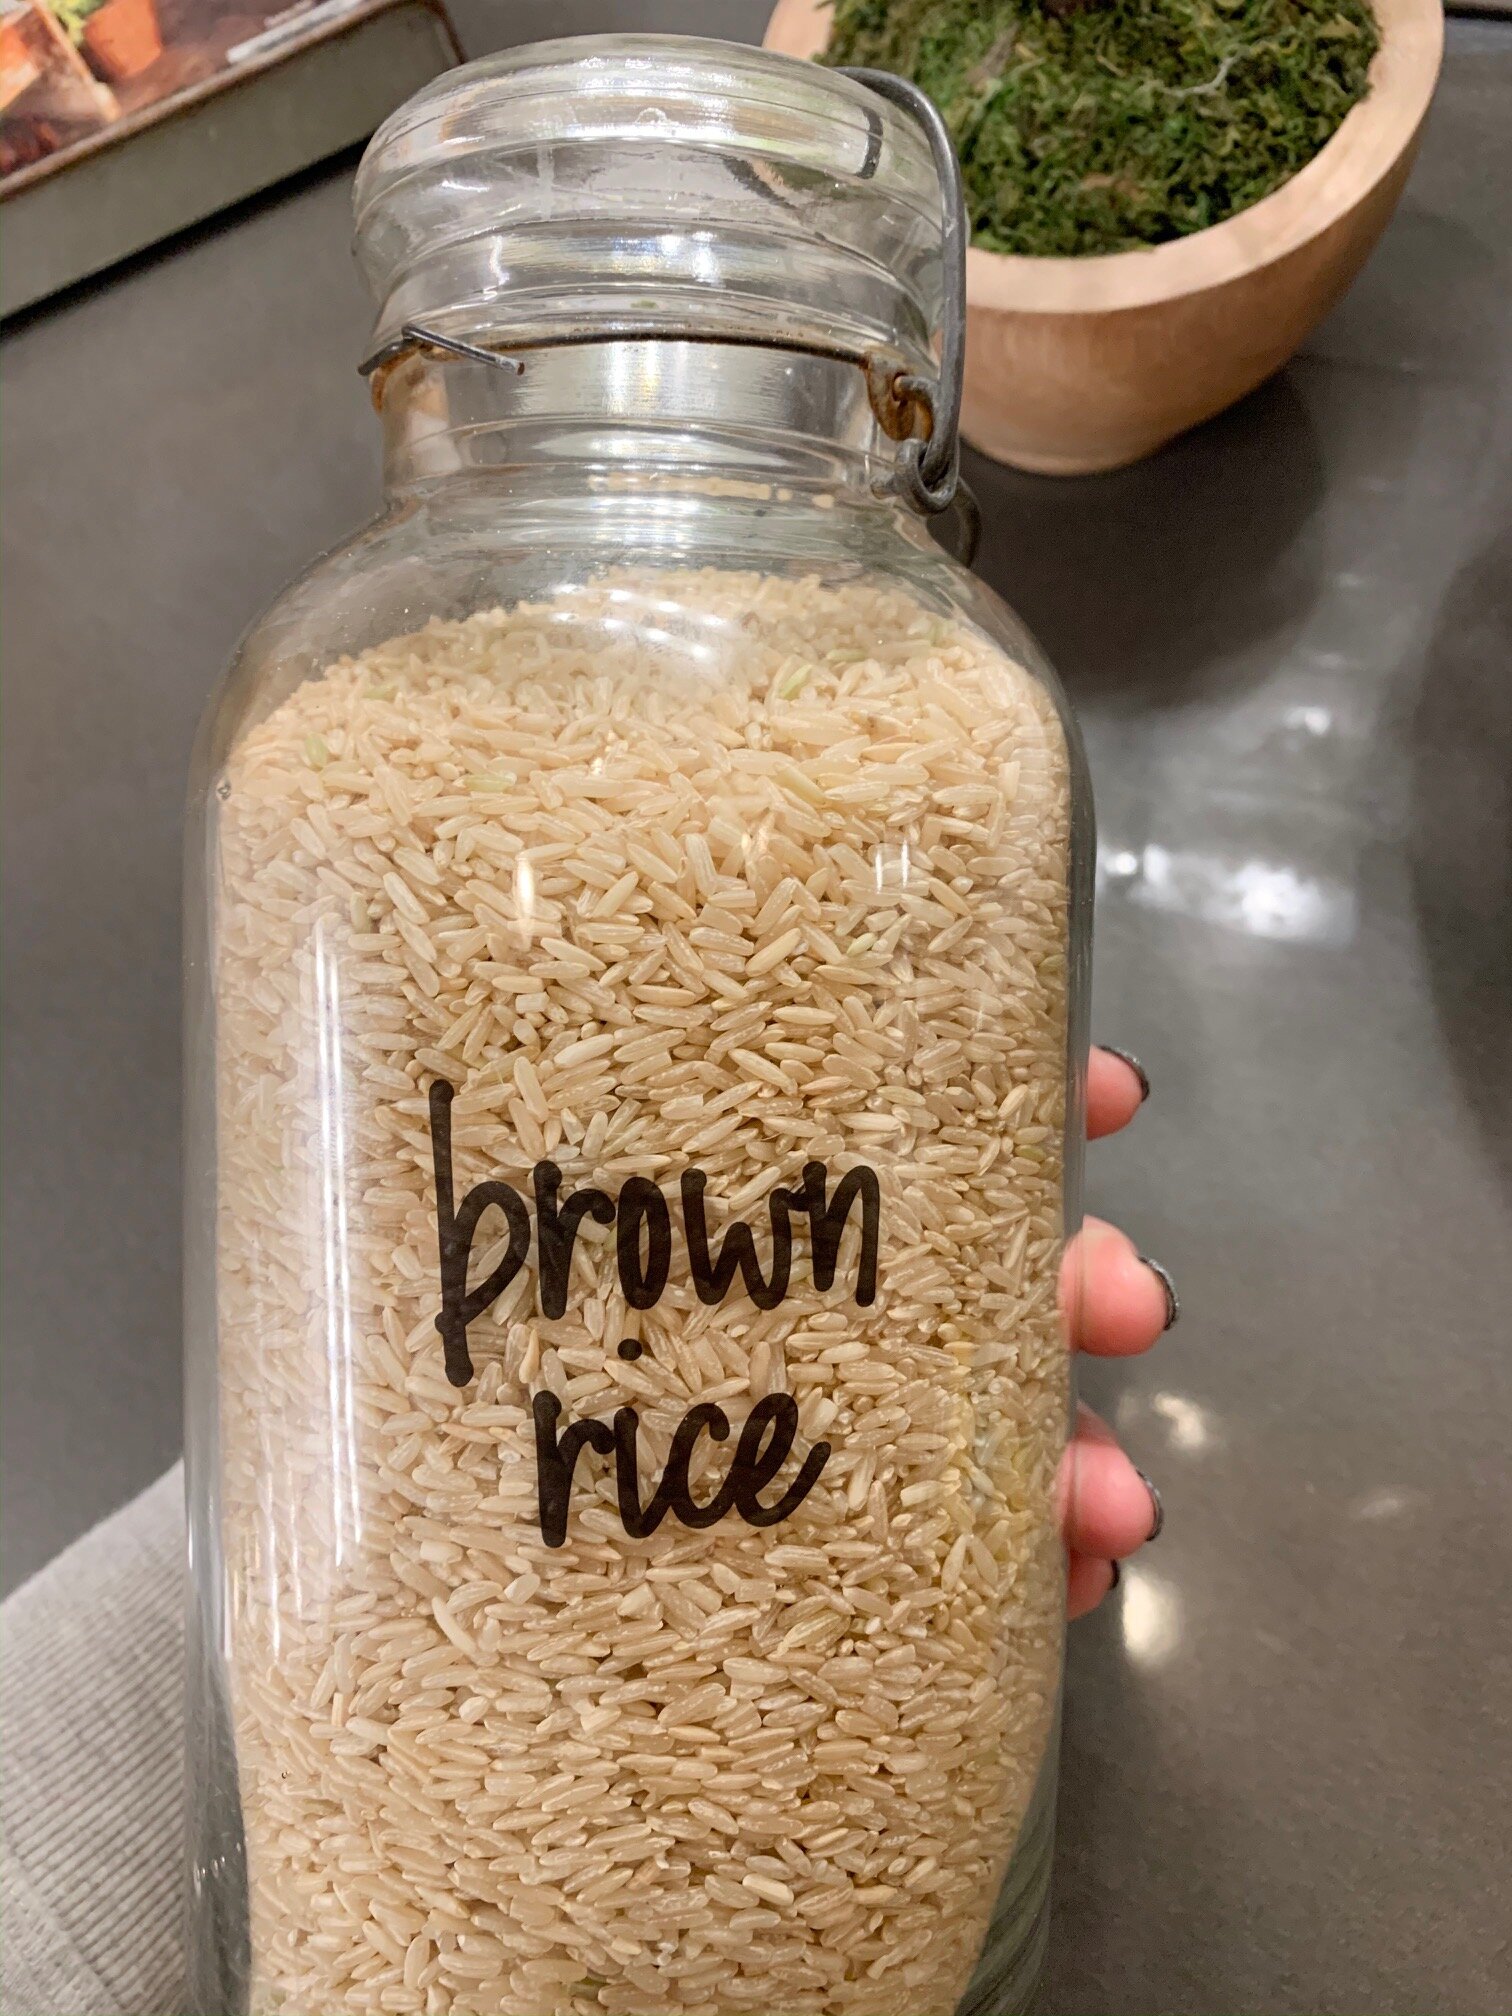
I normally take everything out of my pantry once or twice a year just to make sure nothing is expired or forgotten about, and as I was getting ready to do that again recently I did a few searches on Pinterest and Instagram for inspiration on how to make the space a bit more visually appealing.

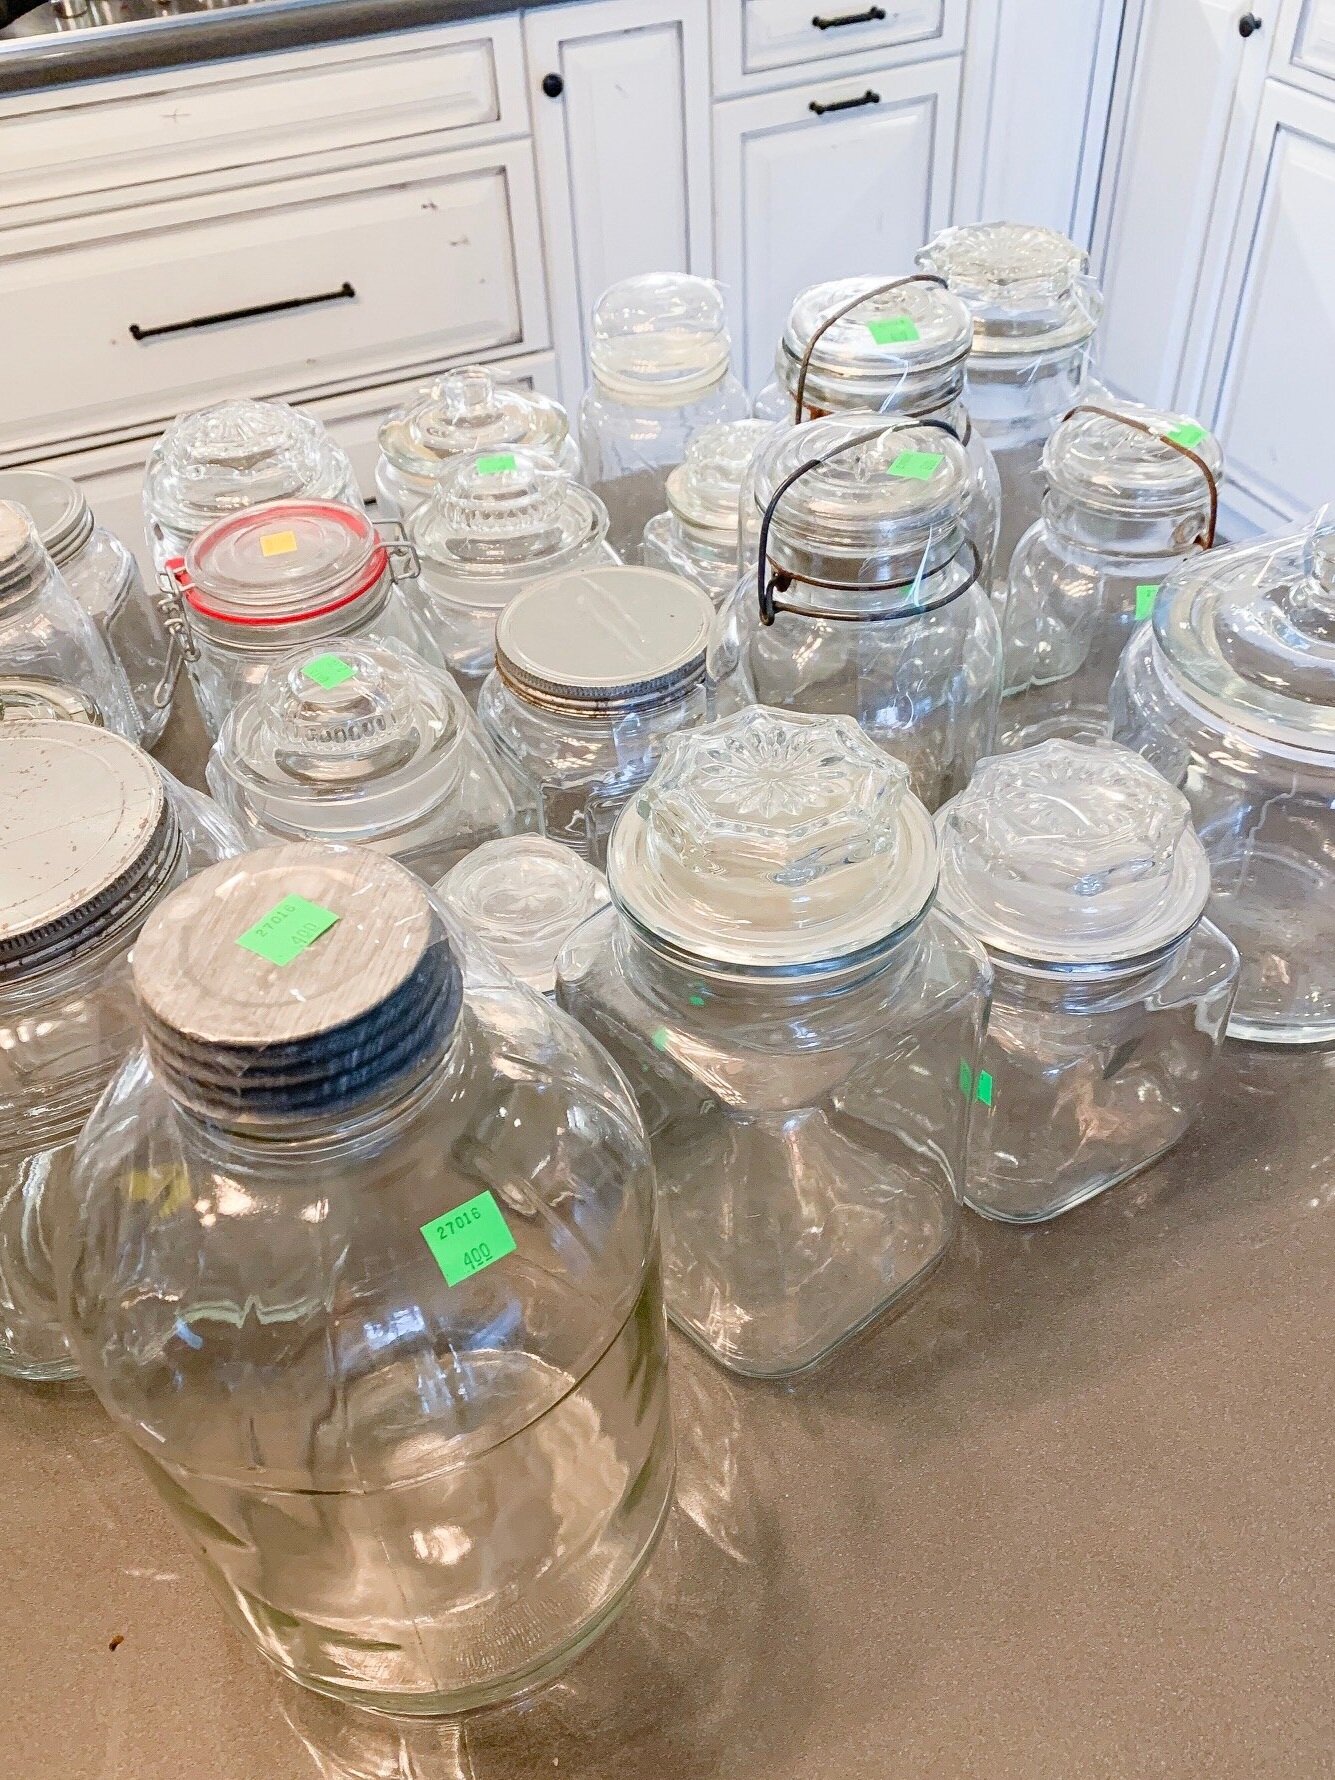
There were hundreds of gorgeous photos to choose from, but as I started researching the actual bins and containers for everything it became apparent that this was an EXPENSIVE task. I mean, $14 for a clear plastic tray to put on a shelf?! $25 for a set of 4 glass canisters?! There was just no way I was going to spend that kind of money or organize this space.

Starting Point

Our pantry is a walk-in space, that has a knack for collecting random items due to it’s proximity to the kitchen. The problem with this catch-all space, is that it only has a half door, so all of the random items are on display for every visitor to see. Let me show you what I mean…

From this angle, you can’t see the mess inside!

From this angle, you can’t see the mess inside!

The mess!!!

The mess!!!

Ok, now you know what I was up against! I knew there had to be a more budget friendly way to spruce this up, so I put my thinking cap on.

First up, I needed some glass containers. A lot of them. I didn’t really care if they all matched, and I wasn’t going to buy a dozen from Amazon at $5 a piece, so I went down to my local thrift store for some vintage jars and canisters.

IMG_5203.jpg

Next up, I needed some labels for these jars and Amazon seemed to have quite the selection. I ordered a set of labels that was around $14 for 50+ stickers from a shop on Amazon called ‘The Talented Kitchen’.

I started the tedious process of emptying boxes and containers into the jars (after washing them of course!) and tossing all the expired items. I even found out what a very rotten avocado looks like, yikes! Here are a couple close up photos of the jars with labels…

IMG_5267.JPG
IMG_5268.JPG

These turned out really nice, and I was able to toss all the half packages of items! Bonus feature of the clear glass jars is the ability to see the amount readily available, making that grocery list a breeze!

Last up, I needed some clear bins for random things, and Amazon had some outrageous prices on clear storage containers so I went with what my local Target had instead. I included a couple pictures of the bins below, the larger one was $4 and the smaller one was $1.

IMG_5274.jpg
IMG_5270.JPG

All Finished!

Here are a couple photos of the finished project, I am not entirely certain that I have everything in the exact place that I want it, but it works for now.

IMG_5251.JPG
IMG_5250.JPG
IMG_5253.JPG

I am really excited how this turned out, as it is no longer an eyesore to anyone walking by the area. Also, I was pretty impressed that I accomplished this project for significantly less cost than originally thought. Next up, I need to repeat this process for the spice cabinet as I currently cannot find anything in there!

That is all I have for you today, thanks so much for stopping by the blog and I would love to see some of your own pantry transformations, feel free to tag me on your photos on Instagram (@aps_design) or Facebook (apsdesignblog).

Cheers!!

Rachael

Thrift Store Thursday!

I have a passion for decorating with repurposed, old salvaged items whenever possible and I often find myself imagining what stories a piece might share with me if it could.

Would a former 4 square farmhouse front porch column tell me about the generations of children it watched lean up against it as they waited for the school bus? Or the epic thunderstorm from decades ago that took out the neighbor’s house? Would a vintage bathtub share the names of all the family pets that were washed in it over its lifetime?

Even though these items cannot share their stories, I still seek out their history and showcase their story as much as possible when I am designing or decorating.

And this is precisely why I love thrift and salvage shopping!

So much history packed into one place!

I won’t share what all I purchased just yet, I have to get crafty first. But if you are like me and enjoy the historical aspect of old vintage and salvaged items, enjoy some of the pictures I snapped today.

Do you have an item with a story? Feel free to share in the comments, I would love to hear about it!