Hello friends!
It’s a hot and humid 1000 degree day here in Iowa, and I am suddenly finding time for all of my indoor tasks, such as updating this website! You will notice quite a few big changes to our site in the coming weeks, but for now most of the layout is remaining the same. I am not very skilled in the tech world, and don’t have a large budget for a website person, so it’s just me figuring things out by trial and error :)
Anyway enough on that, I wanted to pop in and put together a post about the most asked about items of my home, the various rustic home accents. I have several locally sourced items, and they are often the talking points of conversations with visitors. Now you might be wondering why any of this matters, and I will explain…
Adding a unique home accent can be both functional and decorative, all while setting your home apart from the rest…
-Have you ever driven through a neighborhood of similar style homes and had one stand out?
-On the contrary, have you been to several open houses or showings in a row and then been unable to recall what the inside of the home looked like the next day?
Let me show you what I am talking about…
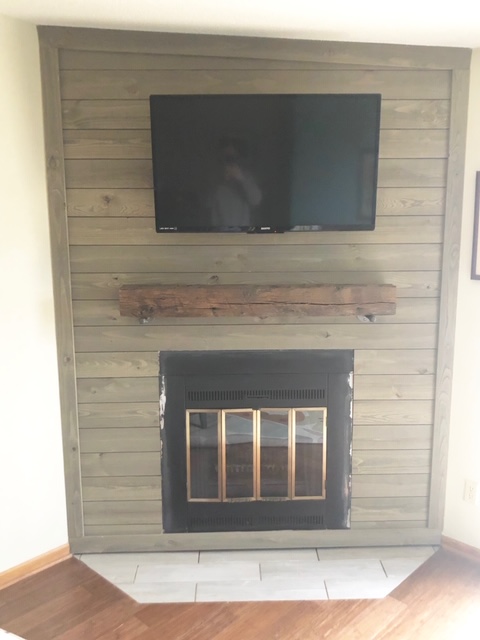
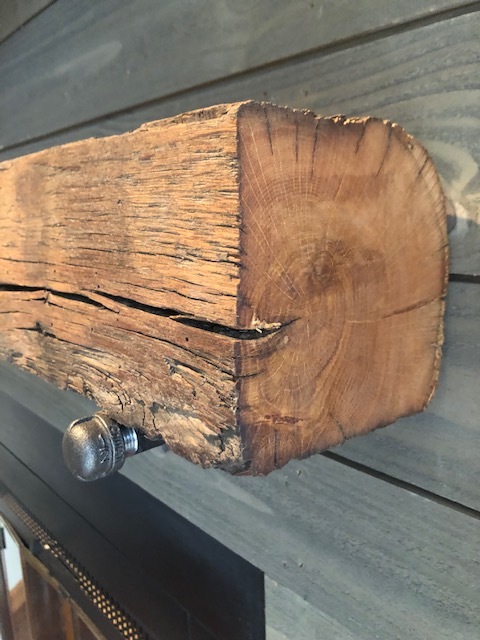
This beam pictured is on my front porch and came from a barn that was taken down several years ago. It serves as a decorative item, and it also functional and holds up the front porch to my house.

Here are a few photos of other rustic home accents I have throughout my house…

An old window frame above my kitchen sink! In an ideal world there would have been a real window here, but since the floor plan of the house didn’t allow for one, this is the next best thing!

Is a home even complete without a giant rusty pig? :)

Floor to ceiling barn wood flag…because, America
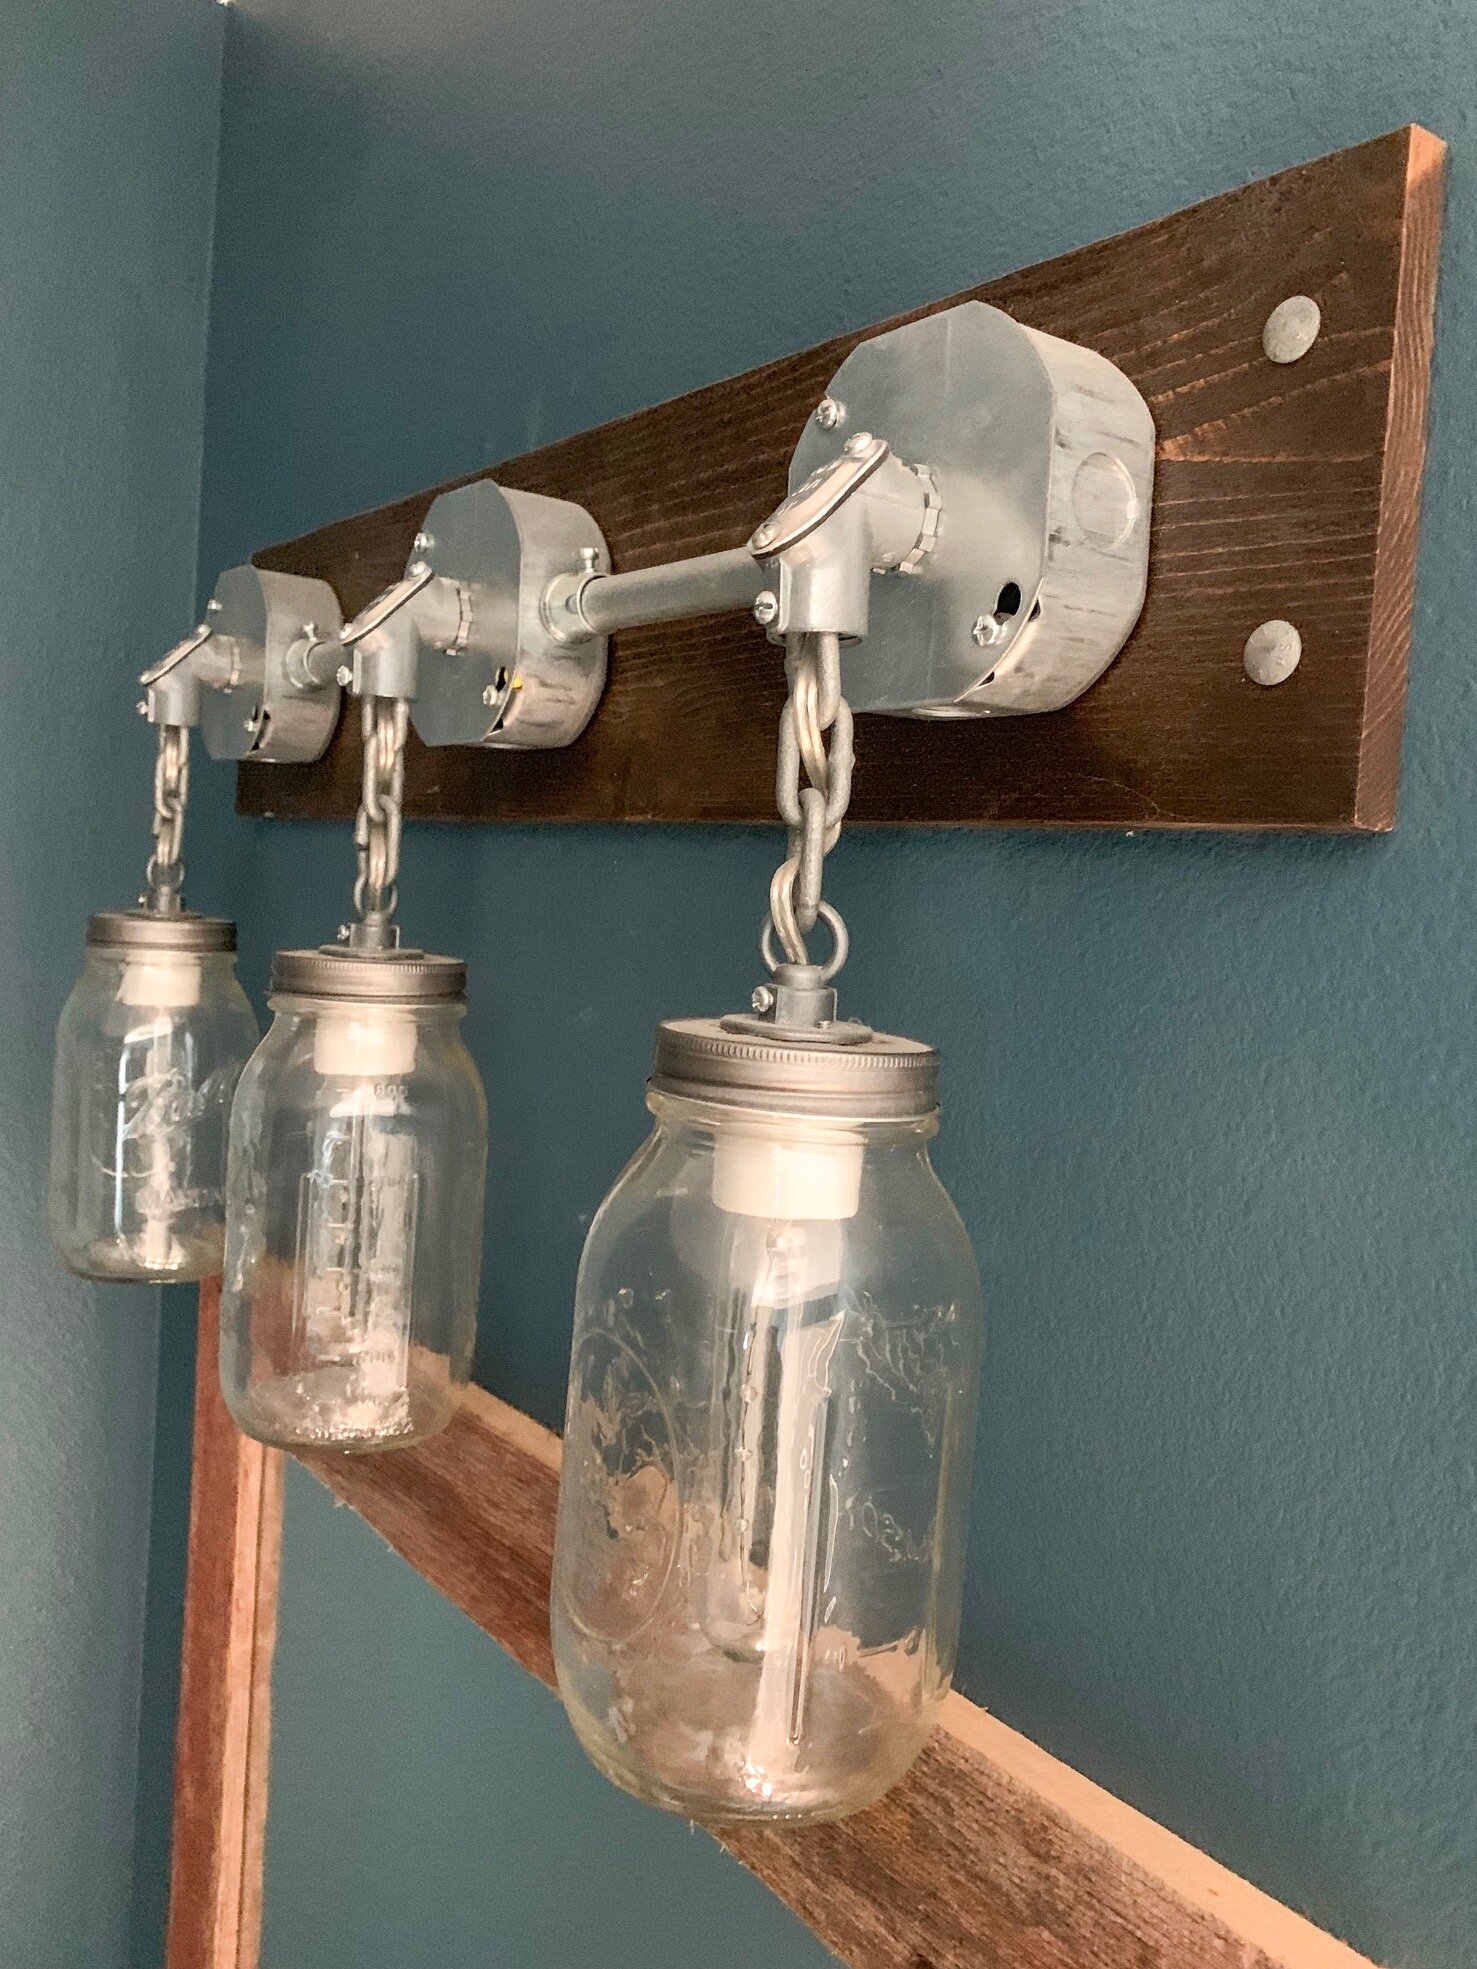
Spare bathroom light fixture, and you can see the barn wood mirror beneath!

The pantry door is an old trap door to the attic space of a c.1920 carriage house

Our custom kitchen cabinets are new, but they were made to look old by using wood with imperfections