DIY: Budget Friendly Pantry Organizing!

Hi friends! I’m writing to you from frigid Iowa, where it’s a whopping 1 degree today, but hey we are over halfway through January so this won’t last a whole lot longer! I haven’t posted a DIY for a while, so I wanted to share with you what I recently did with my pantry.

I normally take everything out of my pantry once or twice a year just to make sure nothing is expired or forgotten about, and as I was getting ready to do that again recently I did a few searches on Pinterest and Instagram for inspiration on how to make the space a bit more visually appealing.

There were hundreds of gorgeous photos to choose from, but as I started researching the actual bins and containers for everything it became apparent that this was an EXPENSIVE task. I mean, $14 for a clear plastic tray to put on a shelf?! $25 for a set of 4 glass canisters?! There was just no way I was going to spend that kind of money or organize this space.

Starting Point

Our pantry is a walk-in space, that has a knack for collecting random items due to it’s proximity to the kitchen. The problem with this catch-all space, is that it only has a half door, so all of the random items are on display for every visitor to see. Let me show you what I mean…

From this angle, you can’t see the mess inside!

From this angle, you can’t see the mess inside!

The mess!!!

The mess!!!

Ok, now you know what I was up against! I knew there had to be a more budget friendly way to spruce this up, so I put my thinking cap on.

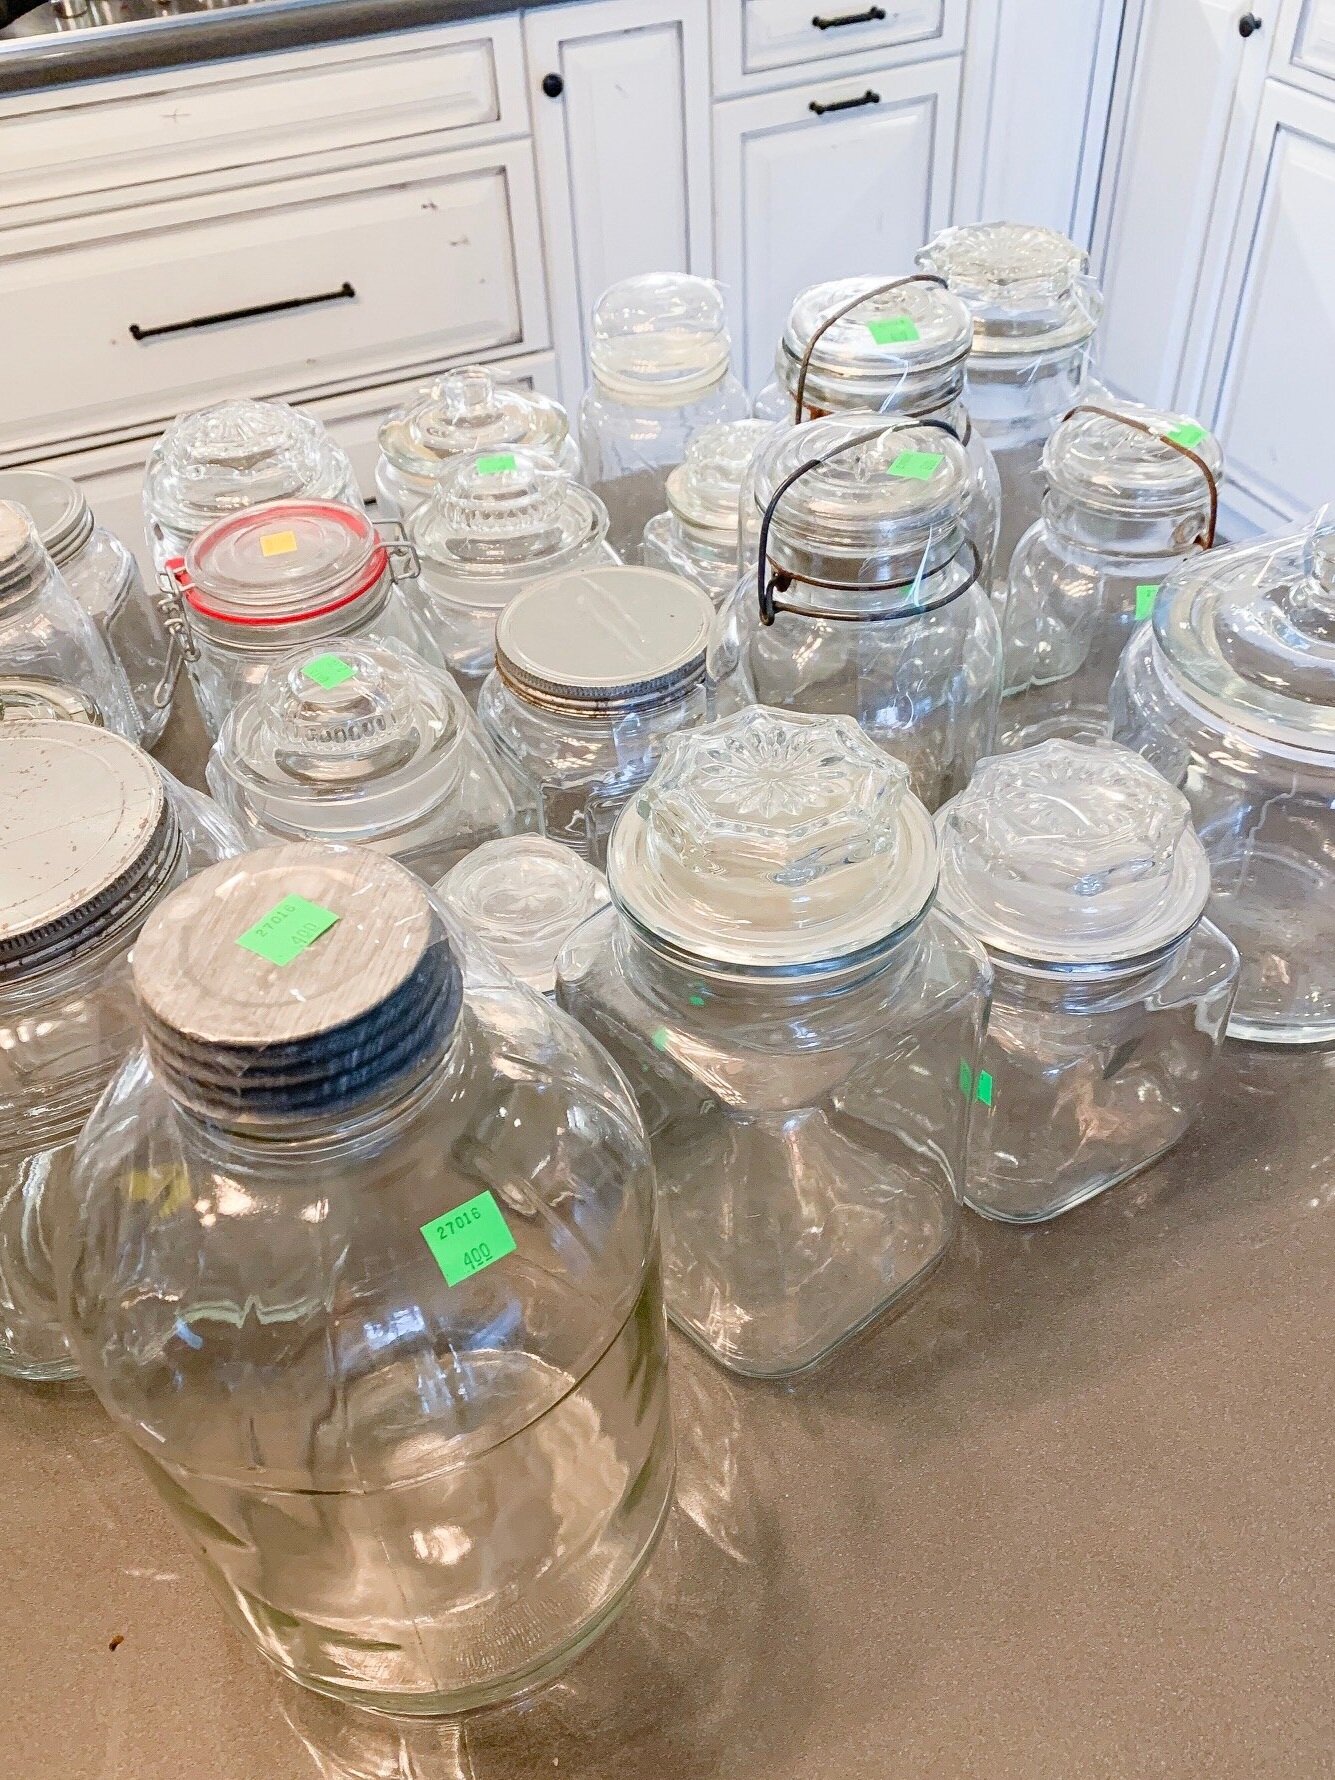
First up, I needed some glass containers. A lot of them. I didn’t really care if they all matched, and I wasn’t going to buy a dozen from Amazon at $5 a piece, so I went down to my local thrift store for some vintage jars and canisters.

IMG_5203.jpg

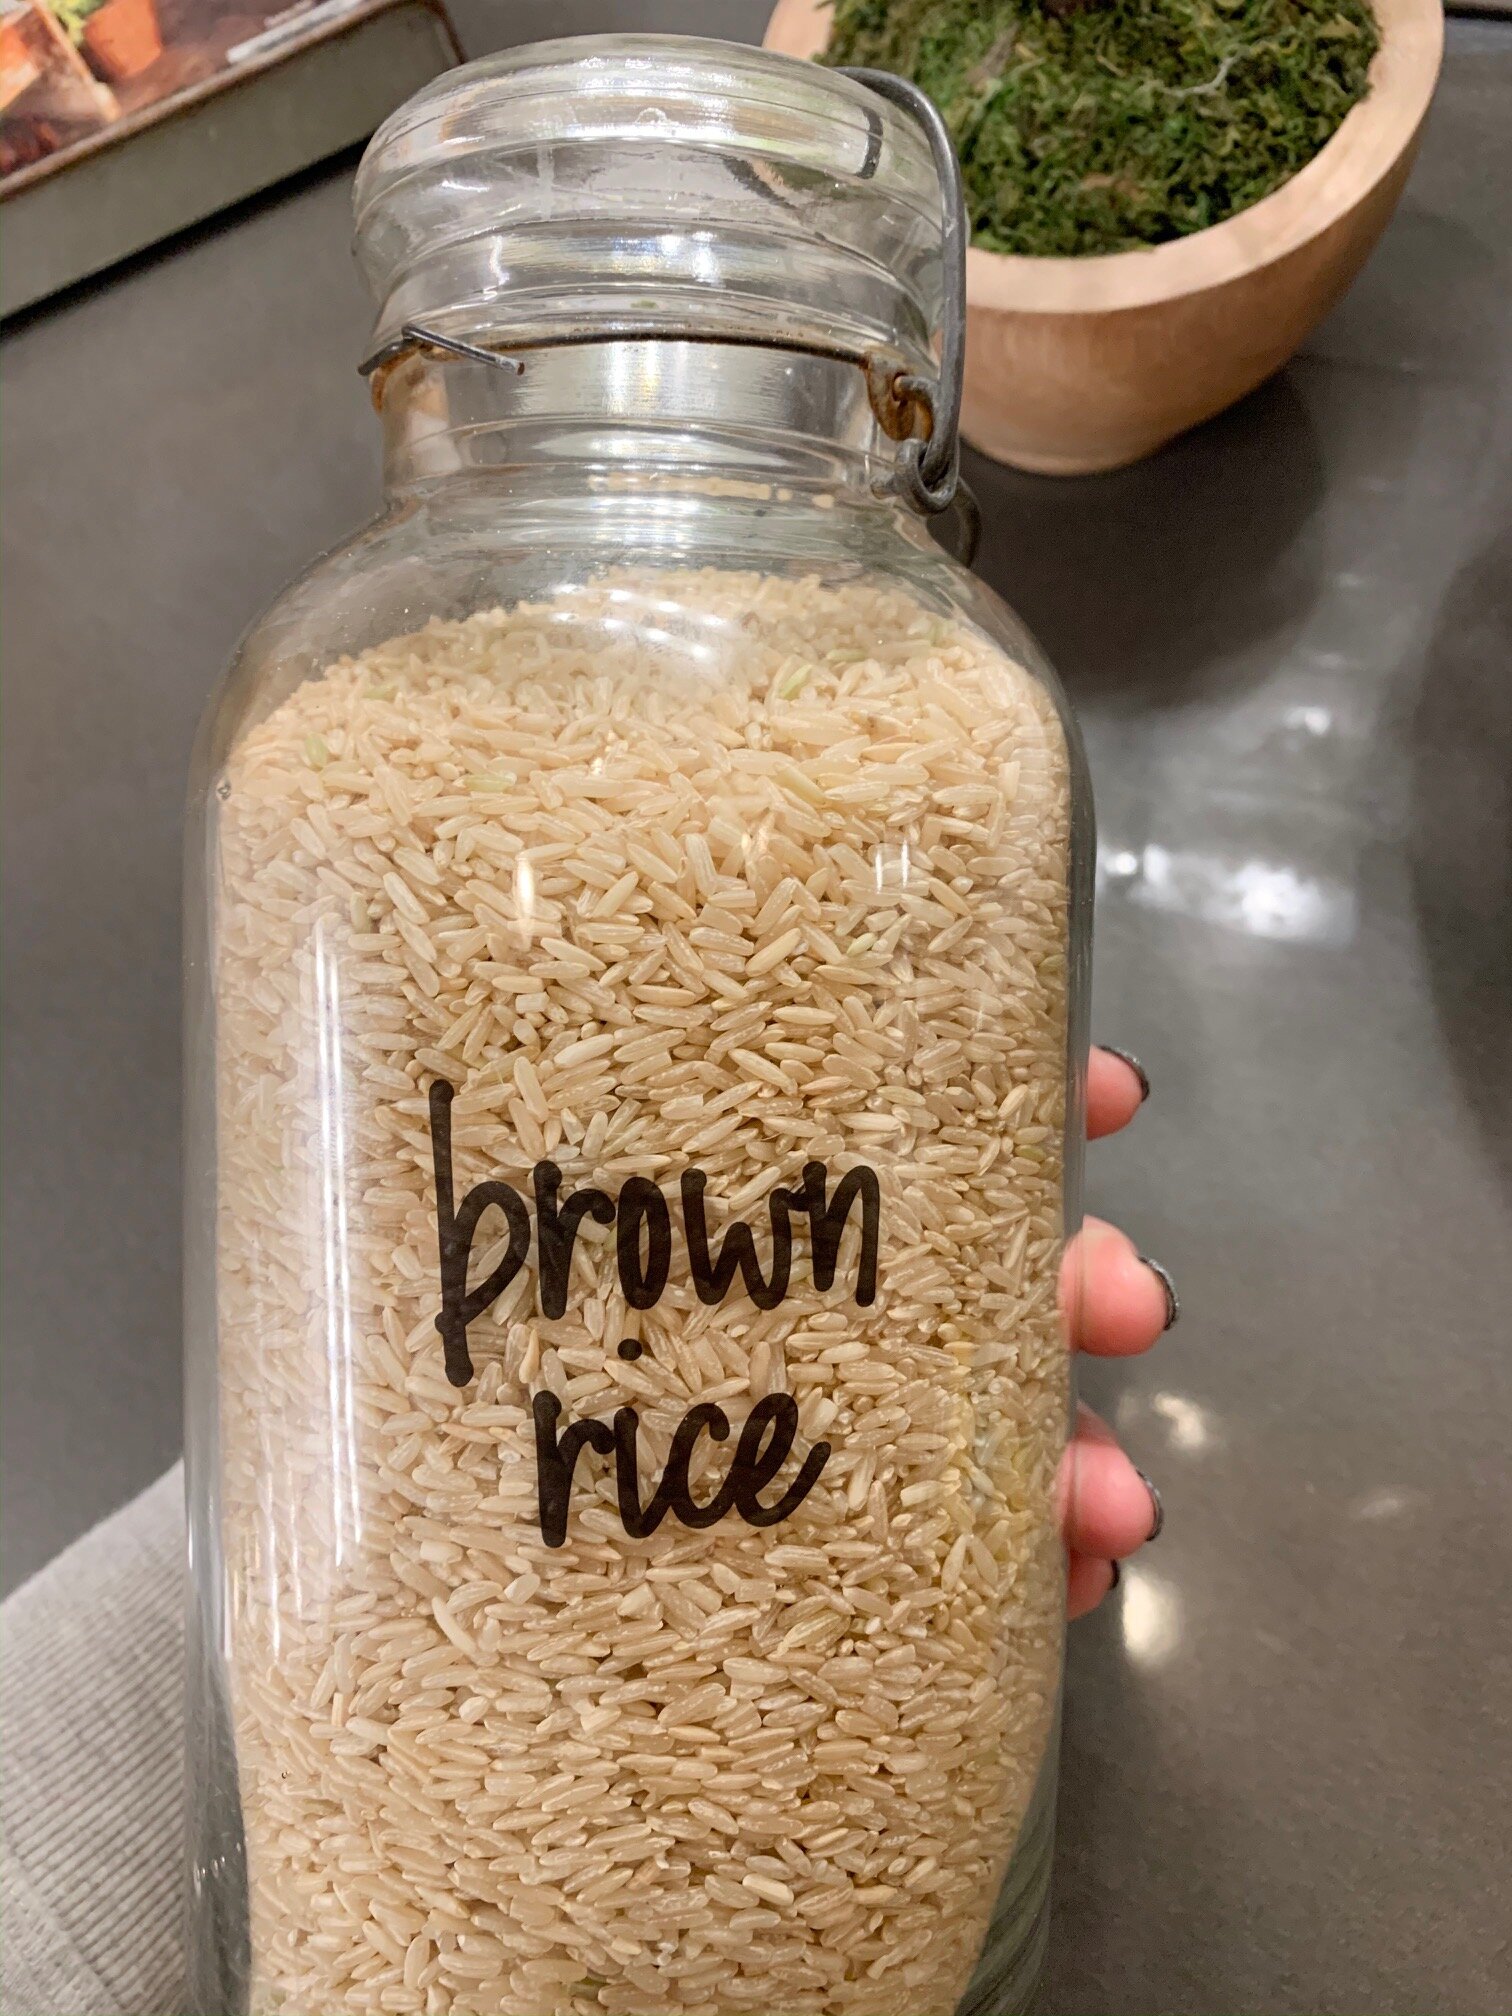
Next up, I needed some labels for these jars and Amazon seemed to have quite the selection. I ordered a set of labels that was around $14 for 50+ stickers from a shop on Amazon called ‘The Talented Kitchen’.

I started the tedious process of emptying boxes and containers into the jars (after washing them of course!) and tossing all the expired items. I even found out what a very rotten avocado looks like, yikes! Here are a couple close up photos of the jars with labels…

IMG_5267.JPG
IMG_5268.JPG

These turned out really nice, and I was able to toss all the half packages of items! Bonus feature of the clear glass jars is the ability to see the amount readily available, making that grocery list a breeze!

Last up, I needed some clear bins for random things, and Amazon had some outrageous prices on clear storage containers so I went with what my local Target had instead. I included a couple pictures of the bins below, the larger one was $4 and the smaller one was $1.

IMG_5274.jpg
IMG_5270.JPG

All Finished!

Here are a couple photos of the finished project, I am not entirely certain that I have everything in the exact place that I want it, but it works for now.

IMG_5251.JPG
IMG_5250.JPG
IMG_5253.JPG

I am really excited how this turned out, as it is no longer an eyesore to anyone walking by the area. Also, I was pretty impressed that I accomplished this project for significantly less cost than originally thought. Next up, I need to repeat this process for the spice cabinet as I currently cannot find anything in there!

That is all I have for you today, thanks so much for stopping by the blog and I would love to see some of your own pantry transformations, feel free to tag me on your photos on Instagram (@aps_design) or Facebook (apsdesignblog).

Cheers!!

Rachael