It’s time for another update on the farmhouse renovation project!
For anyone new here, we purchased a c.1900 Iowa farmhouse 3 months ago and promptly tore down a large (sagging) section and have been putting it back together ever since. This has definitely been an interesting project, mainly due to there not really being any building codes or rules to follow 120 years ago, so we have had to allow for extra time (and money) to accommodate unforeseen things along the way….(hello super scary/non supported second floor…i’m looking at you!)
Enough on the recap, let’s get on to the accomplishments for the month….
New this month:
-All Plumbing
-Furnace and all duct work
-Interior walls framed up
-All windows replaced
-Almost all the siding torn off original structure, and new OSB and tyvek paper
-All electrical wired up and ready
-A functioning set of stairs
Here are a couple photos showing the updates…
This photo is from the front porch, looking at the front door
The porch view after new walls and windows!
The above photos show just how extensive this renovation has become. Was it in the original plan to tear everything out to the studs? No. However, we needed to replace the improperly installed windows and that meant tearing off all the siding out front. The insulation and sheeting weren’t up to par and not really functioning, so they all had to go too.
Now, this means more work and increased cost, but we would rather spend a few more dollars up front and not have to worry about issues down the road. Plus, this is Iowa so we can’t have poor insulation and improperly installed windows or utility bills will be very high.
We have repeated this same process, section by section, for the entire house. Only one small part remains, and that will be done shortly. It’s particularly time consuming to do this all in January, but that’s what we have to work with at the moment. I mean, icy scaffolding just makes things more interesting…right?
Next up, we have a fully functional and standard size flight of stairs to the second floor. Gone are the days of ducking your head and climbing super small and steep steps with no railing.
Speaking of the second level, we haven’t been up there for several weeks while there were no stairs, and I lost track of how much we have to do up there as well. Obviously the windows will have to be replaced (might as well do them all, right?) but the flooring and fixtures will need work too.
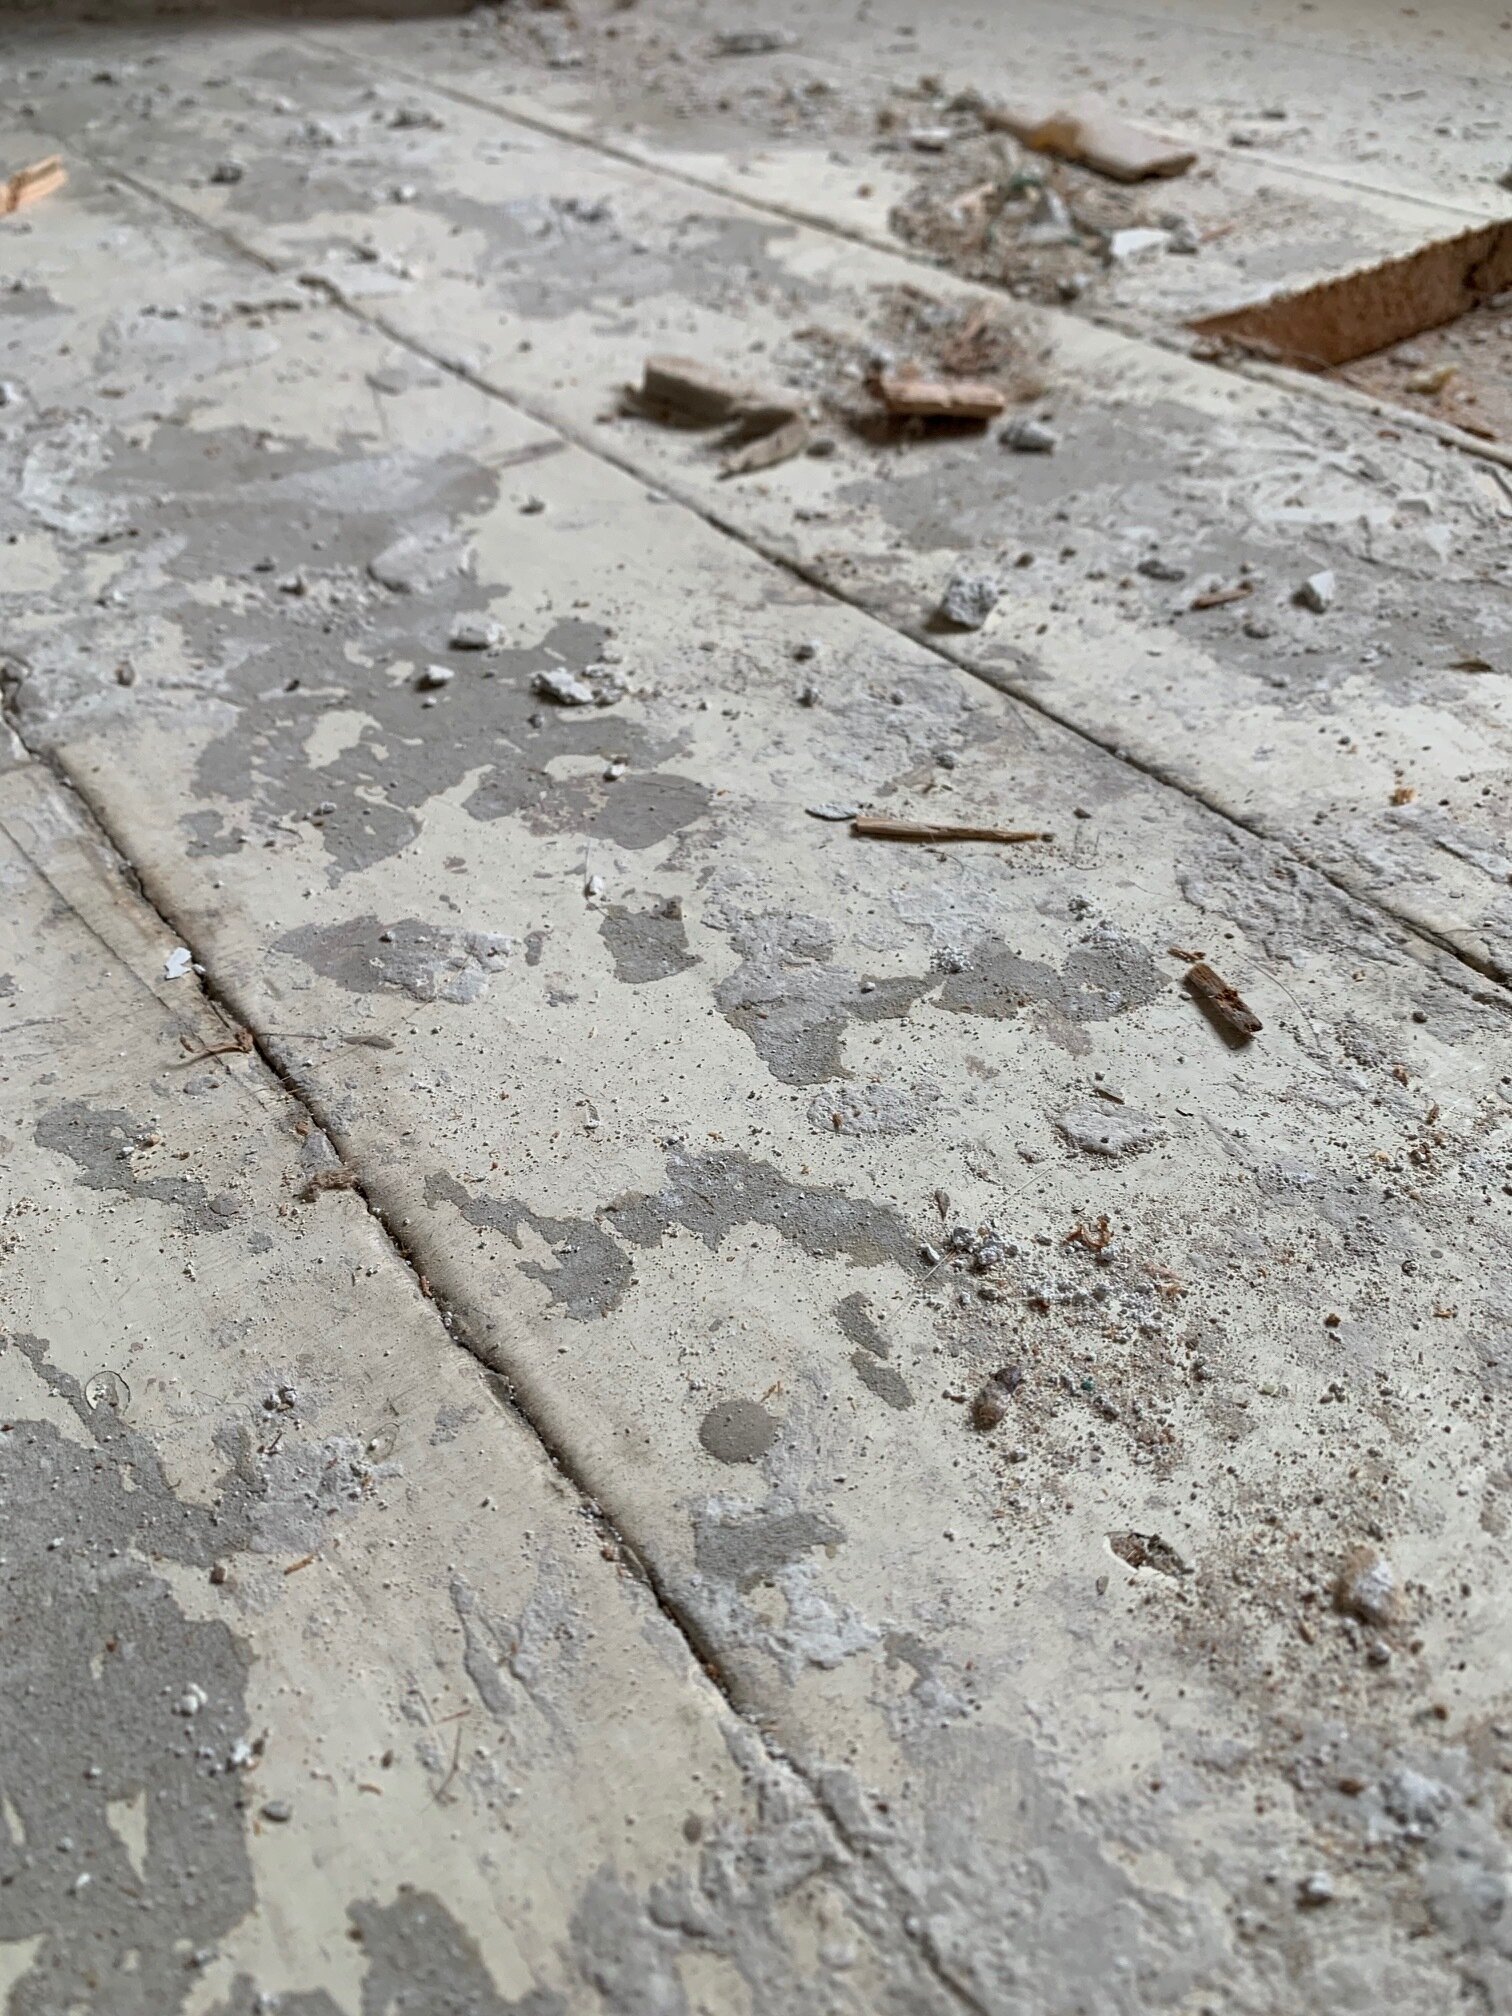
The first photo is of the (likely lead) painted original flooring, and we simply cannot sand that down and use it, for obvious reasons.
The next photo is a view from the stairs, and while things might not look too bad up here there is still a bunch of work to do. For example, the door to the second bedroom no longer closes due to the bracing and raising of the floor that was required in order to ensure it would not come down. We also need proper safety mechanisms such as smoke detectors, railings, and windows that are the required size, in case of emergency evacuation. These things can all be done now, since we can now access this part of the house!
As always, our daughter (who we call ‘the inspector’) is as involved as a two year old can be, and she loves to ‘help’. The weather in January has made this somewhat difficult but we work with it the best we can.
Helping dad with the front door
Giving her approval of the new stairs


