Laundry Room Makeover

I am always looking for inexpensive ways to update and/or decorate our home, and my laundry room was recently at the top of my list of spaces that needed serious help. I had seen several designers recently posting about using wallpaper to update a space, and my first reaction was not a positive one. I mean, wallpaper?!? Who has time for that??

Well as it turns out, I had time for it, and so do you! Wallpaper has come SUCH a long way from the days where I remembered my grandparents mixing paste and matching patterns, only to have it dry and shrink just enough that it no longer lined up perfectly. I was curious how this “new” version worked, so I ordered a roll from Target’s website, which has dozens of options.

Today’s version of wallpaper has no mess, simply peel and stick. Make a mistake and need to remove it? Just peel it off the wall, no damage to the paint/wall, and you can re-use the piece! This feature in particular makes a wallpaper project budget friendly, I did this entire laundry room makeover with only one roll, which was $30. Don’t worry about matching patterns either, the print I chose has a tiny pattern line on it so you can easily tell where the next piece should line up.

So I went for it and ordered the wallpaper….

Before I show you how it turned out, let’s take a look at some ‘before’ photos!

IMG_2833.jpg
IMG_2834.jpg

This laundry room functioned just fine how it originally was, but I wanted a space that was more inviting and had a ‘fresh’ look. I first shopped the garage for some shelving materials, then picked up a vintage window for the space above the sink, and finally picked out the wallpaper that would tie it all together Somehow, I roped Adam into helping me.

Neither one of us had ever worked with wallpaper, and thus we had no idea how to install it. I envisioned unrolling it and sticking it to the wall (why make it more difficult than it needs to be, am i right?), however Adam had other ideas.

He approached the situation as thought it were flooring, and found the center of the wall and the center of the wallpaper pattern and started there. As a result, the first piece took about 45 min to place, but the rest of it went much faster.

1700ca29aa1eba020faa98dd6bf2a176.jpeg

After the wallpaper was applied, we placed a small white trim around the top edges to give it more of a polished look. Then all that was left was to mount the shelf and hang the window, and suddenly the laundry room had been transformed! Here are a couple photos…

1196adc30beb1d6a26cf52087c461b89.jpeg
6364e2c8af2997e941723f82ab8f0f20.jpeg
c605325eff2465490afd16c2625ed5a7.jpeg
c3aa0964342bad40dbdea099c8f6c1b4.jpeg
5217d21cd956a95bb9bb2501809c70cc.jpeg

This budget friendly update has made quite a difference, and I am really happy how it turned out. This was a learning experience, but it really was quite easy, so if you are looking to freshen up a space consider using wallpaper!

That’s all I have for today, I am headed back outside to enjoy this second Summer that Iowa has given us this week! I will be back soon with our latest outdoor client project, as soon as I load and edit the photos :)

As always, thank you for stopping by the blog today! We really appreciate it!

-Rachael

DIY Laundry Detergent

Hi friends! Today I want to share a quick post on my DIY laundry detergent. If you have been following along you know that I love all things budget friendly, and when it comes to cleaners and detergents I prefer as few chemicals as possible for my family. Now I also believe there is a time and a place for bleach, and I am not opposed to busting out the heavy duty cleaners if needed, I just prefer not to use those for laundry.

Let’s get to it! This recipe is SO simple, and makes a large amount!

Here are the ingredients:
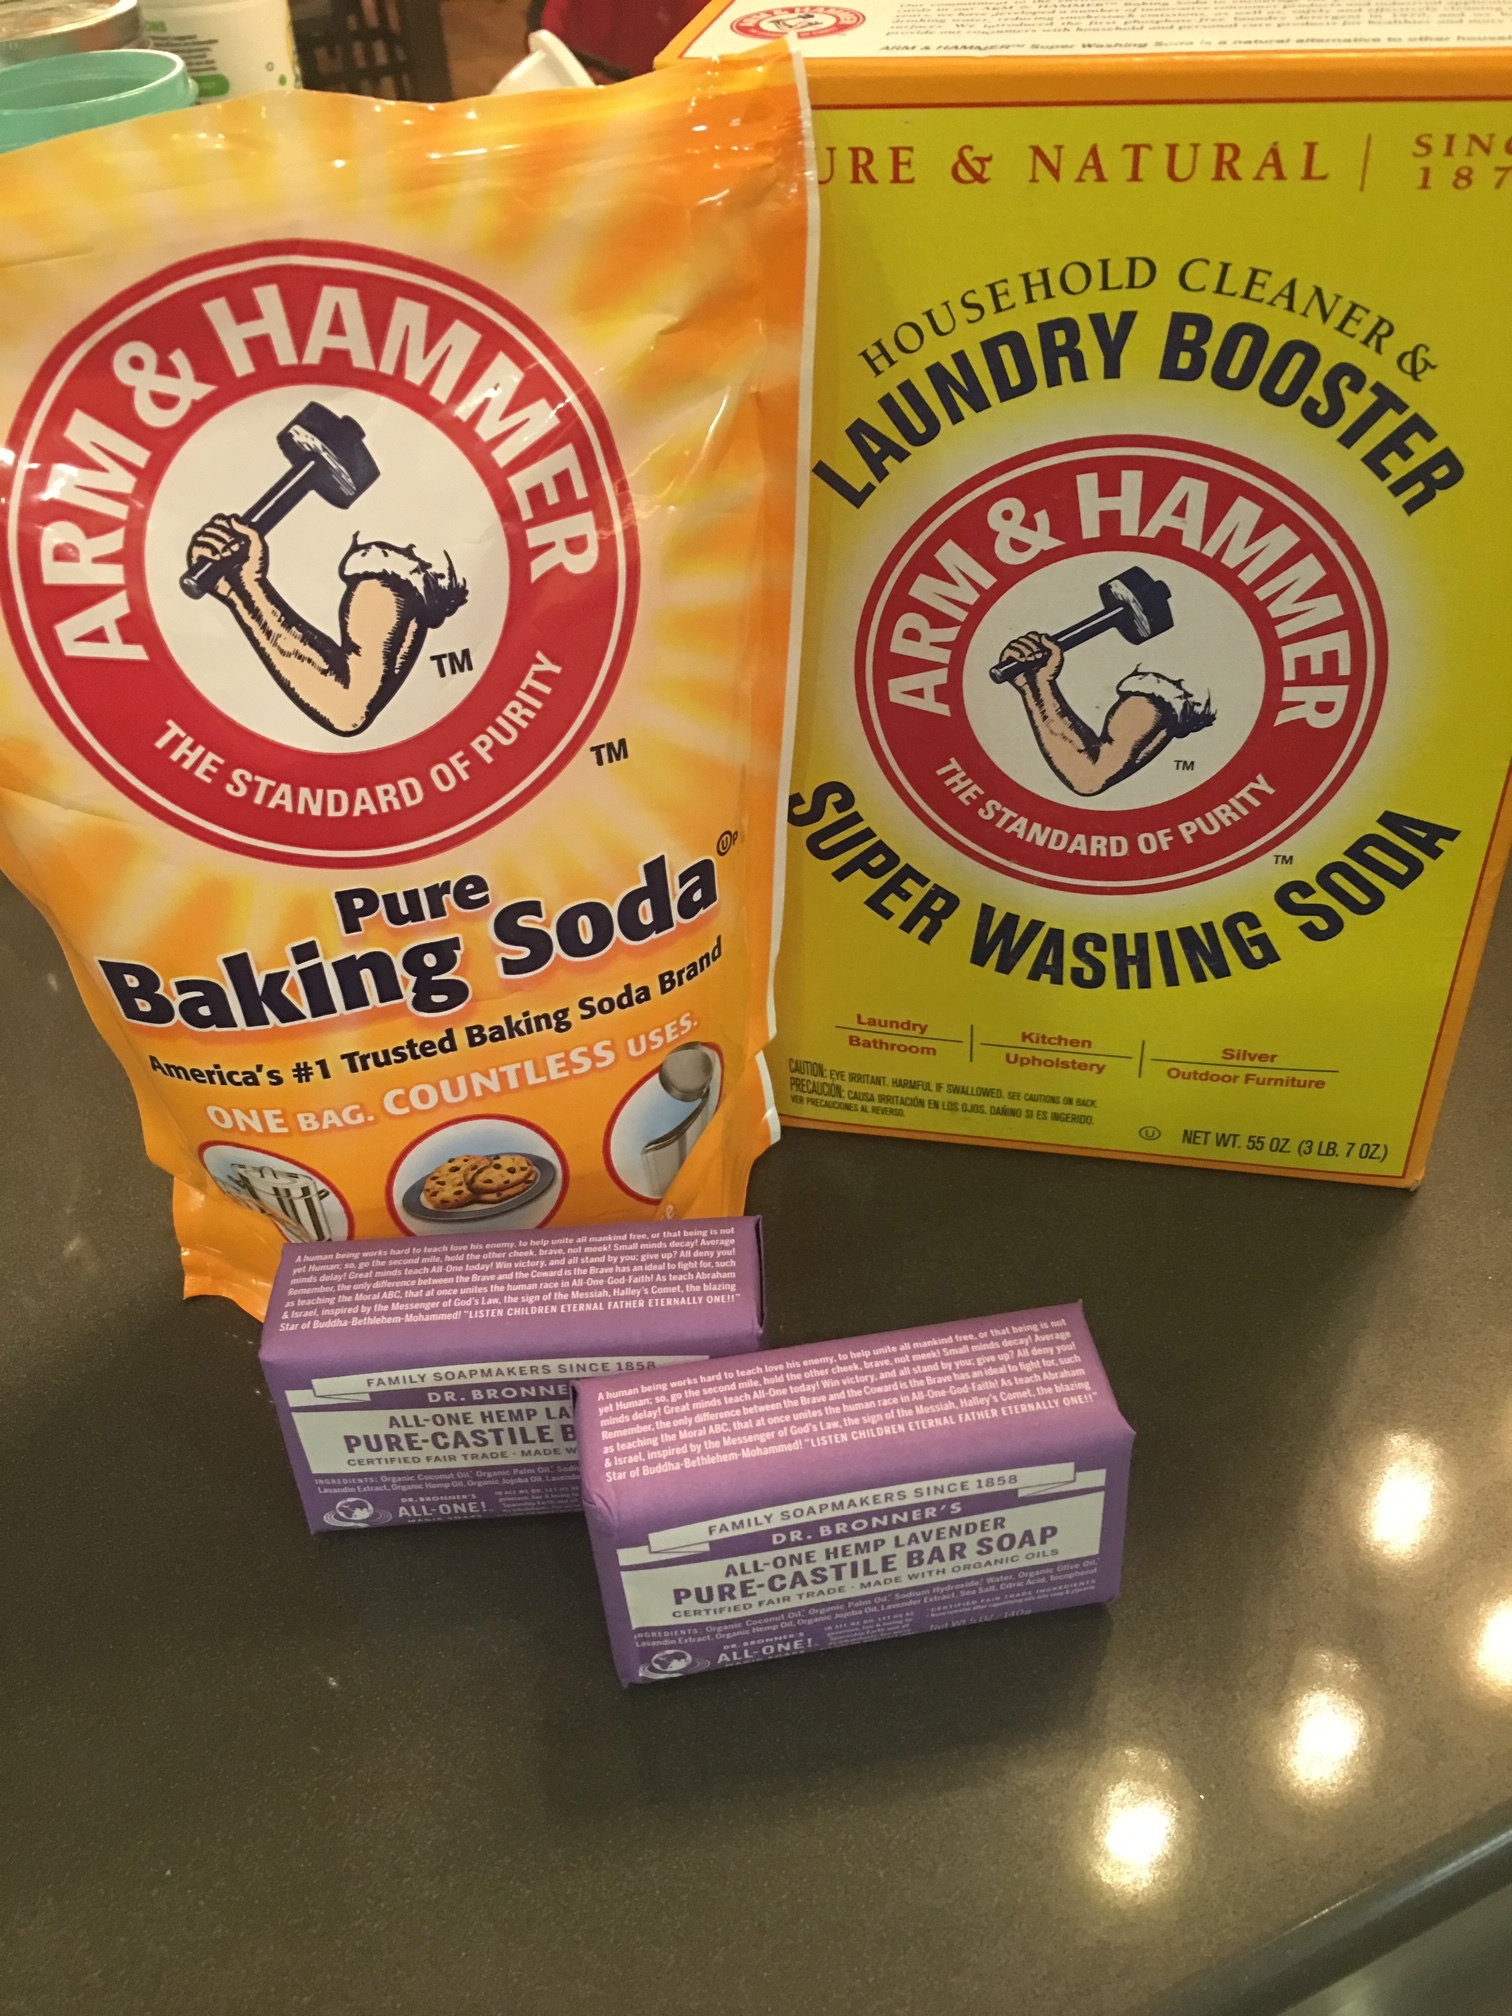
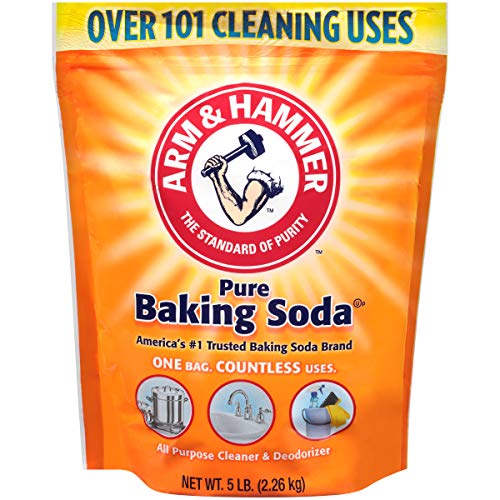
IMG_5237.JPG

8 cups Baking Soda

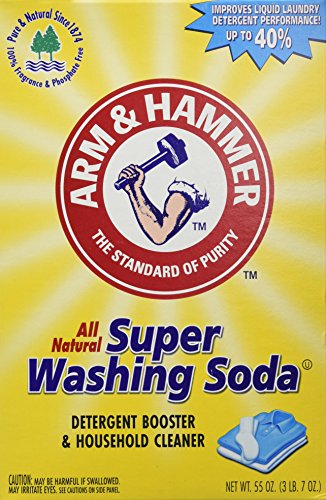
6 cups Super Washing Soda

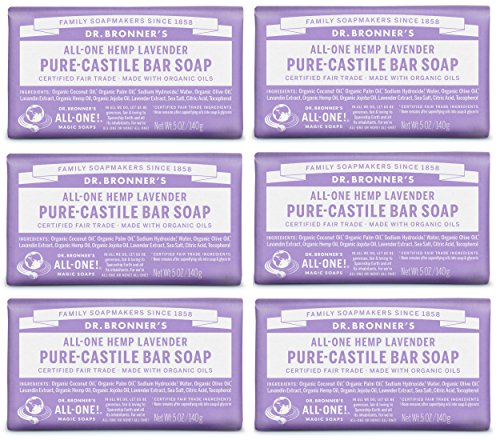
2 bars castile soap (grated)

I like to use one bar of peppermint and one of lavender, but this time I only had lavender on hand.

Mix the baking and washing soda together in a large bucket, grate the bars of soap and mix again.

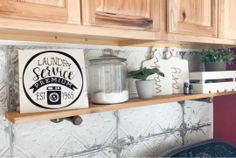
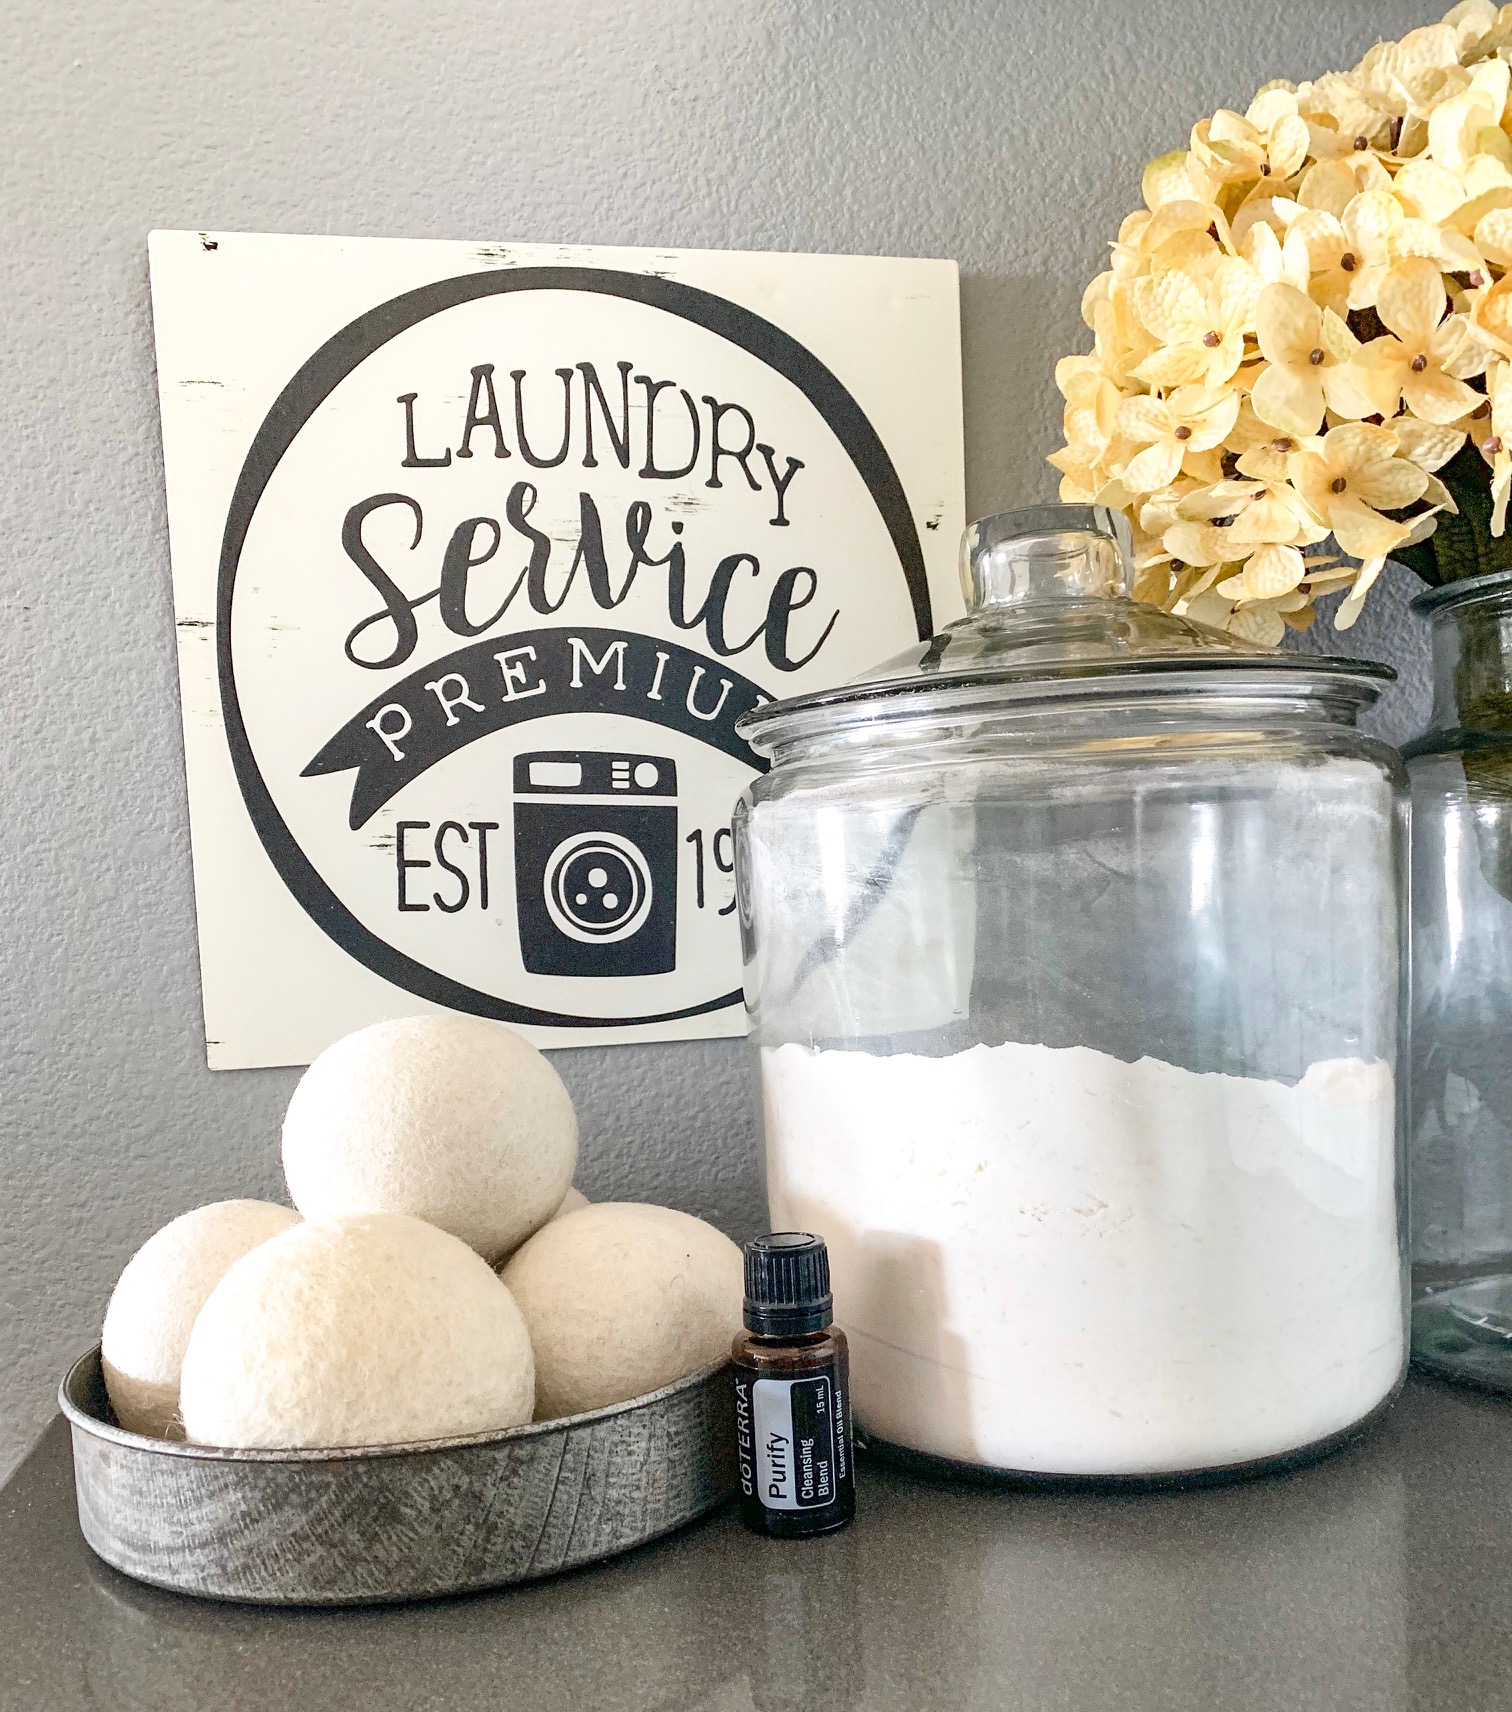
That’ts it! I use 1/8 cup per load. Not only does this clean your clothes and smell amazing, but it also cleans your washing machine! I store my detergent in a large glass jar, pictured below.

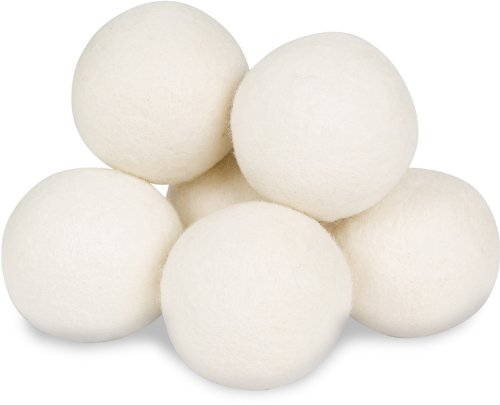
I also have been using wool dryer balls for YEARS (in place of fabric sheets) and never had to replace them! I use them with or without a drop of essential oil (for scent) and I have found that the more dryer balls I put in with my clothes, the faster they dry. This saves energy as the machine runs for a shorter amount of time.

IMG_0775.JPG

This little DIY laundry routine has really cut down the cost of washing/drying laundry in our family, and I hope it can bring some inspiration to yours! Have you tried this homemade detergent? Let me know how you like it!

Looking for the products I used for this post?

These are affiliate links, to see my full disclosure click here.

Signoff.jpg