Hello there friends! I am writing to you from a nice 80 degree day here in Iowa, which is actually pretty nice considering it was 100 degrees all last week. I am not sure what is up with Iowa lately, but I guess 2020 has taught us to be ready for literally anything.
We just wrapped up a 9+ month renovation, the farmhouse project, and we are really excited how it turned out. We have a lot of new visitors here, so I will give a super quick recap.
Last October, we bought a tired but sturdy c.1900 home in the heart of our community. When I say tired, I mean it showed it’s age and was missing some modern amenities. Since then we tore off a section of the home, rebuilt it with added square footage, put in all new windows/doors/siding/sheeting/roof/hvac/electrical and added central air and a large deck. It took a little longer than planned, due to 2020’s challenges (complete with a ‘derecho’), but in the end it was all worth it.
Let’s get right to the photos (roughly in chronological order)

Photo from the listing when we bought it

Tore the back section off that needed new trusses

New Foundation!

Putting a large Addition Back On

Tearing off the siding and sheeting from the original section of the home

All put back together, complete with new windows

A very cold day! (view from front porch)

The kitchen ceiling no longer droops!

Vertical siding for the win!
As you can tell, we replaced almost everything at this home. Here are a couple fun before and after shots, I tried to take the ‘afters’ at the same angles for easier reference.
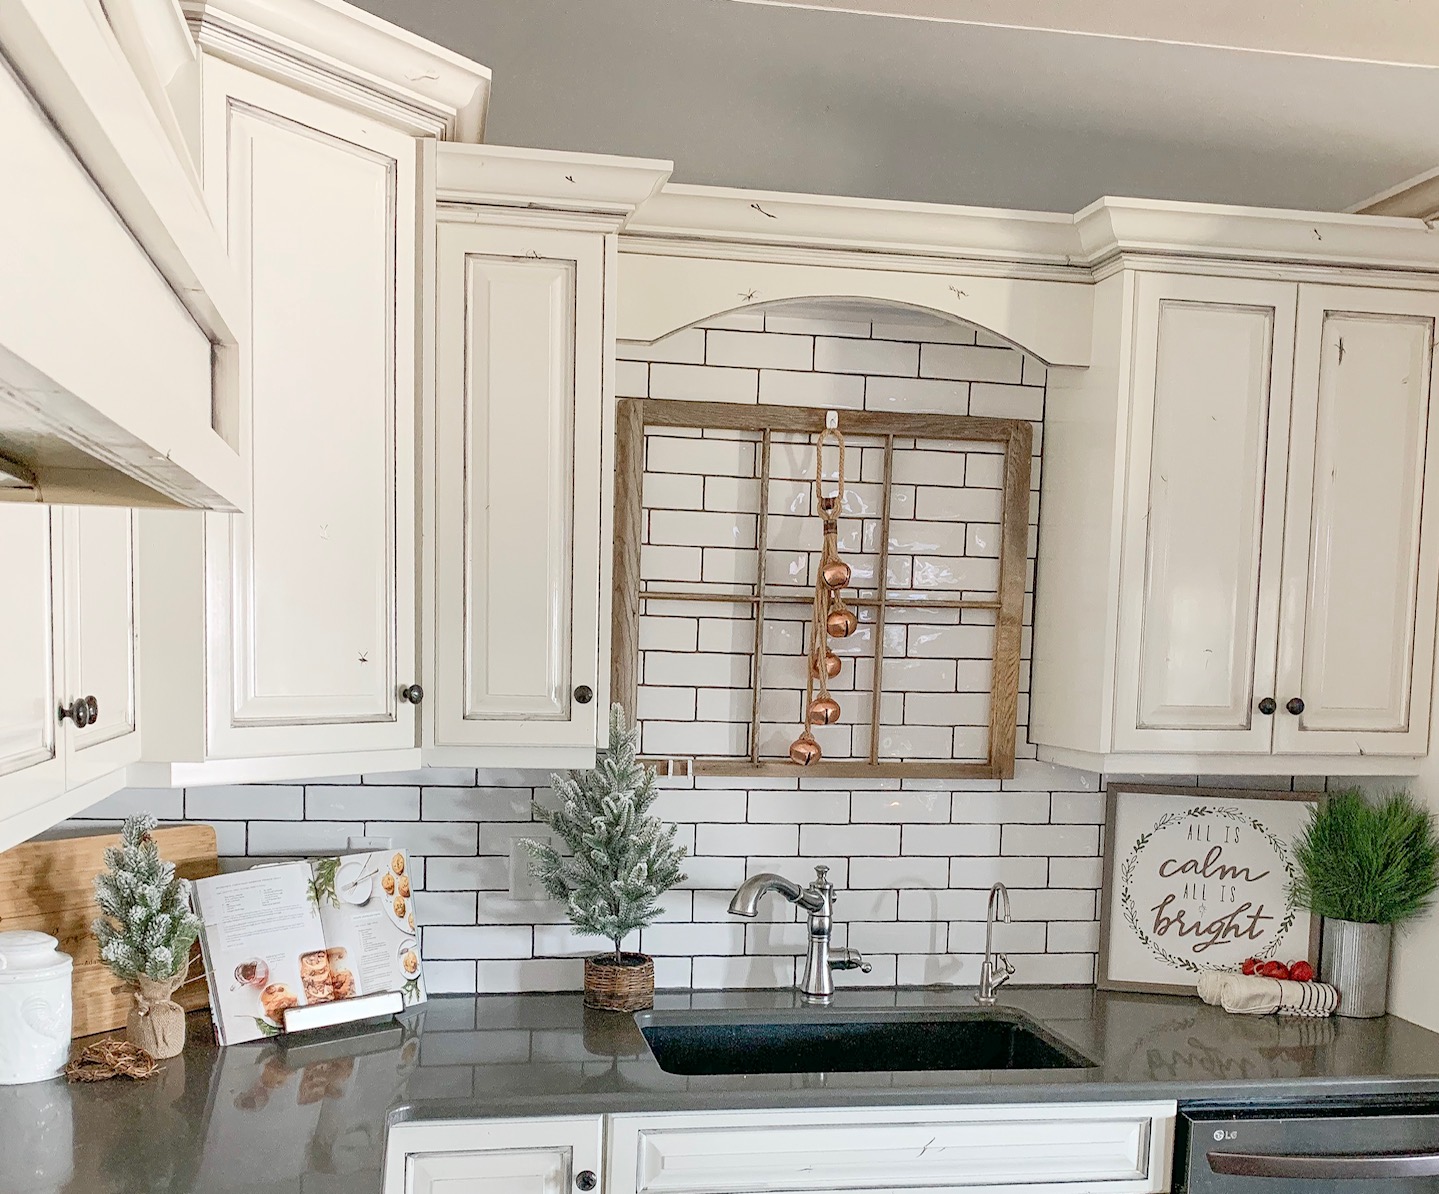
Let’s start with the kitchen…


Sink and stove in same position


There’s really nothing the same about this kitchen other than a few of the appliances, everything else is new. We kept the kitchen the same size and roughly the same layout, but this new space is much brighter with an added window and lots of lighting!
Here’s another before and after set…the upstairs bedrooms!

Bedroom 1 before…

Bedroom 1 after

Bedroom 1, second angle

Bedroom 1, second angle

Bedroom 2 Before

Bedroom 2 After
These bedrooms both received new windows, flooring, paint, doors, trim, electrical, and some drywall. The photos from the first bedroom show the new set of stairs and new railing as well. New stairs were essential, as the previous stairs were no where near the correct size, but there weren’t building codes 120 year ago!
The living room was part of the original structure that was kept intact during demolition, and we really wanted to keep as much of the home's character as possible. We tore off multiple layers of ceiling, added all new drywall, windows, electrical wiring and fixtures. We also took up the flooring and sanded down decades of carpet glue and stain. These next photos show the transformation of the living room, which is one of my favorite parts of the home.
We kept the same door in the same place, for reference.


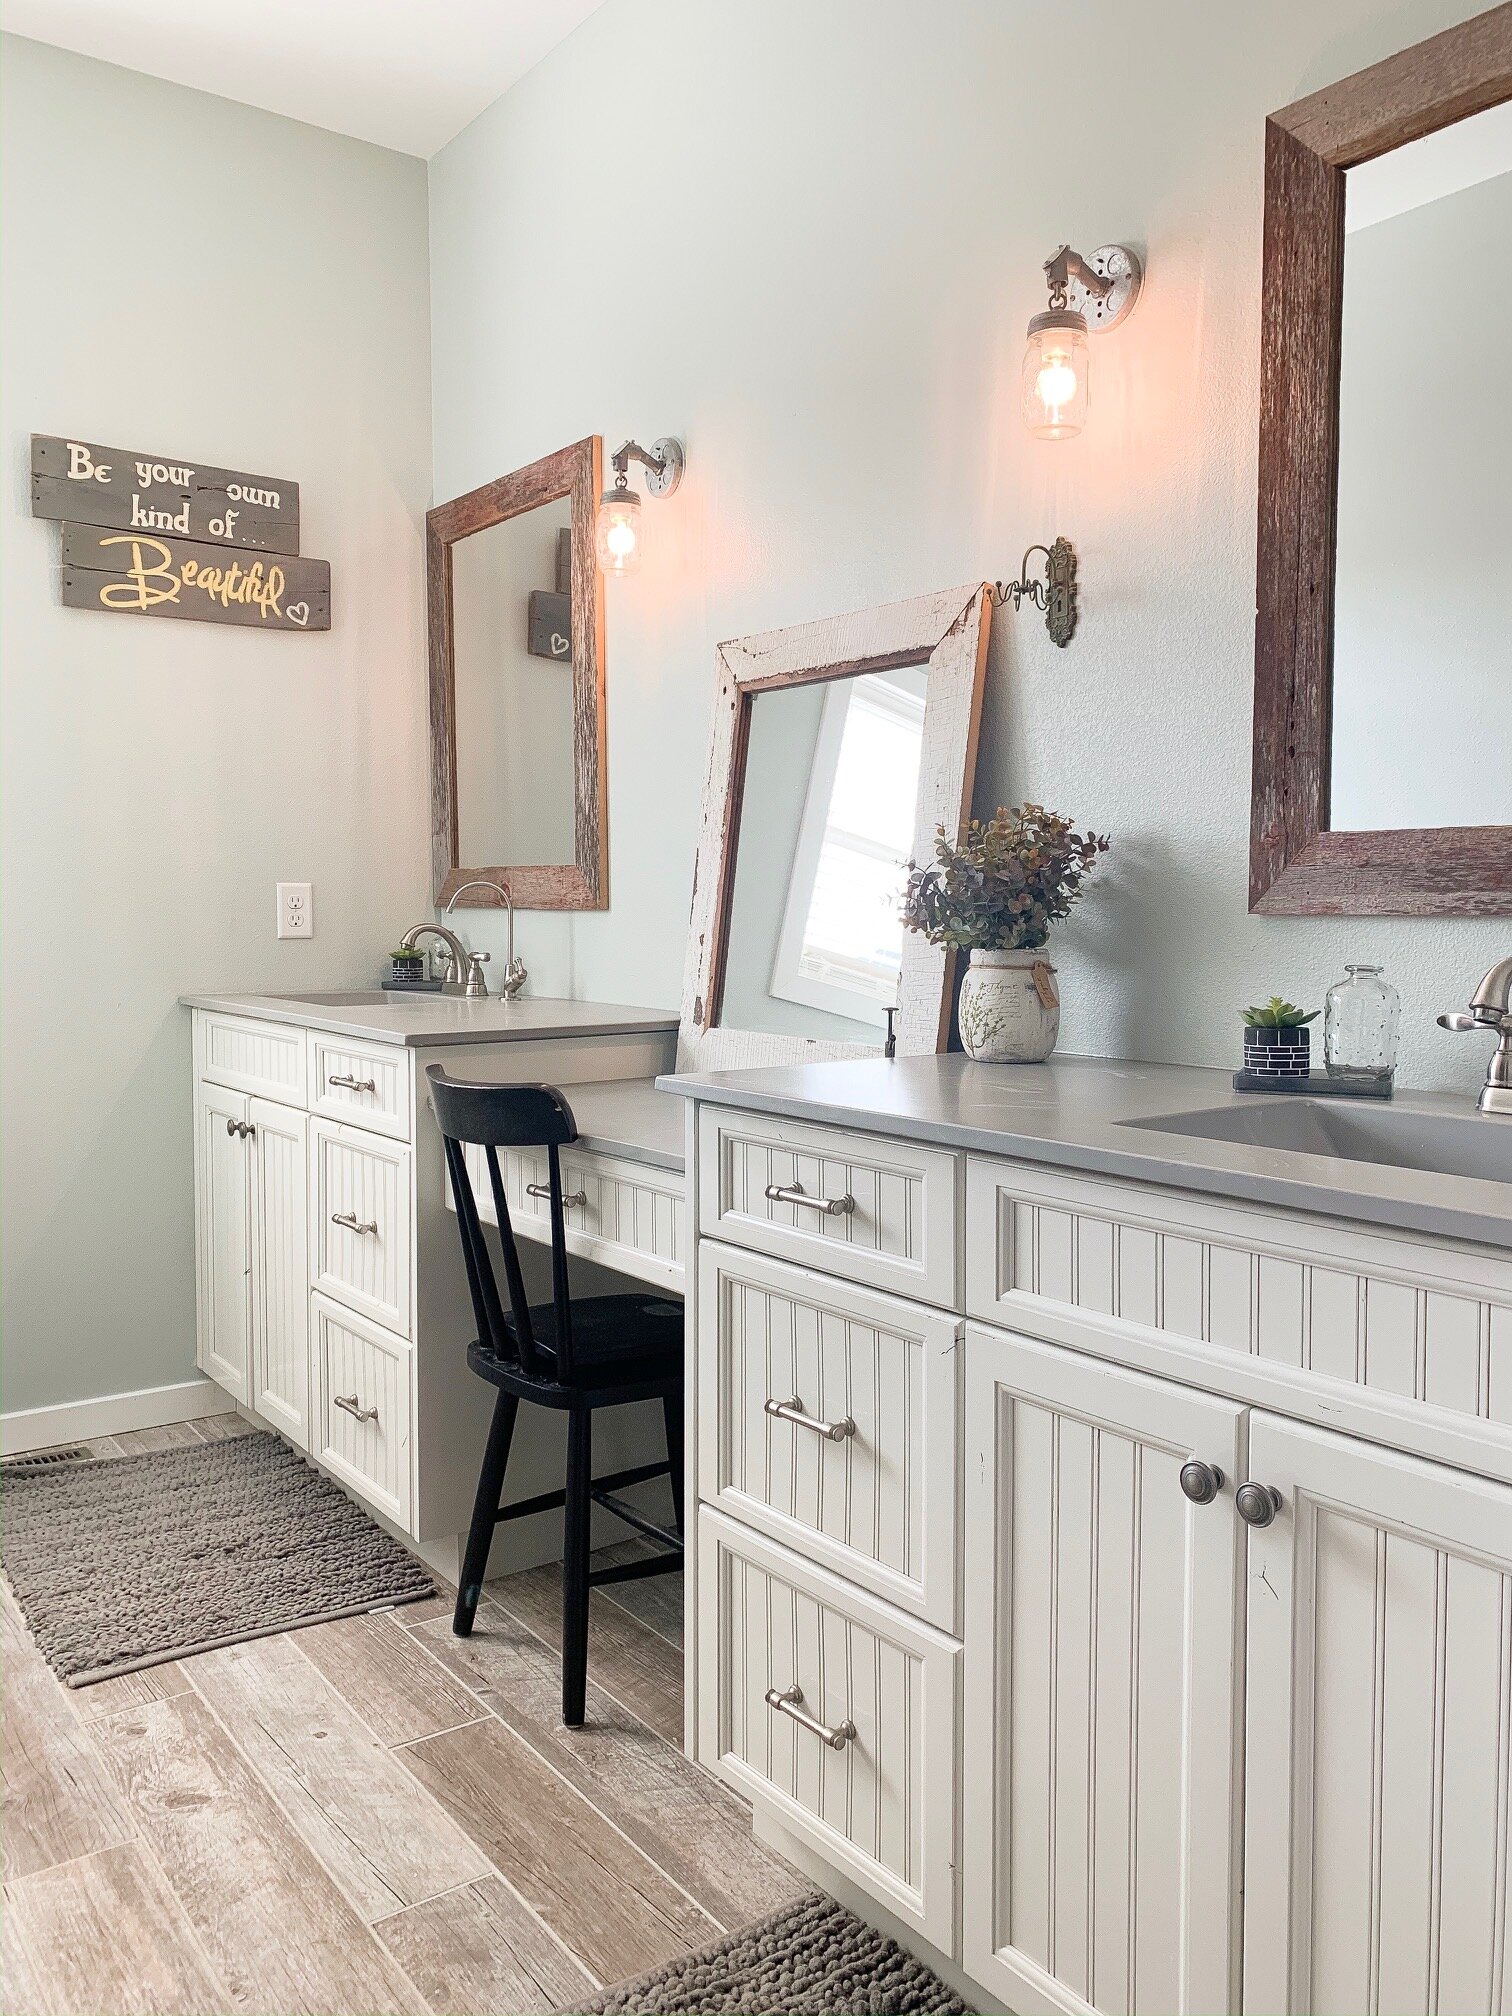
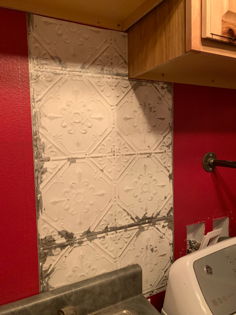
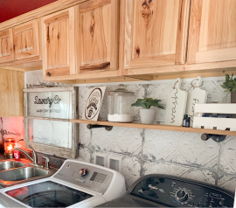
Next up is the main bathroom, which was also serving as the laundry room. We moved the laundry into the (newly added) master closet, and this room got to return to single function status after it was torn down and rebuilt, of course.


Last but not least, the exterior. You might notice no window air conditioners in the after photos….that’s because this home finally has central air. I’m not sure how previous owners managed the sweltering Iowa summers for 120 years with no air!

Front view

Back View

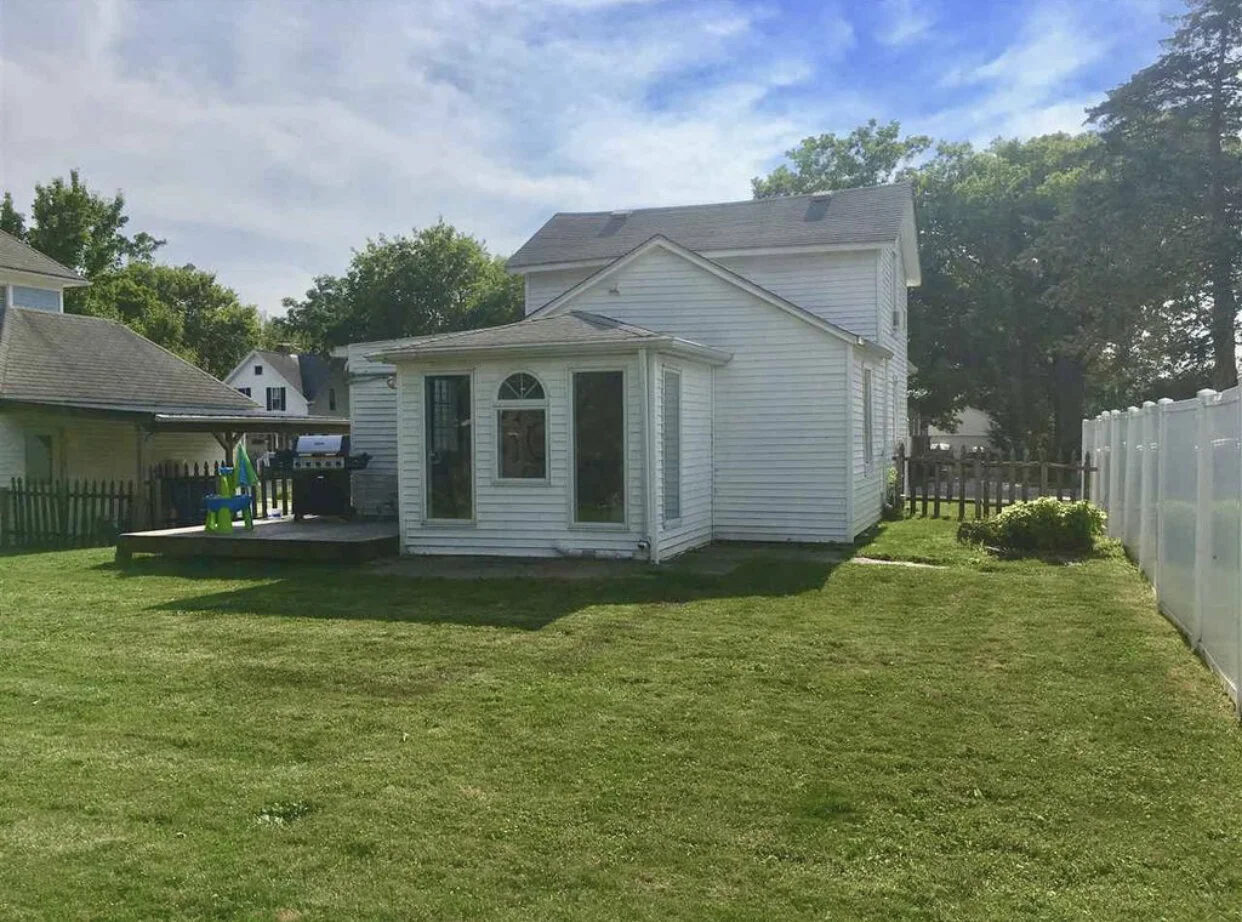
New Back view, with deck! (and central air!)