Recently I was asked about my ‘bold’ paint colors in my home, and how I choose them. Determining colors for a room has never been a time consuming process for me (I am the person in the greeting card aisle that goes with the second or third one that I pick up), but I know this is not always the case for everyone. I have friends who have been wanting to paint their home for nearly a decade but cannot agree on a color or finish.
Today I am sharing my tips on how I make my (bold) paint choices, and maybe they will provide some inspiration to you as well!

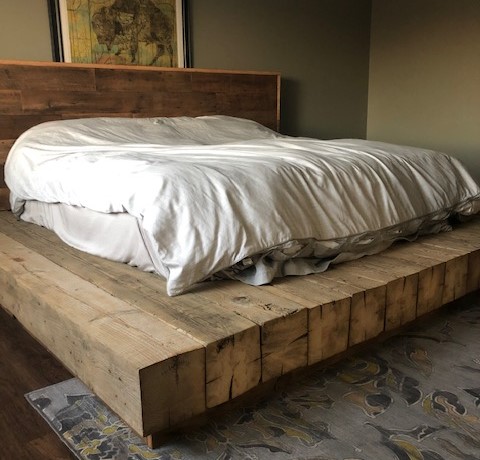
The photo that prompted the bold paint color discussion! Photo credit to Corridor Home Photos
First, choose a high quality paint!
I like the paint and primer combination paints, especially if my project contains existing paint. These styles are a little bit more per gallon, but always have full coverage and eliminate the primer step. Personally, I like the Ovation, HGTV, and Valspar brands at Lowes, but this is just my preference.
Now, It’s time for the color!
I follow a few simple rules…
Never try to match: If there is existing permanent decor (such as cabinets, flooring, trim, etc), never try to match it. I always go with a complimentary color instead.
Work with what you have: Have a difficult color already on the wall? Don’t want to rent an extension ladder to re-do that vaulted ceiling? Pick something that compliments instead (see step 1). My first home came with a single wall that was deep chocolate brown, which was absolutely not my style. Instead of trying to cover that up, I added teal to a neighboring wall to brighten the space (throwback picture below…)
Don’t sweat it: Paint is the most cost effective way to transform your home, and it can always be changed! If you are unsure which color to pick, go with your heart and change it later if you end up not liking it.

My VERY FIRST home, photo from most recent listing. This home has been sold several times since I lived there, and none of the owners have changed a thing! Not even the curtains!
Now, I fully understand that some people prefer neutrals and there is nothing wrong with that! In fact, I really like neutral paint and decor, but it’s just not something I would choose for my own home. In my opinion, all white or neutral colors make for an interesting design challenge so the room does not come across as sterile or cold.
As much as I enjoy a good challenge I also need the decor at my home to be practical. I hate dusting, so arranging 800 pieces of furniture and decor to fill a neutral space is just not realistic. Adding a bold paint color helps decorate the room a bit. Again, just my personal preference!
Here are a few more BOLD paint choices from my current home:

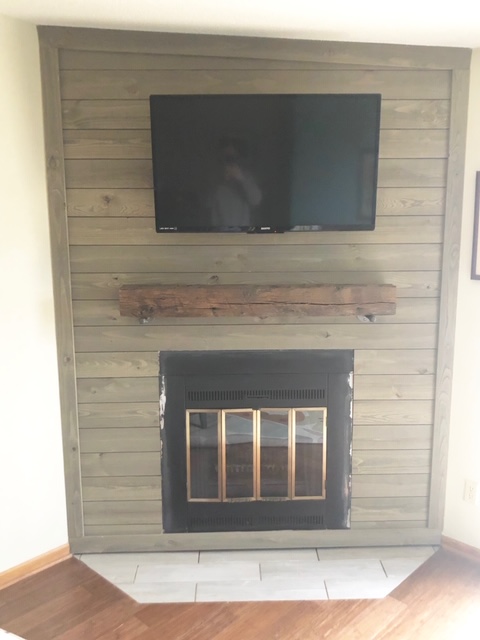
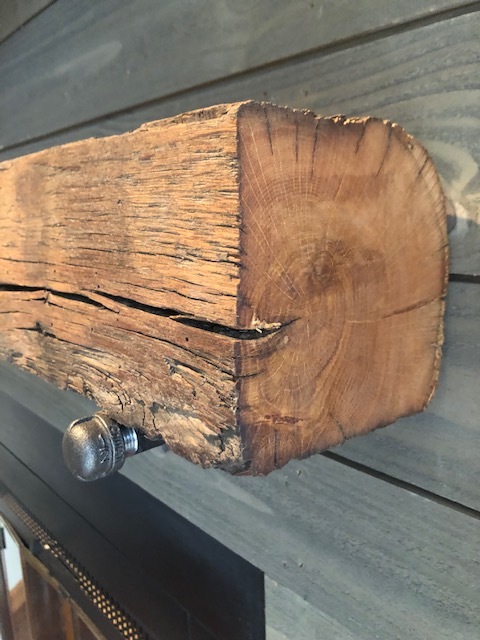
BOLD slate color for the fireplace bump out. Photo credit: Corridor Home Photos

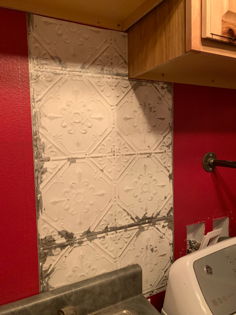
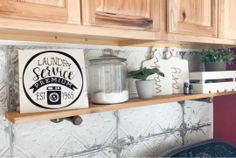
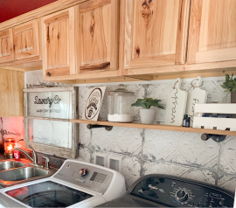
Barn red in the laundry room, and slate blue in the powder room!