I cannot believe it’s already December, and here we are just a few short weeks from Christmas. Maybe it was the wonky weather, or the fact Thanksgiving was so late this year, but either way I found myself quite unprepared for December’s arrival! I did (finally!) finish getting my house decorated and photographed, minus the front porch, and I am here today to share these with you!
If you are feeling behind in decorating and want some quick inspiration, this post is for you!
Here’s a quick dining room tour!
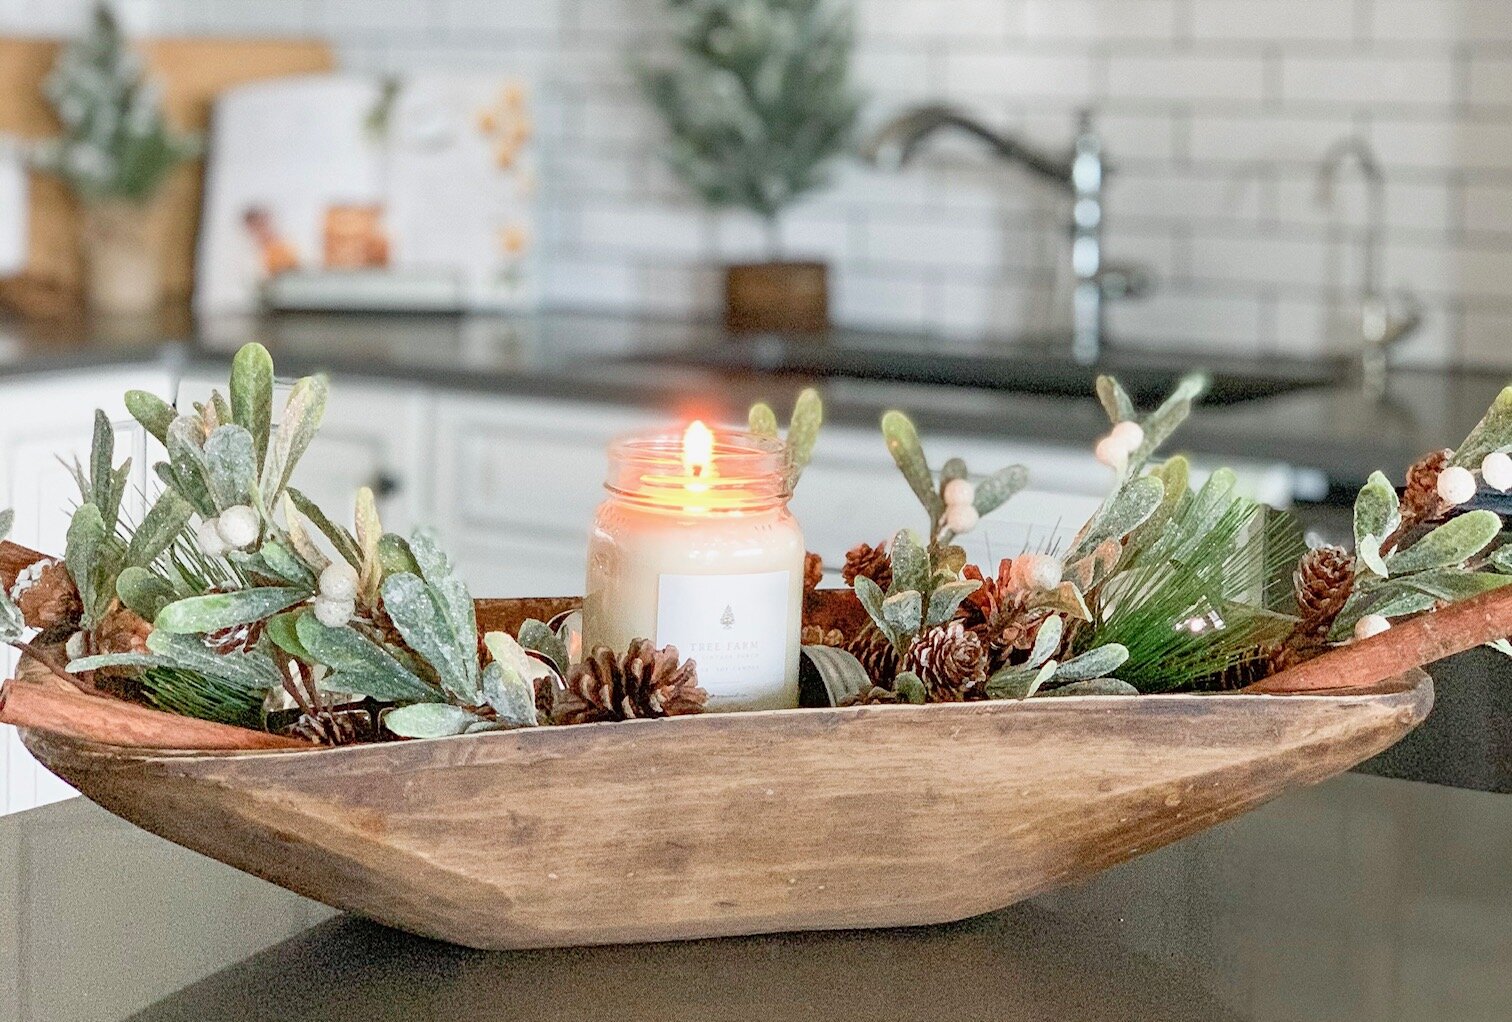
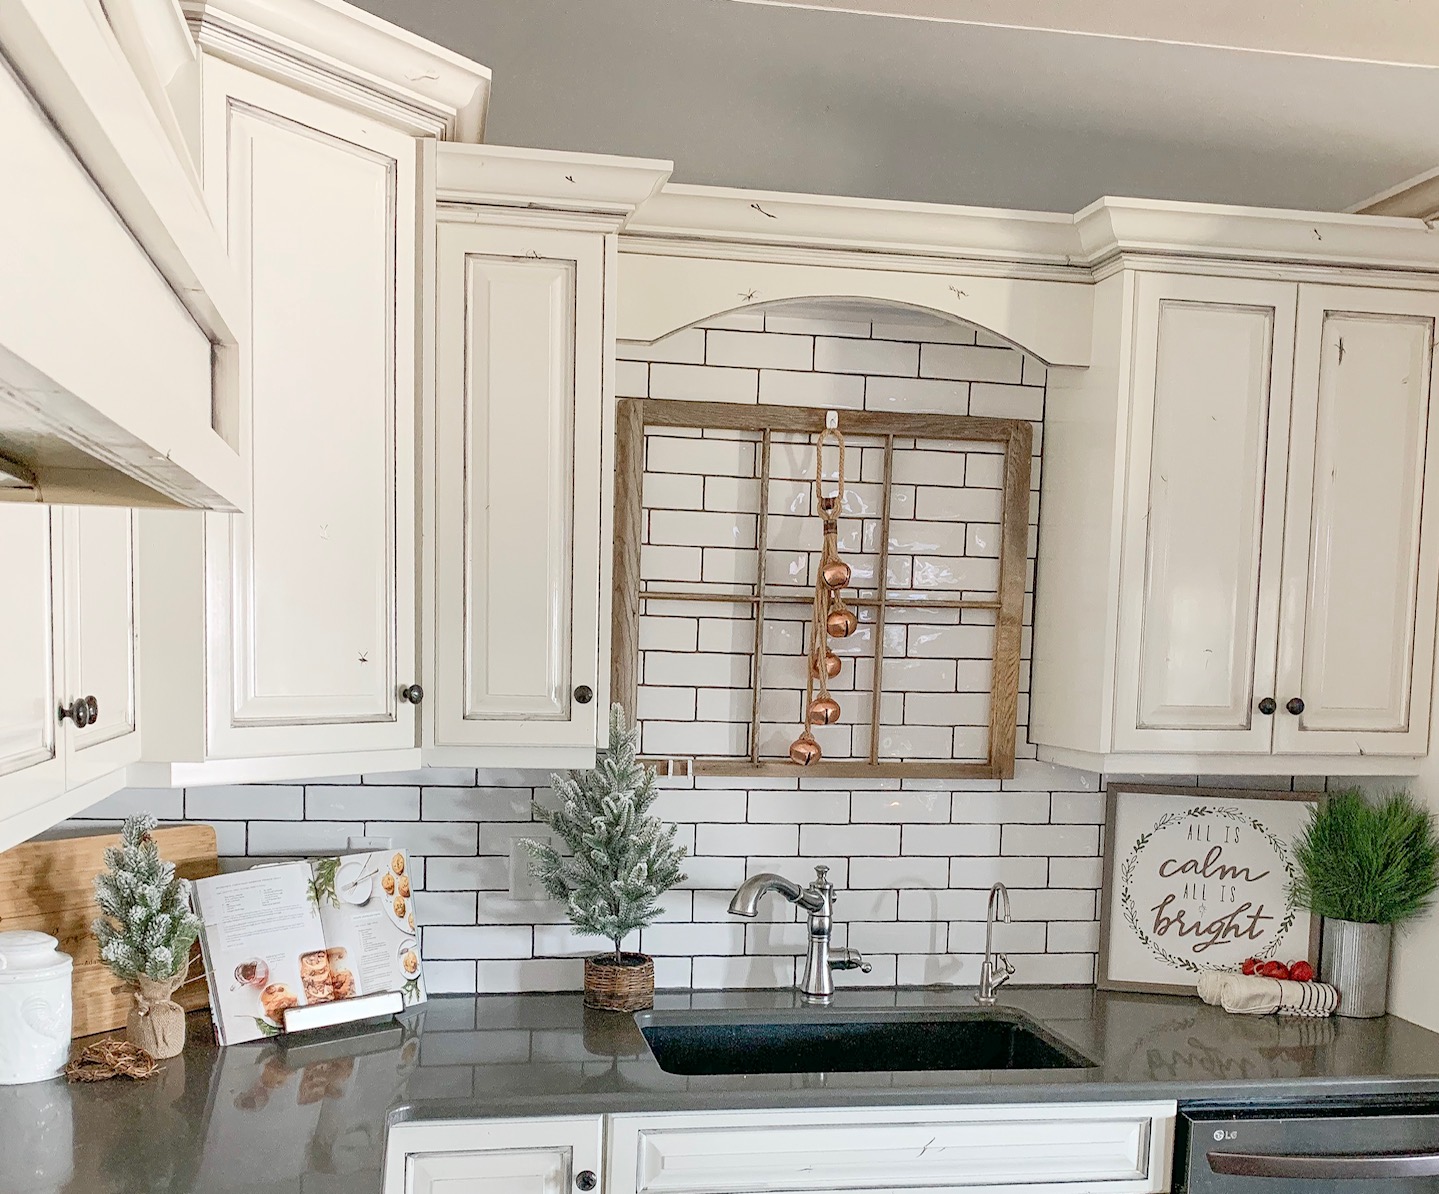
I love all things budget friendly, and Christmas is no exception! While I do purchase a couple things each year, they are always marked down or on clearance. I mostly just use the decor from previous years in new ways or in new places, and that always makes it seem like a fresh new look. For example, this garland on the table is tucked into my re-purposed chicken feeder that I frequently have on display here, and I added a couple candles and pine cones that I had on hand. Ta-Da!


I made this ‘Merry Christmas’ printable last year and took it to a copy and print shop to have it enlarged and printed on cardstock (for $1). If you would like the file for a quick download, shoot me a message!


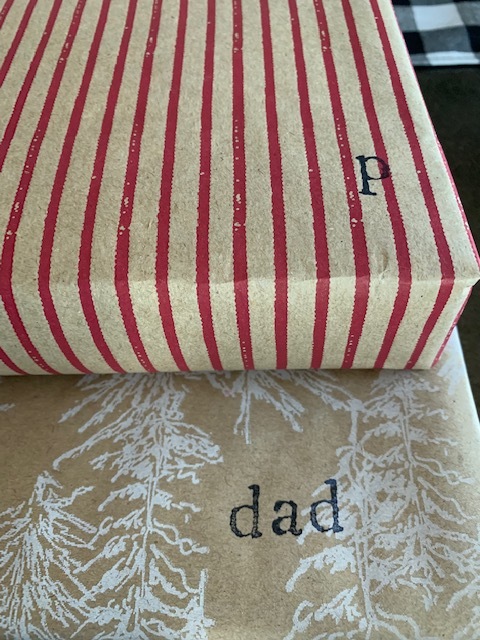
Linking our personalized book sets here.