My Farmhouse Christmas Front Porch

I FINALLY finished my front porch this weekend, and it’s a good thing I did because today it’s snowing along with 35mph winds…gross. Iowa always keeps us on our toes! There’s an old saying that if you don’t like the weather here to wait a day and it will change. Well, yesterday it was 50 degrees…

Enough on that, let’s get to the fun stuff.

My front porch came together rather late this year, as you can see, and that was mainly due to me waiting on these two trees I purchased online from Target during their black Friday weekend sales. Personally, I think they were worth the wait! I had my eyes on this pair last year but never ended up getting them, something about the trees being ‘less full’ caught my eye. You can see them below!

IMG_4968.JPG

These trees came in their own wooden stands, which I did keep, however for this project I wanted them to have more of a vintage vibe so I put them in an old crock and a wooden box. They are pre-lit which made it easy to decide to place them next to the outlet.

For the rest of the items, I simply shopped my house/garage. You might wonder what kind of hoarding situation I have going on if I can simply rummage through my house and find all these things for the porch…well I do have a lot of things, but I use them mostly year round in different capacities each season. I am blessed with a lot of storage options at this house, so I always keep my eyes open for a good deal and constantly add to my collection…y’all know I love a bargain!

For example, this wash tub on the right, it was originally purchased at a flea market several years ago. For this season, I simply snagged it from my front flower bed where it had been on display this fall with a water pump. During summer months I will fill it with flowers or twigs/branches. Currently, it’s holding some over-sized metal ornaments originally from my wedding, over 4 years ago. Reusing decor in different ways drastically reduces the cost of changing things up each season!

IMG_4988.JPG

Here is a photo after dark, to show the lit trees. I don’t often talk about or recommend products, there are plenty of bloggers out there that do that. I do, however, give my non-sponsored opinion from time to time about certain things that I really like or enjoy, and these trees fall into that category.

Here is another front view of the porch! I posted this image on Instagram today and someone asked if the front of our house had tile on it, which is a good question! It is actually cast stone that is smooth and made to look like tile…each one weighs 130 pounds! We chose this stone for the front door area to give a contrast to the cobblestone look of the rest of the stone on our house.

And while we are on the topic of the front door, this was not our door we had in mind and I cannot wait until we replace it with the permanent door. Until then, white metal door it is!

IMG_4974.JPG

Hopefully this post has provided you some inspiration to decorate your own house, and as always I love seeing what you come up with so make sure to tag me on Instagram or Facebook or whatever platform you share your pictures.

And if you have made it this far, thank you so much for stopping by the blog today! I can see when y’all visit this little corner of the internet that I call home, and it means the world to both me and Adam knowing that you are sharing this space with us.

That’s all for now, make sure to check back soon for more farmhouse renovation updates coming up, or feel free to subscribe to our mailing list if you want them sent directly to your inbox.

Cheers!!

-Rachael

How To Clean Up Your Vintage Glass Bottles

Today I am writing from SUNNY and WARM (ish) Iowa! I can’t tell you how excited I am to not have to brace my face for the cold every time I open a door. Today’s post goes along with all things ‘spring cleaning’ which is the theme at my house these days! We have been doing all those yearly tasks, cleaning out dryer vents and bathroom fan motors…safety first!

If you have been following along you know I love everything budget friendly, and therefore I find a lot of my decor pieces at thrift shops. I love the hunt for a good deal, and I recently came across a collection of medicine bottles and many were marked $1 . I have a plan to display them in my bathroom (after I re-paint it) and while I love the look of vintage bottles, I noticed some of these had a residue or film on the inside that was taking away from the look.

After a little research, and some trial and error, I came up with a fairly simple method to cleaning some of the residue out of the bottles that didn’t use any harsh chemicals and also didn’t damage them. The end result was not a sparkling clean look, but it’s better than where we started!

Here are a couple before photos to show you what I was working with…

IMG_1416.jpg
IMG_1417.jpg

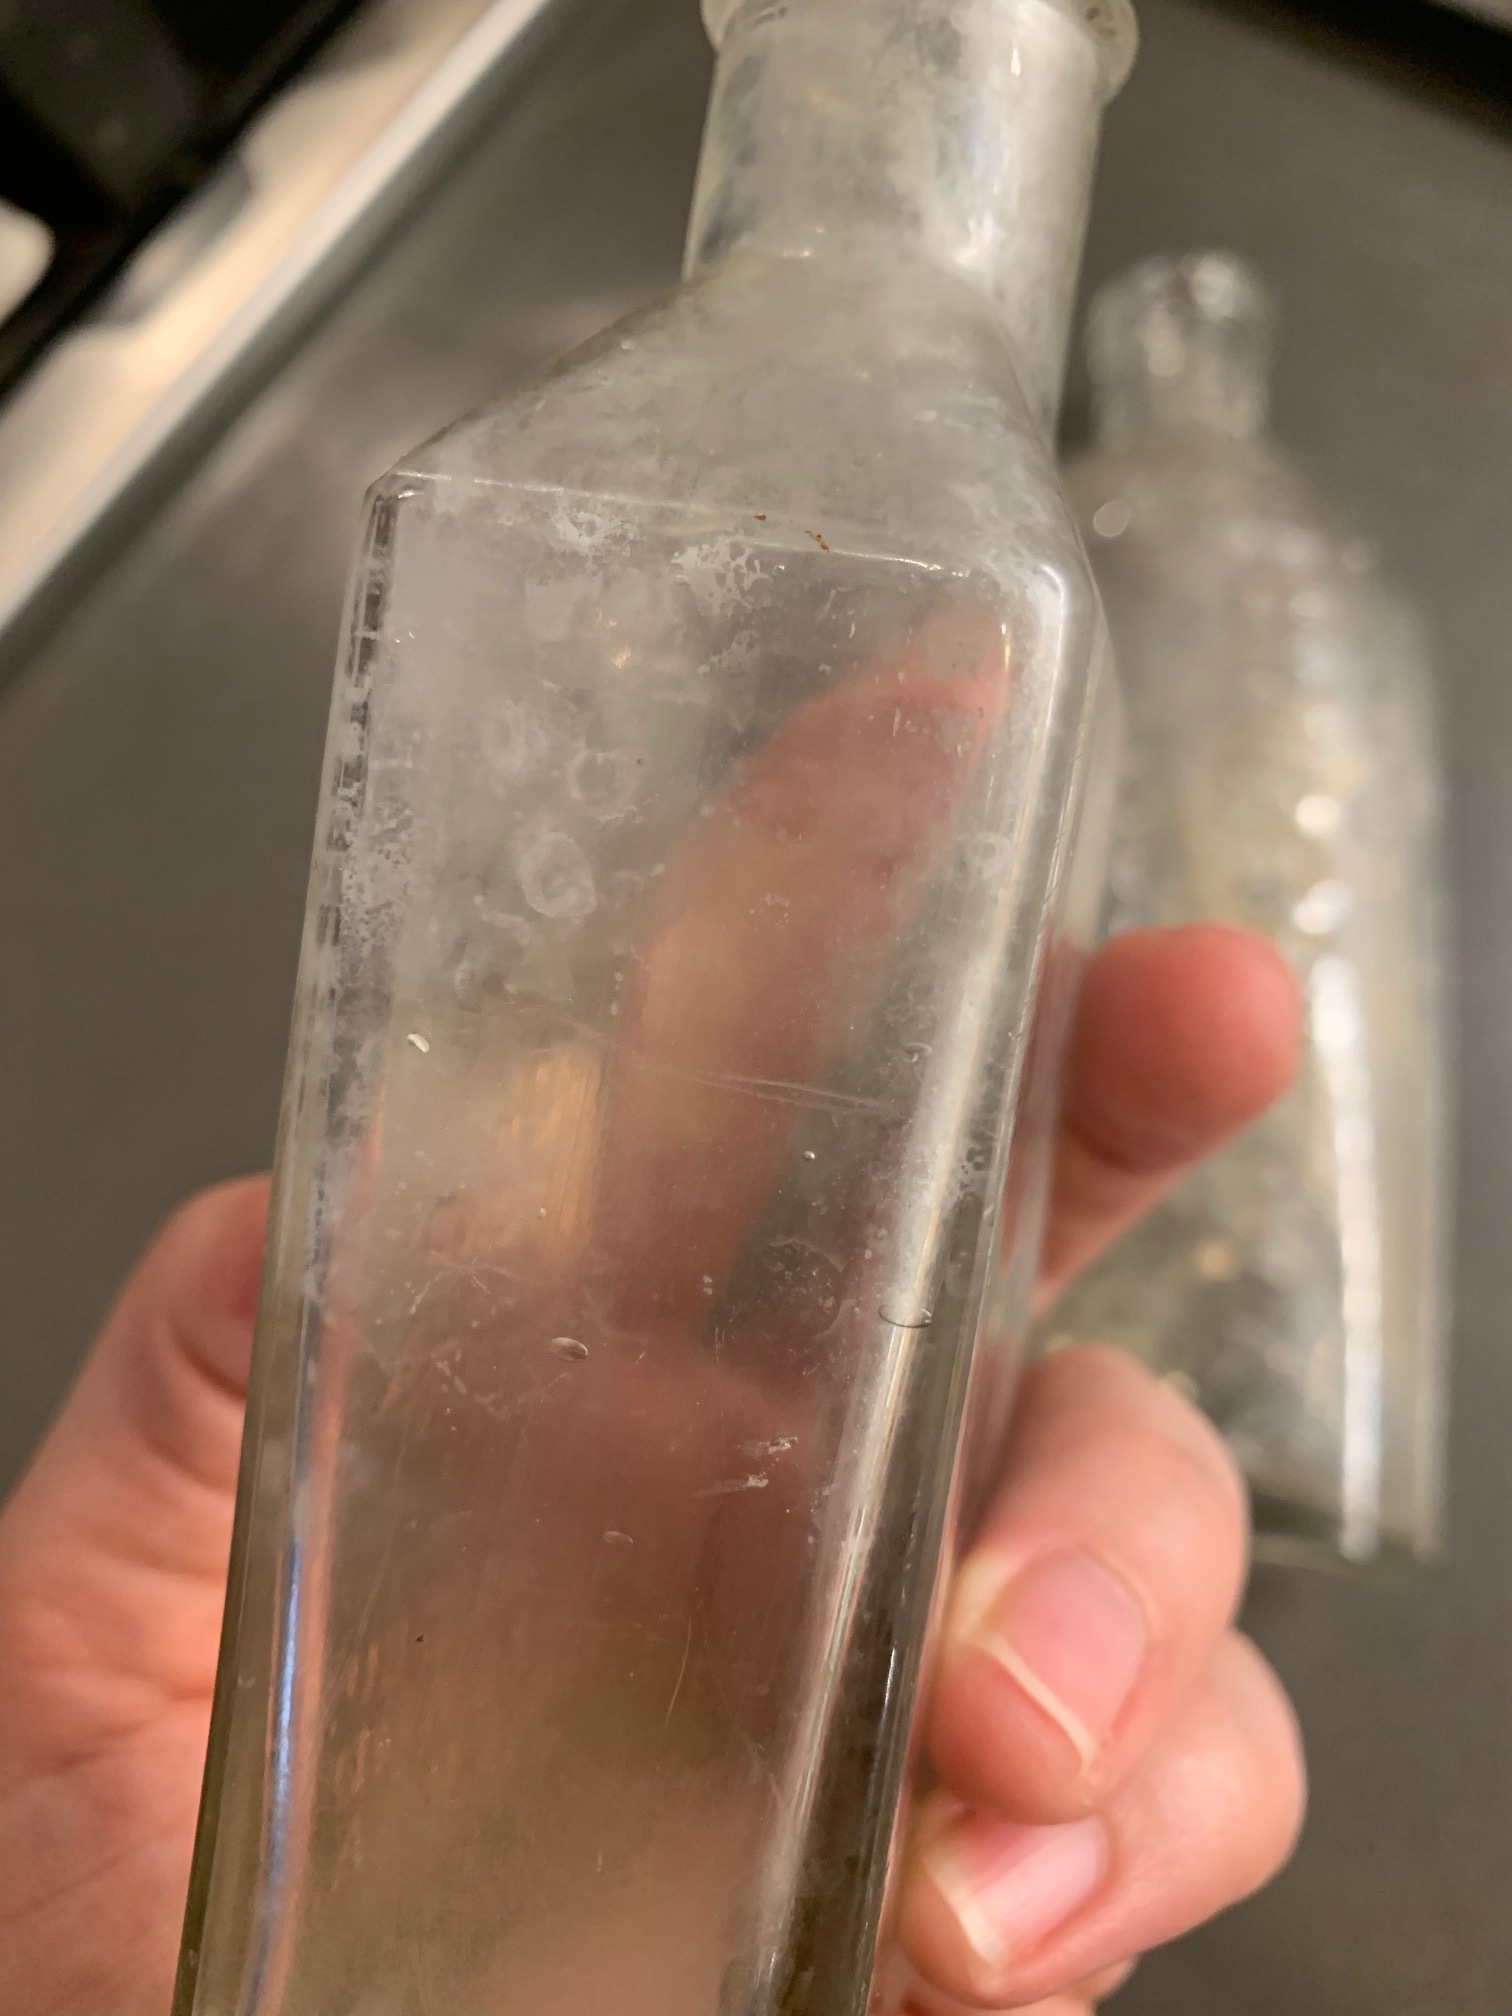
As you can see there was quite a bit of buildup on the inside of these bottles, and it was taking away from their appearance. Here is how I cleaned them up:

  1. Fill them half way with warm water and other half white vinegar

  2. Let them sit on the counter for 24 hours

  3. Rinse well

  4. Fill them completely with white vinegar

  5. Let them sit for another 24 hours

  6. Rinse well and dry

You could repeat this process as many times as you wish to achieve your desired result.

Here are the after photos…again they are not perfect but definitely an improvement!

IMG_1494.jpg
IMG_1495.jpg

These bottles are now ready to be added to my collection that I’m working on for the spare bathroom, and of course I will share that cabinet and collection when I get it completed. Now that the weather is nicer, we have been working outside most days but I will find time for the indoor projects again soon!

As always, thanks for stopping by the blog today, and feel free to pin this post for later use!

Signoff.jpg

Vintage Inspired Book Sets

Hello! It’s below zero today in Iowa, and I am not planning on leaving my house for any reason, (except Starbucks of course) so I am using this day to catch up on DIY projects, book orders, and various other items I have lined up for you guys!

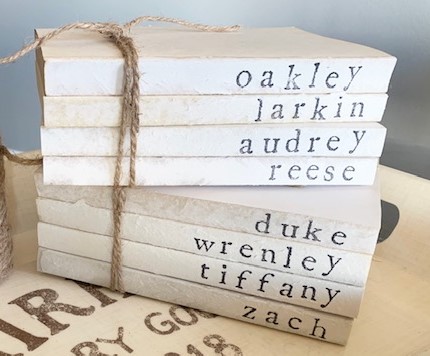
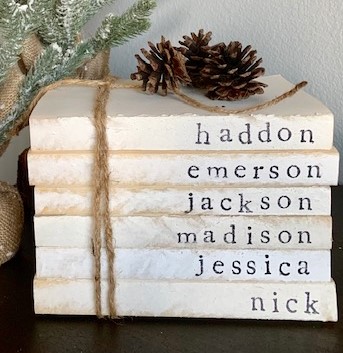
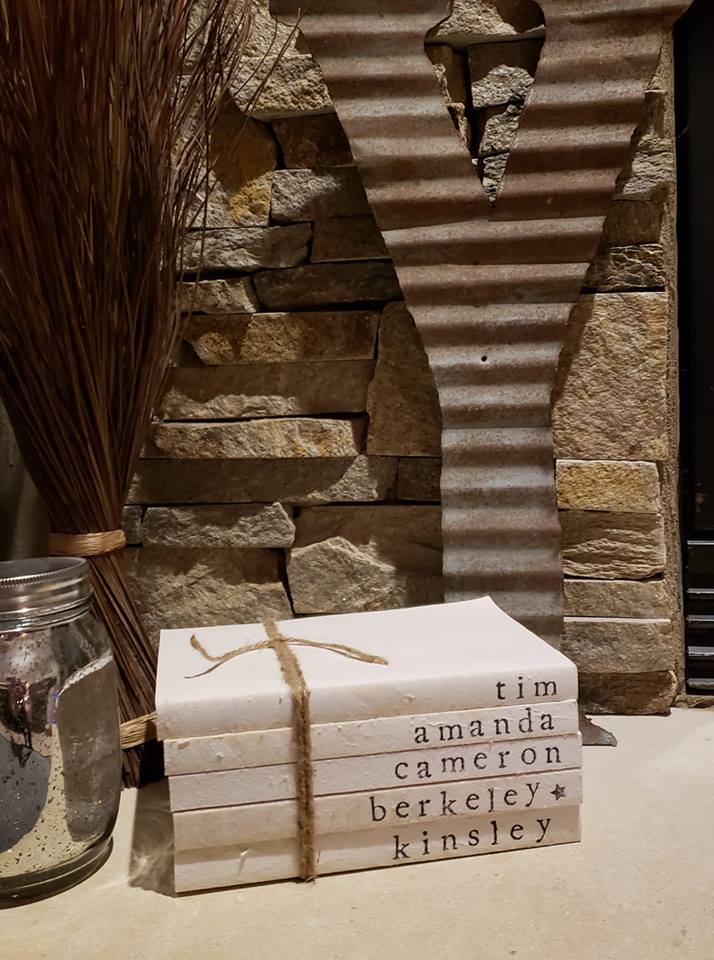
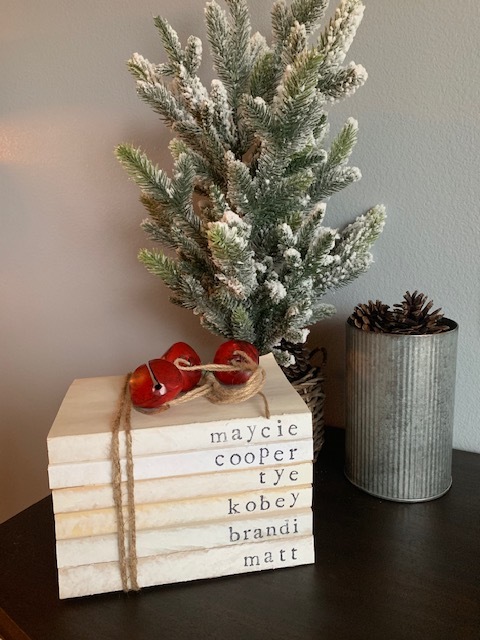
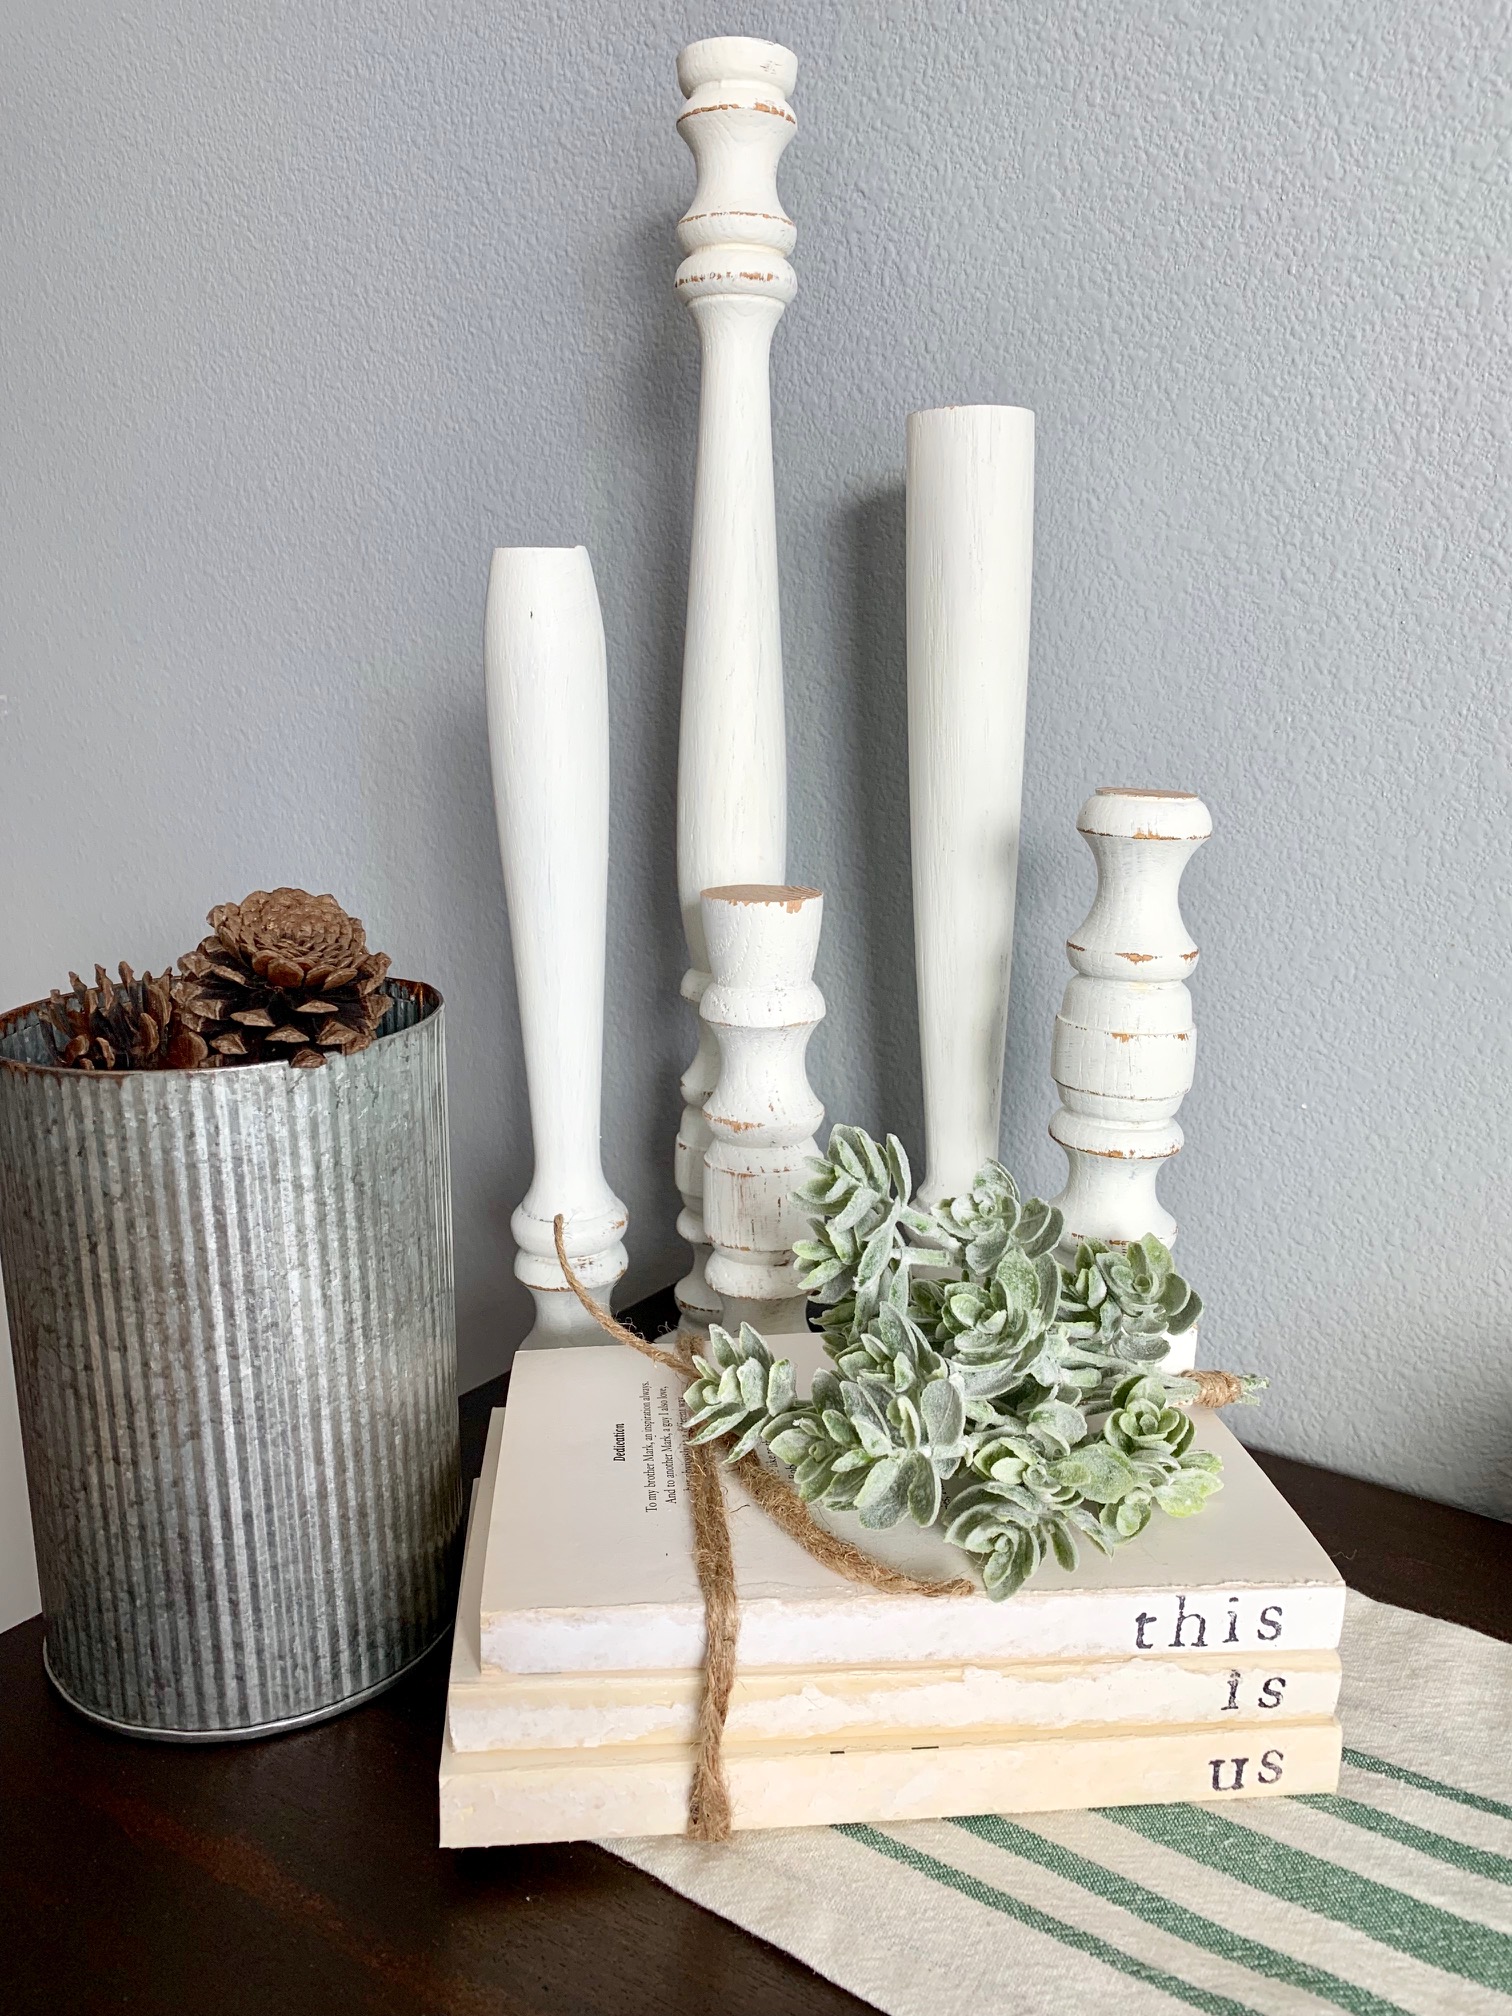
If you follow me on Instagram, you know that I recently started making vintage inspired book sets as cute personalized gifts for family members and friends. Well, it turns out there was a bit of a demand for these, so I recently created an Etsy shop to streamline that process. However, if you are local feel free to contact me via email/phone/etc to avoid shipping costs!

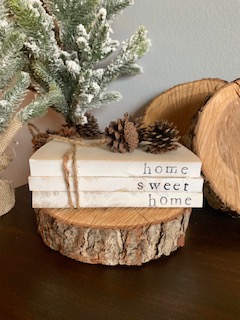
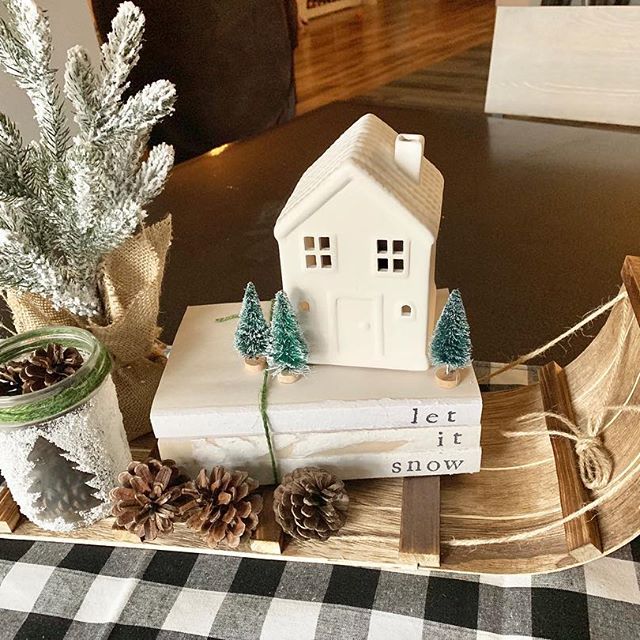
I believe these are so popular in part because of how neutral they are, fitting in to virtually any home’s existing decor, which could be especially beneficial as a house warming or wedding gift. Here are a few examples:

Aren’t they cute?? I love how each set tells a different ‘story’.

Well, I had better get back to my to-do list while I have the chance. Stay warm out there!

Signoff.jpg

My (No-Cost) Holiday Front Porch!

Last week I wrapped up my decorating for the year by completing my front porch, and it was a challenge! If you follow me on Instagram (@aps_design) you already know that I posted the whole process on stories that day, attempting to do the entire porch with items I already had at home, no purchases!

This was a personal challenge I came up with because I know I have a ton of items at home that I should be creative with and use for decorating, but I usually forget to do that and just purchase what I need instead. But, in the spirit of budget friendly, I went with a no-cost front porch this year! Now I will admit, I have a large collection of random items that helped make this task possible, but I did have to get creative in using them and some of these methods could inspire you as well!

Lets get to it!

I worked on the right side of the porch first, collecting items and putting them in a wagon that I found in my garage. I had made some ‘presents’ out of blocks of wood earlier this season and decided they would go well together in the wagon. The crock that is also in the wagon could probably use some greenery but in the spirit of not buying anything for this porch decor, it remains empty.

The large rusted milk jug is a staple piece for my front steps, so it always stays out there in some capacity. This season I gave it some height by positioning it on top of an overturned wooden apple box.

I piled the wood slices up in front of the wagon to add more of a woodsy/rustic/tree farm feel to the picture.

IMG_0198 (1).jpg
 

The left side of my porch was a bit more challenging, as I did not have any Christmas lights on green wire, but in the evening hours when the tree is lit it’s not as noticeable. I simply put the tree in an old wash bin and stacked some wood slices in front of it.

During my scavenger hunt in the garage, I found this beautiful vintage sled and half barn door that I had previously forgotten about. I grabbed a little greenery and tied it to the sled. Ideally, I would find some old ice skates to pair with the sled, if I wasn’t doing a no-cost challenge!

IMG_0204 (1).jpg
IMG_0165 (1).jpg
IMG_0193 (1).jpg

Here’s the final look!

Again, I would have done things a little bit differently if I wasn’t doing this little personal challenge of not purchasing anything for the front porch, but this did force me to look through things I already had and be creative in using them. I hope this can provide some inspiration with your own budget friendly decorating! Merry Christmas!

IMG_0205 (1).jpg