Repurposing : The #1 Budget Friendly Decorating Hack

I often get asked about decorating in general, and the cost associated with it. It’s no secret I am an epic bargain hunter, and I think that’s why repurposing old items is my favorite budget friendly decorating hack. The possibilities are only limited by your search terms on Pinterest!

Don’t like an old cabinet or buffet taking up space in your garage? Add some new paint and hardware and turn it into a decor display cabinet or changing table in a nursery. Looking for inexpensive ‘new to you’ furniture? Check out your local thrift store or salvage yard, and then spruce it up a bit.

Today I have a few examples of repurposed items currently on display in my home, and I will share the cost of the items and the updates that I did to them. Feel free to pin any images for later reference!

First up, my medicine cabinet turned decor cabinet! I found this beauty at a local thrift store, and I believe the price was only $10 (it was even on sale!). I completely updated it for only $5, and it now sits as a permanent fixture on my entryway wall, and I simply change out the decor for different seasons. For details on how I updated the cabinet, click here.

Total cost: $15

Medicine Cabinet, original condition

Medicine Cabinet, original condition

c0edd002344cffd1a190c0d93ee6e9d7.jpeg
61b629c2be992f0a4cde38b896f5be6b.jpeg

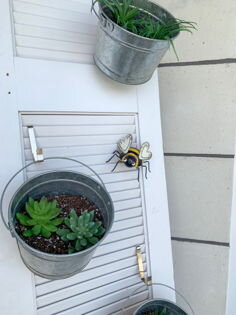
Next, I have an old shutter style hinge door on my front porch that I simply use hooks to hang different decor on depending on the season. This item was FREE, on a local facebook marketplace group. All I did was clean it up and bit and do a small amount of sanding. Here are a couple examples of how I have used it so far, and the photo on the left is how it looks currently.

Total cost: $0

41818817d8985fa0c01dc2d005b50001.jpeg
c7d39c325a8db0d22febb31f53a45ad9.jpeg

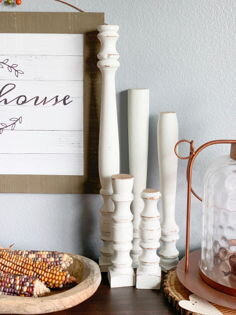
I’m not afraid to get a little dirty and bust out the chalk paint when necessary, and this comes in handy when an item needs a fresh look. A perfect example is a set of 3 spindles I picked up at a salvage store, and I was determined to make them look like candlesticks. I had Adam cut them at different heights, for a total of 5 candlesticks made from the 3 spindles. At $2 a piece, my cost was $6 total. A little chalk paint and sanding later, I have 5 pretty versatile pieces of decor and you will see them in my home during every season. For the full tutorial, click here.

Total cost: $6

IMG_0556.jpg
72180625e2e09fc44735d0b5648560a7.jpeg

Lastly, I have a deep love for decorating with old farm items. These might look like junk to the untrained eye, but the history in each piece is what calls my heart to them. For example, this chicken feeder from a local flea market sits on my dining room table almost year round, filled with various seasonal decor. I sometimes find myself wondering how many chickens ate from this trough over the years and what other stories this item holds, not to mention it makes a great centerpiece because it doesn’t obstruct views of people sitting at the table!

Total Cost $10

7bc5c3be65b2a17a0337531036ca3948.jpeg

I hope today I could show you that having a vast assortment of decor and/or decorating your home for each season doesn’t have to be expensive. In fact, I get such enjoyment searching for that bargain and then bringing new life to old items. How do you decorate with repurposed items in your home? I would love to hear all about it!

I hope October is treating you well, wherever you are!

Signoff.jpg

Our Re-Purposed Pantry Door

Hi there! I hope today finds you enjoying sunny Spring weather! Today I am sharing a little behind the scenes info on our pantry door that received so many questions on Instagram the other evening. Here is the photo I posted in case you missed it.

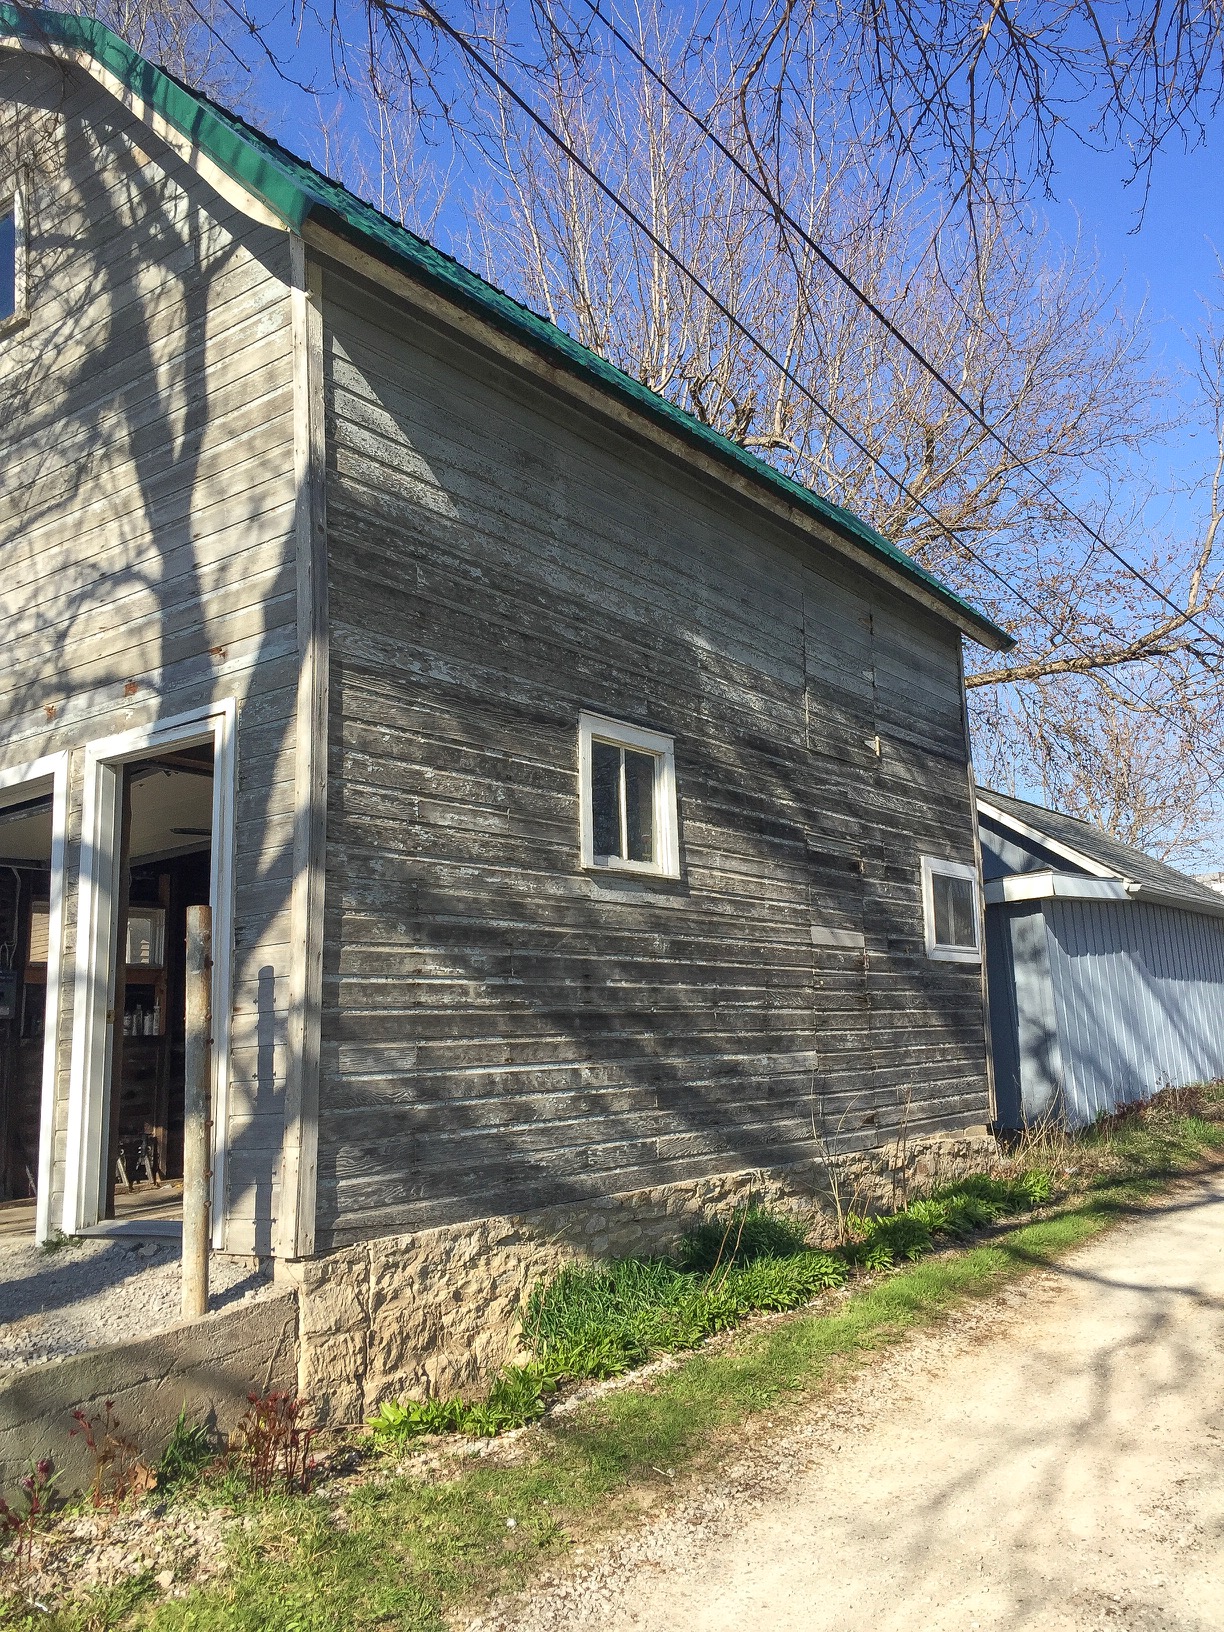
This pantry door is from an old carriage house that we had to tear down due to irreparable wind damage. The structure was two stories tall, with an attic/loft above the area that held the horses and equipment. Here is a photo I found of the carriage house that I took right before we took it down.

IMG_5644.JPG

The wind damage is not visible from this angle, but this building had such a lean to it that it was no longer safe. I did venture inside for a quick photo of the ceiling, which served as the flooring for the loft area and appeared to have already been re-purposed.

Here is the photo :

IMG_5642.JPG

We tore down the entire structure and have reused the materials to make all sorts of things. For example, these 2x4 beams (shown horizontal in photo) are what we use to make our custom farm tables and gas pipe shelving units. Now there’s some history to talk about at the dinner table!

IMG_5767.JPG

This next photo isn’t the best quality, but it’s an action shot of Adam cleaning out the second story of the structure before demolition could begin. Side note: this door that you see is often featured on my front porch!

Unfortunately, I do not have a photo of our pantry door before it was removed, but it served as the door between the first and second floor, as a ‘hatch’ of sorts at the top of the stairs. The metal ring on the front of the door was used to pull it open from the second story. I lifted the ring on the next photo so you could see what I am talking about. The hinges are also original hardware.

IMG_2165.jpg

We attached the door, using the original hinges, to the custom frame we had built with unaltered barn wood we had previously obtained from a different structure. I really enjoy the barn wood door frame in it’s original state, showing nail holes and chipped paint of both red and white.

IMG_2164.jpg

Well, there you have it! I hope this post answered your questions and provided a bit of history along the way. As always, thanks for stopping by the blog today and I look forward to interacting with you again soon!

Signoff.jpg