


New Construction Homes - The 'Willow' Plan
As you might already know, last year we collaborated with our architect and had several custom home designs created for our clients to use, either as-is or simply as a starting point. Quite often, figuring out the exact floor-plan of a home is overwhelming, and we wanted to have some options available to help alleviate that stress.
One of these designs (The Willow Plan) was built last year for the first time, and I am excited to share the final photos. It’s been an entire year in the making, but as you will see shortly, it was well worth it!

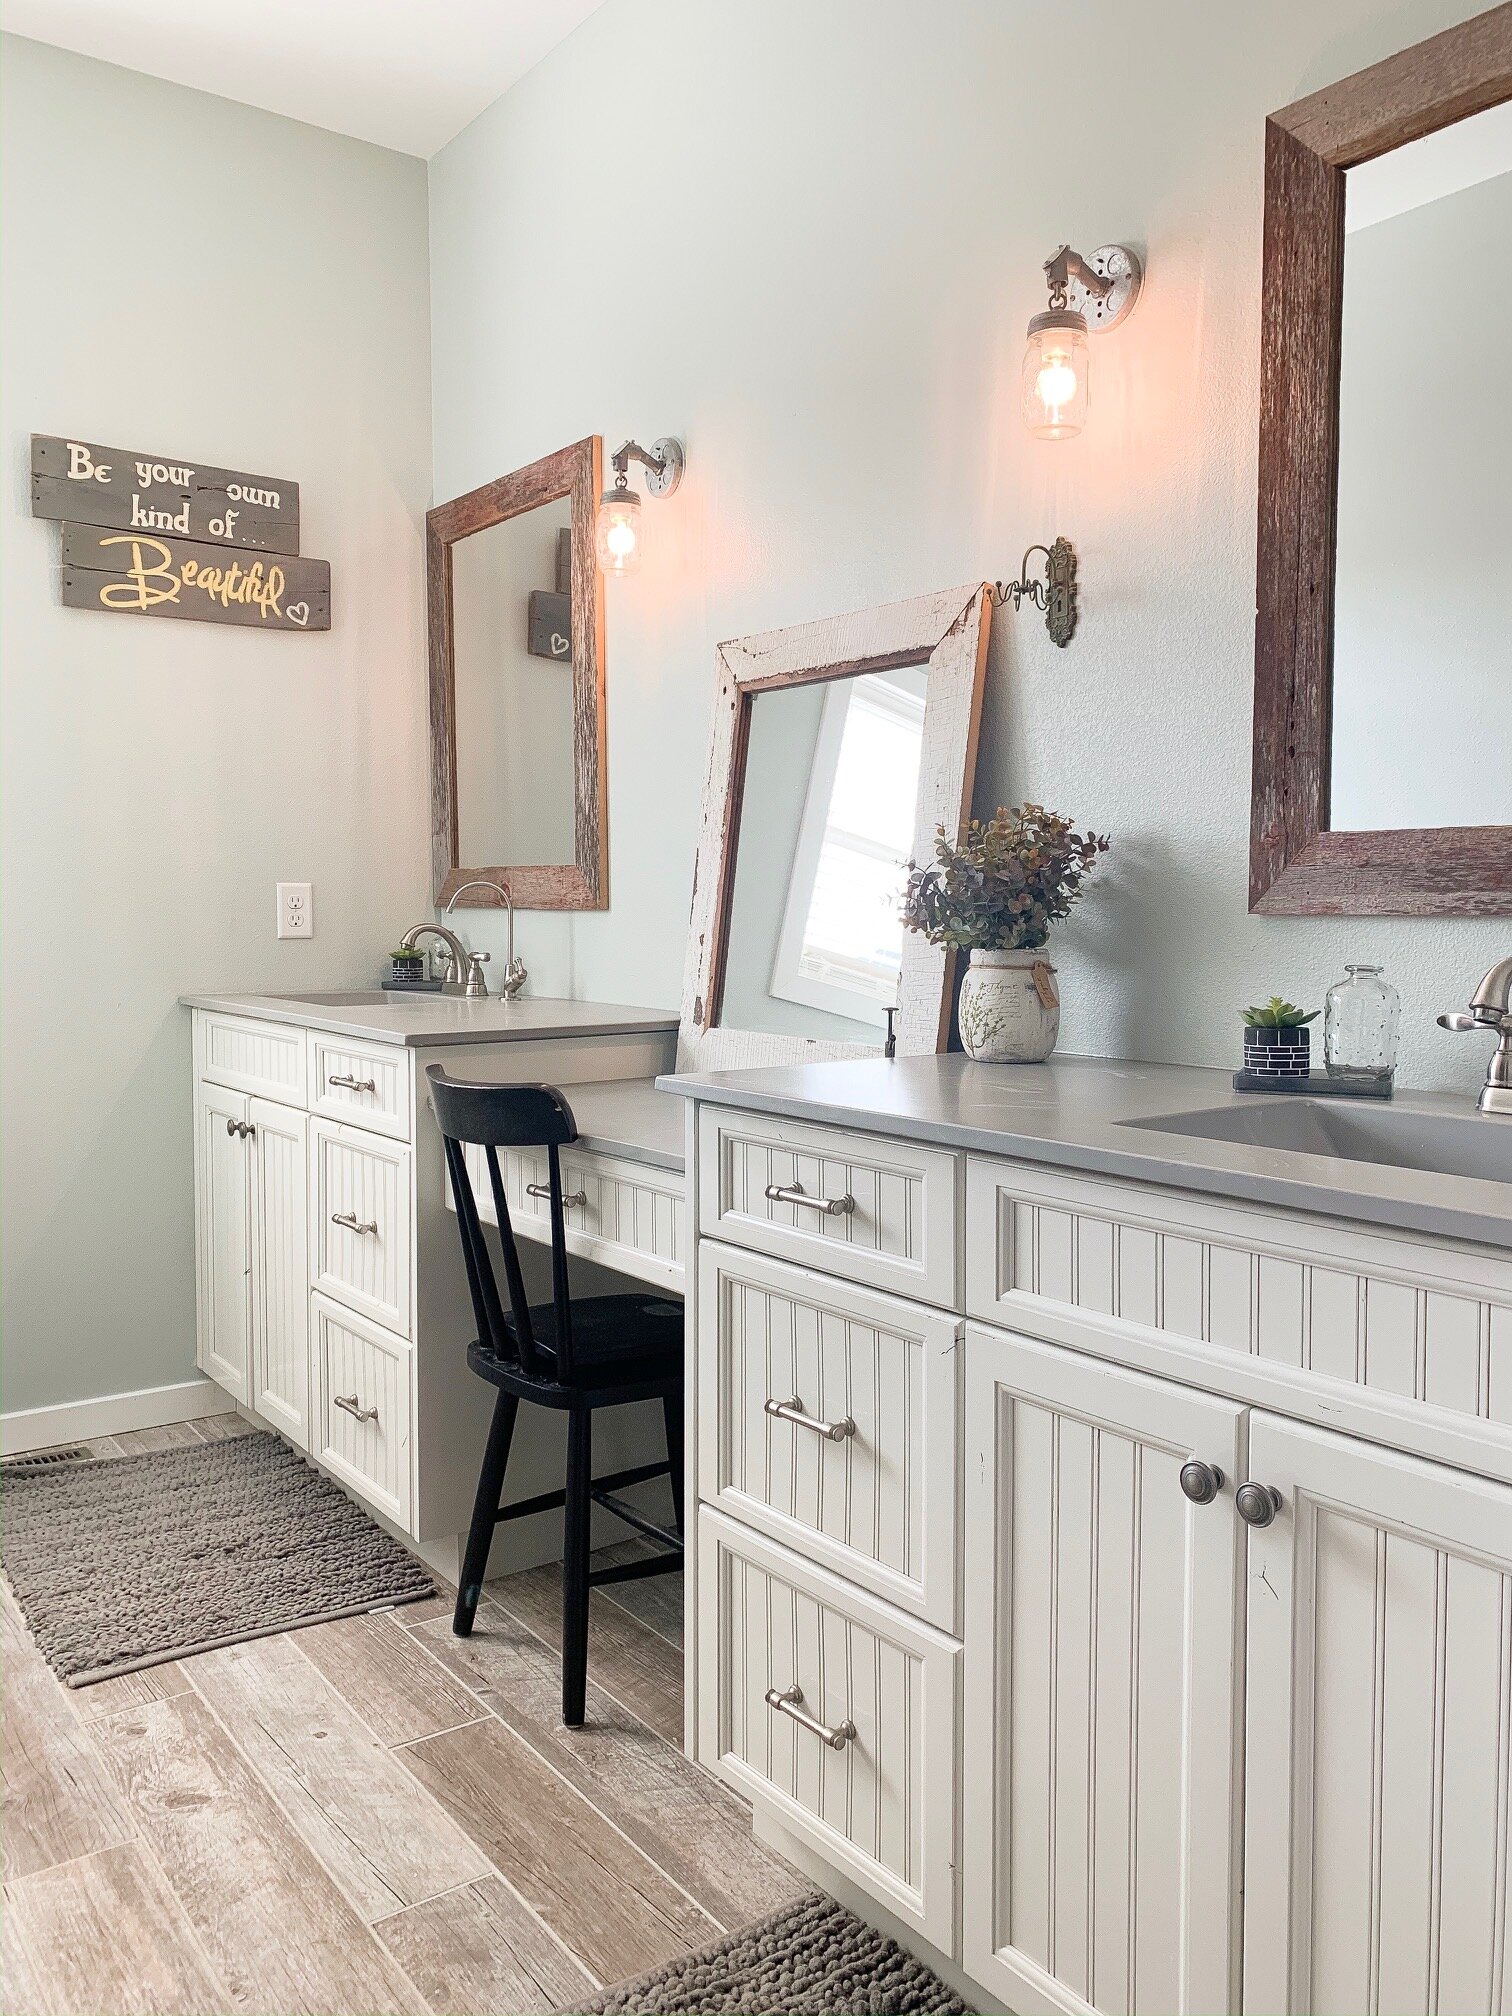
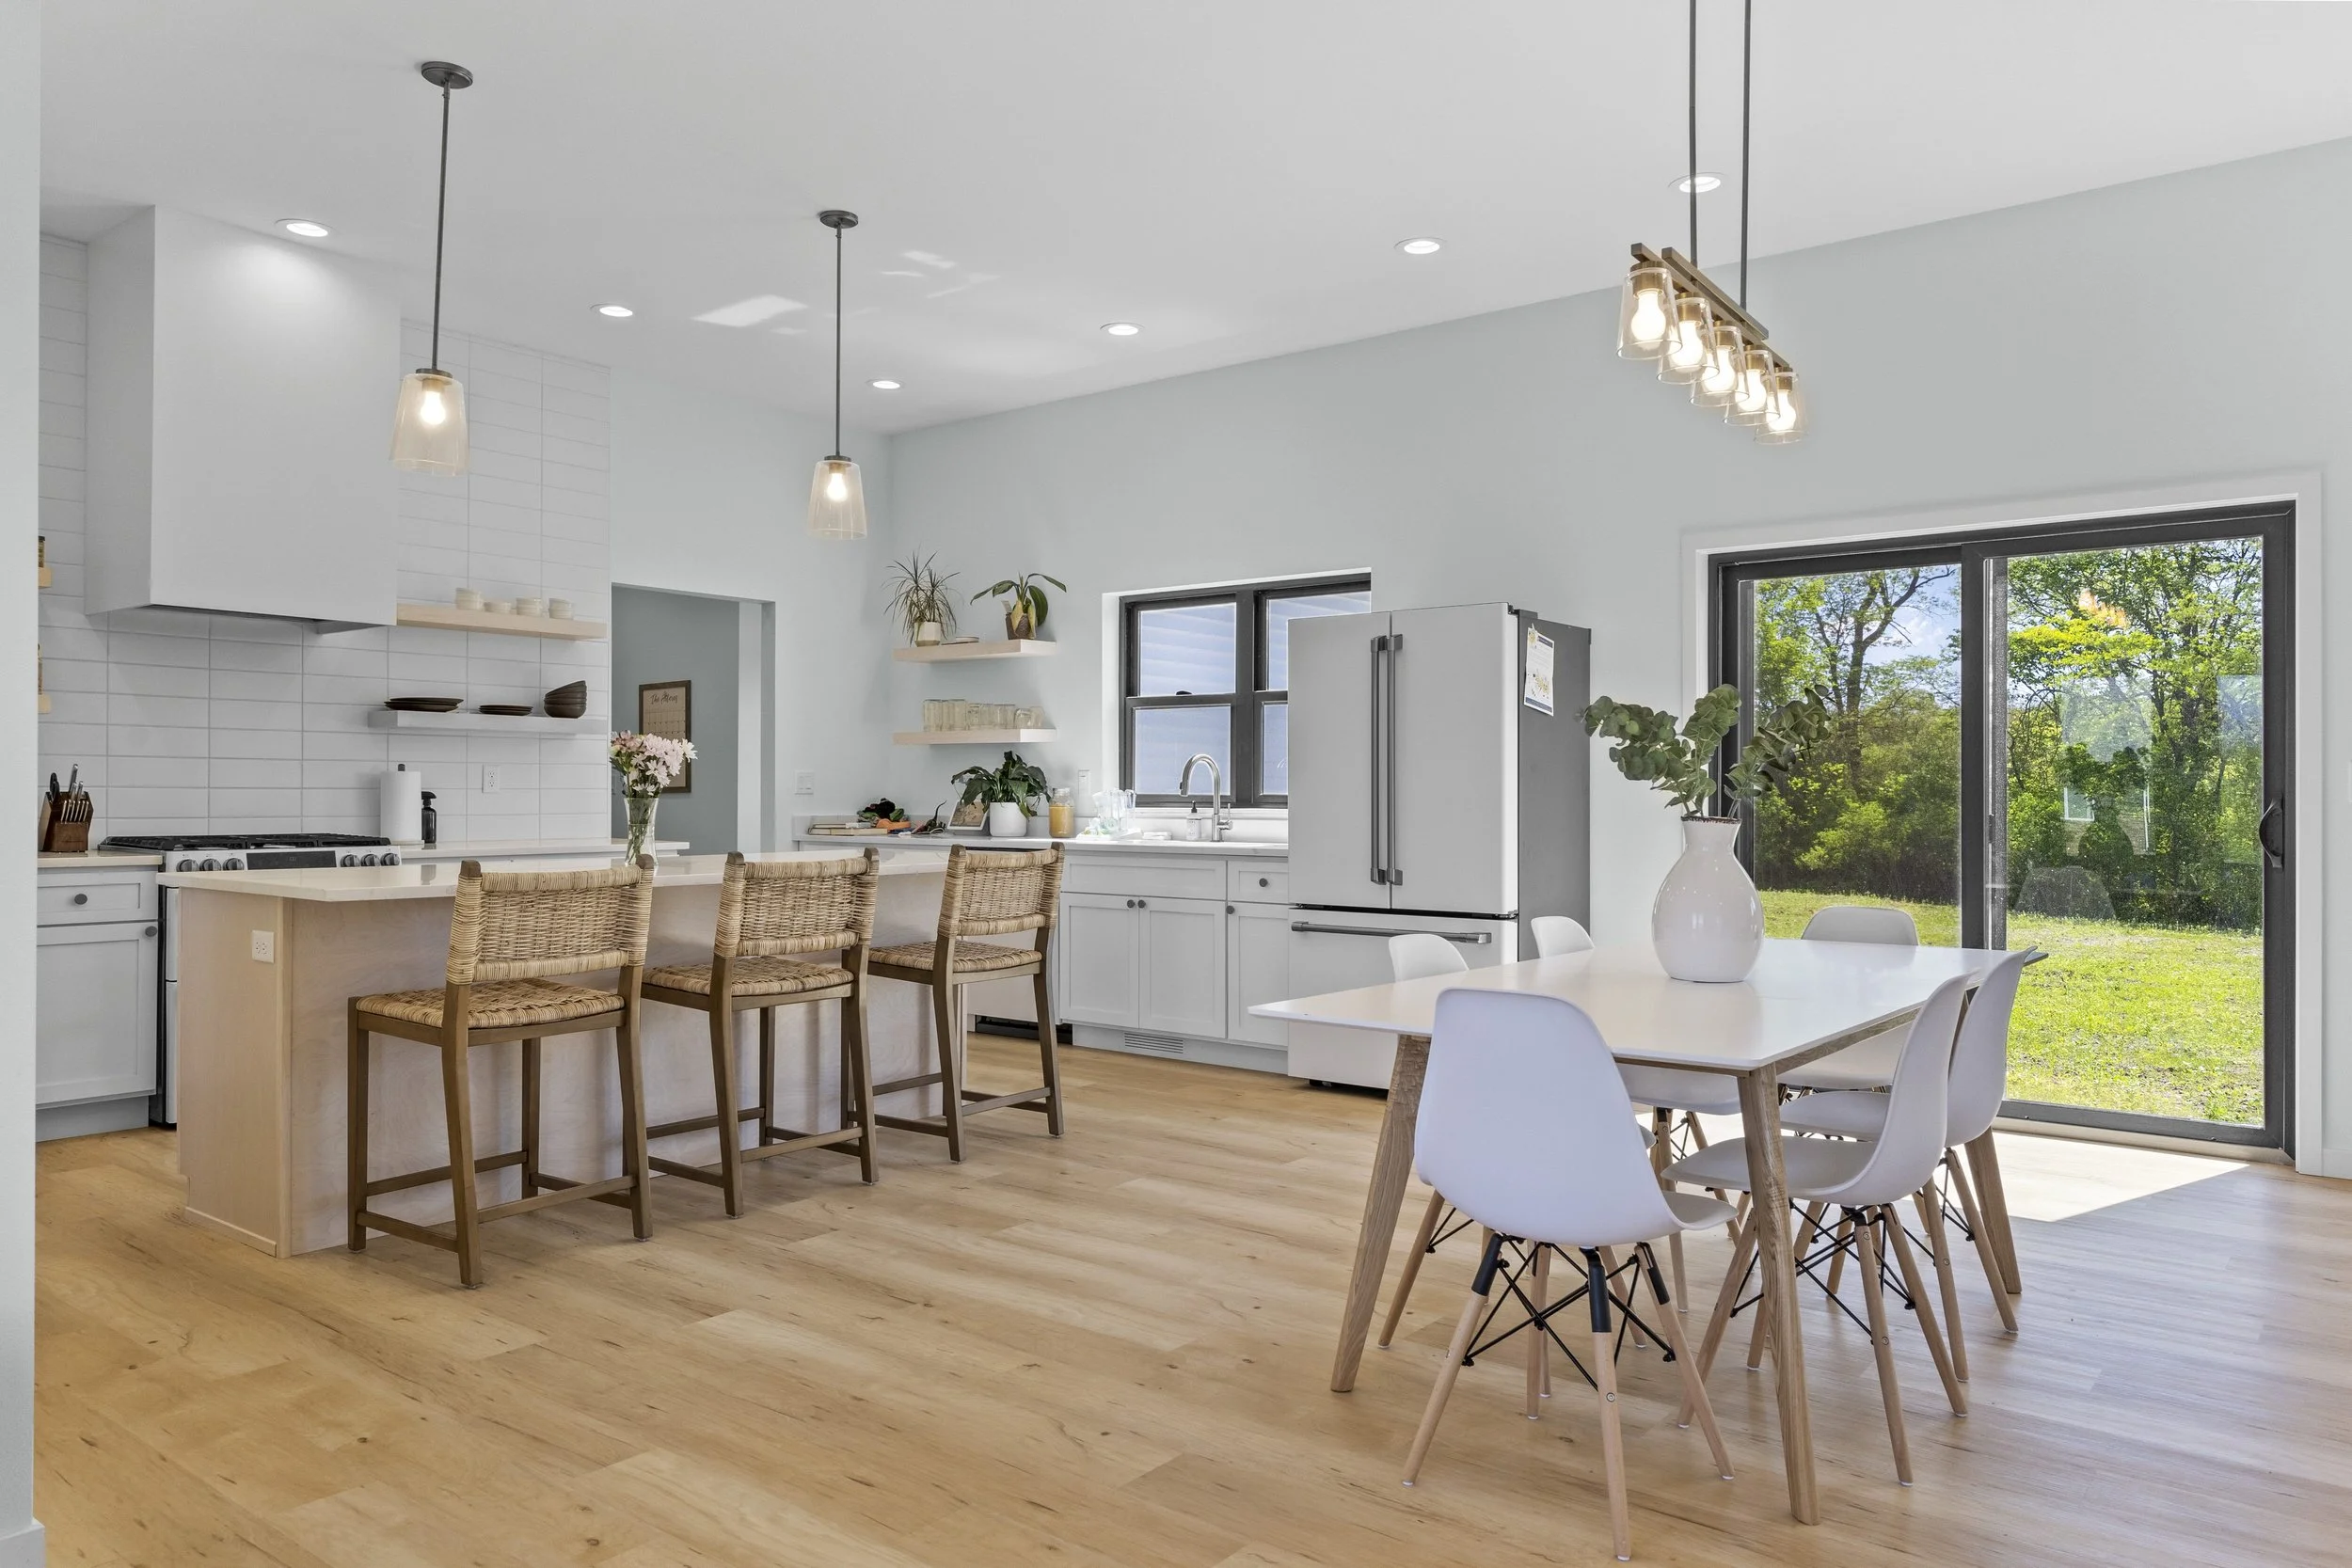
The details: 5 bedroom, 3 bathroom, 2900 sq ft ranch features 9ft ceilings throughout both levels, open living area with large windows for maximum natural light, a walk-in pantry, lower level wet bar, and over-sized rec room. This plan can be modified to include vaulted ceilings, walk-out basement, etc.
My favorite feature in this home design, is the hidden walk-in pantry. The outside looks like just another kitchen cabinet, but inside it’s every pantry-lovers dream! Here are a few pictures…


Just imagine all the kitchen appliances and coffee makers that could be hidden in here, or the rounds of hide-and-seek that could be won, the possibilities are endless!
For more photos of this home design, check out the full video by clicking here.
Well that is all I have for you today, as always we really appreciate your support in our little corner of the internet! Thanks for taking the time out of your day to catch up on what we have been up to.
Stay safe and warm out there!
-Rachael
Preparing Our Home For It's Next Chapter
When we built this home, almost 6 years ago, it was the first APS build from the ground up. Sure we had done additions, renovations, and the like, but never an entire home start to finish. It was a really large project, for such a small crew (Me & Adam), but we learned so much along the way.
We learned to challenge our limits, or perceived limits.
We learned to work together, even after we had worked all day at our ‘regular’ jobs.
We learned the hard truths about timelines, deadlines, and budgets that only experience with home building can bring.
We learned what we would, and would not, do again next time. If there was a next time.
Well, as it turns out, there is a next time.
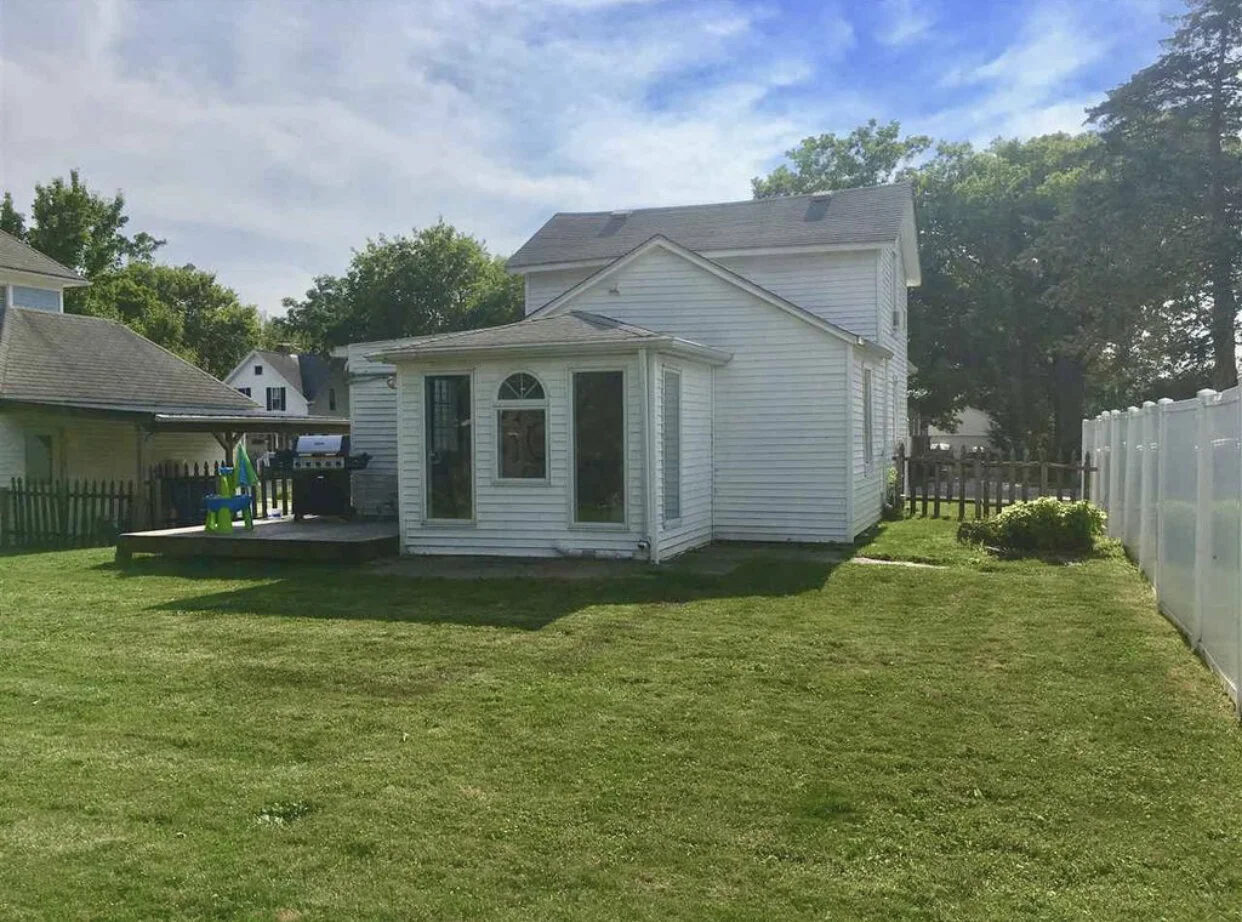
We love this home and wish we could bring it with us to our acreage that we purchased last year, but sadly that is not possible.
We spent countless hours fussing over every detail of this home…from light switches to water filtration systems. We spent even more time personalizing it, with backsplashes, wainscotting, reclaimed flooring, and much more.
Then came the realization that we needed to move, and with that the need to de-personalize. It took us 6 months to prepare our house for the next owner, and finally I can say that mission has been accomplished.
And while it might no-longer feel quite like ‘home’, this house will always hold a special place in my heart.
On to the next project….moving!!
We’ll chat soon
-Rachael
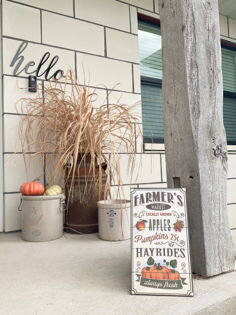
Below are a few photos of recent projects at our home.


Our First Renovation Video
Today I have something a little different!
I put together a video of our renovation project we did over the last year, that we titled ‘The Farmhouse Project’. It’s a pretty short video, but I think it captures the behind-the-scenes pretty well.
This is the first time I have ever tackled something like this, so it’s no professional production, but hey, we have to start somewhere! Just click on the photo below (or here) and it should take you to the video.
I hope you enjoy it!!
-Rachael

The Farmhouse Project - The Final Chapter
Hello there friends! I am writing to you from a nice 80 degree day here in Iowa, which is actually pretty nice considering it was 100 degrees all last week. I am not sure what is up with Iowa lately, but I guess 2020 has taught us to be ready for literally anything.
We just wrapped up a 9+ month renovation, the farmhouse project, and we are really excited how it turned out. We have a lot of new visitors here, so I will give a super quick recap.
Last October, we bought a tired but sturdy c.1900 home in the heart of our community. When I say tired, I mean it showed it’s age and was missing some modern amenities. Since then we tore off a section of the home, rebuilt it with added square footage, put in all new windows/doors/siding/sheeting/roof/hvac/electrical and added central air and a large deck. It took a little longer than planned, due to 2020’s challenges (complete with a ‘derecho’), but in the end it was all worth it.
Let’s get right to the photos (roughly in chronological order)

Photo from the listing when we bought it

Tore the back section off that needed new trusses

New Foundation!

Putting a large Addition Back On

Tearing off the siding and sheeting from the original section of the home

All put back together, complete with new windows

A very cold day! (view from front porch)

The kitchen ceiling no longer droops!

Vertical siding for the win!
As you can tell, we replaced almost everything at this home. Here are a couple fun before and after shots, I tried to take the ‘afters’ at the same angles for easier reference.
Let’s start with the kitchen…


Sink and stove in same position


There’s really nothing the same about this kitchen other than a few of the appliances, everything else is new. We kept the kitchen the same size and roughly the same layout, but this new space is much brighter with an added window and lots of lighting!
Here’s another before and after set…the upstairs bedrooms!

Bedroom 1 before…

Bedroom 1 after

Bedroom 1, second angle

Bedroom 1, second angle

Bedroom 2 Before

Bedroom 2 After
These bedrooms both received new windows, flooring, paint, doors, trim, electrical, and some drywall. The photos from the first bedroom show the new set of stairs and new railing as well. New stairs were essential, as the previous stairs were no where near the correct size, but there weren’t building codes 120 year ago!
The living room was part of the original structure that was kept intact during demolition, and we really wanted to keep as much of the home's character as possible. We tore off multiple layers of ceiling, added all new drywall, windows, electrical wiring and fixtures. We also took up the flooring and sanded down decades of carpet glue and stain. These next photos show the transformation of the living room, which is one of my favorite parts of the home.
We kept the same door in the same place, for reference.


Next up is the main bathroom, which was also serving as the laundry room. We moved the laundry into the (newly added) master closet, and this room got to return to single function status after it was torn down and rebuilt, of course.


Last but not least, the exterior. You might notice no window air conditioners in the after photos….that’s because this home finally has central air. I’m not sure how previous owners managed the sweltering Iowa summers for 120 years with no air!

Front view

Back View

New Back view, with deck! (and central air!)
It was a long 9 months, but it was all worth it in the end. Throughout the renovation process, we had neighbors stop by almost every single day and express how happy they were to see this older home in the heart of their community get the help it needed to see its next 120 years. We even had a person stop by that used to live in the home in the early 2000s, she was amazed at how far it had come since then.
These encounters with the community members were so heartwarming, and often the motivation we needed to get through another 16 hour or 100 degree day (or both!).
Last week it was time to see this house off to its new owners, and while it was almost sad to pass the keys along, it was also very rewarding. It’s in good hands.
Our ‘inspector’ even gave her final seal of approval!


What’s next for us?
Well as you can imagine this project took up most of our free time, but now that it’s completed we have a few other small things in the works, along with some storm damage repairs from our most recent natural disaster. In October we officially will own our acreage, which will bring on another list of projects. It’s going to be a down-to-the-wire finish for us to complete everything before winter but we wouldn’t have it any other way.
Stay safe out there and we will chat soon!
-Rachael
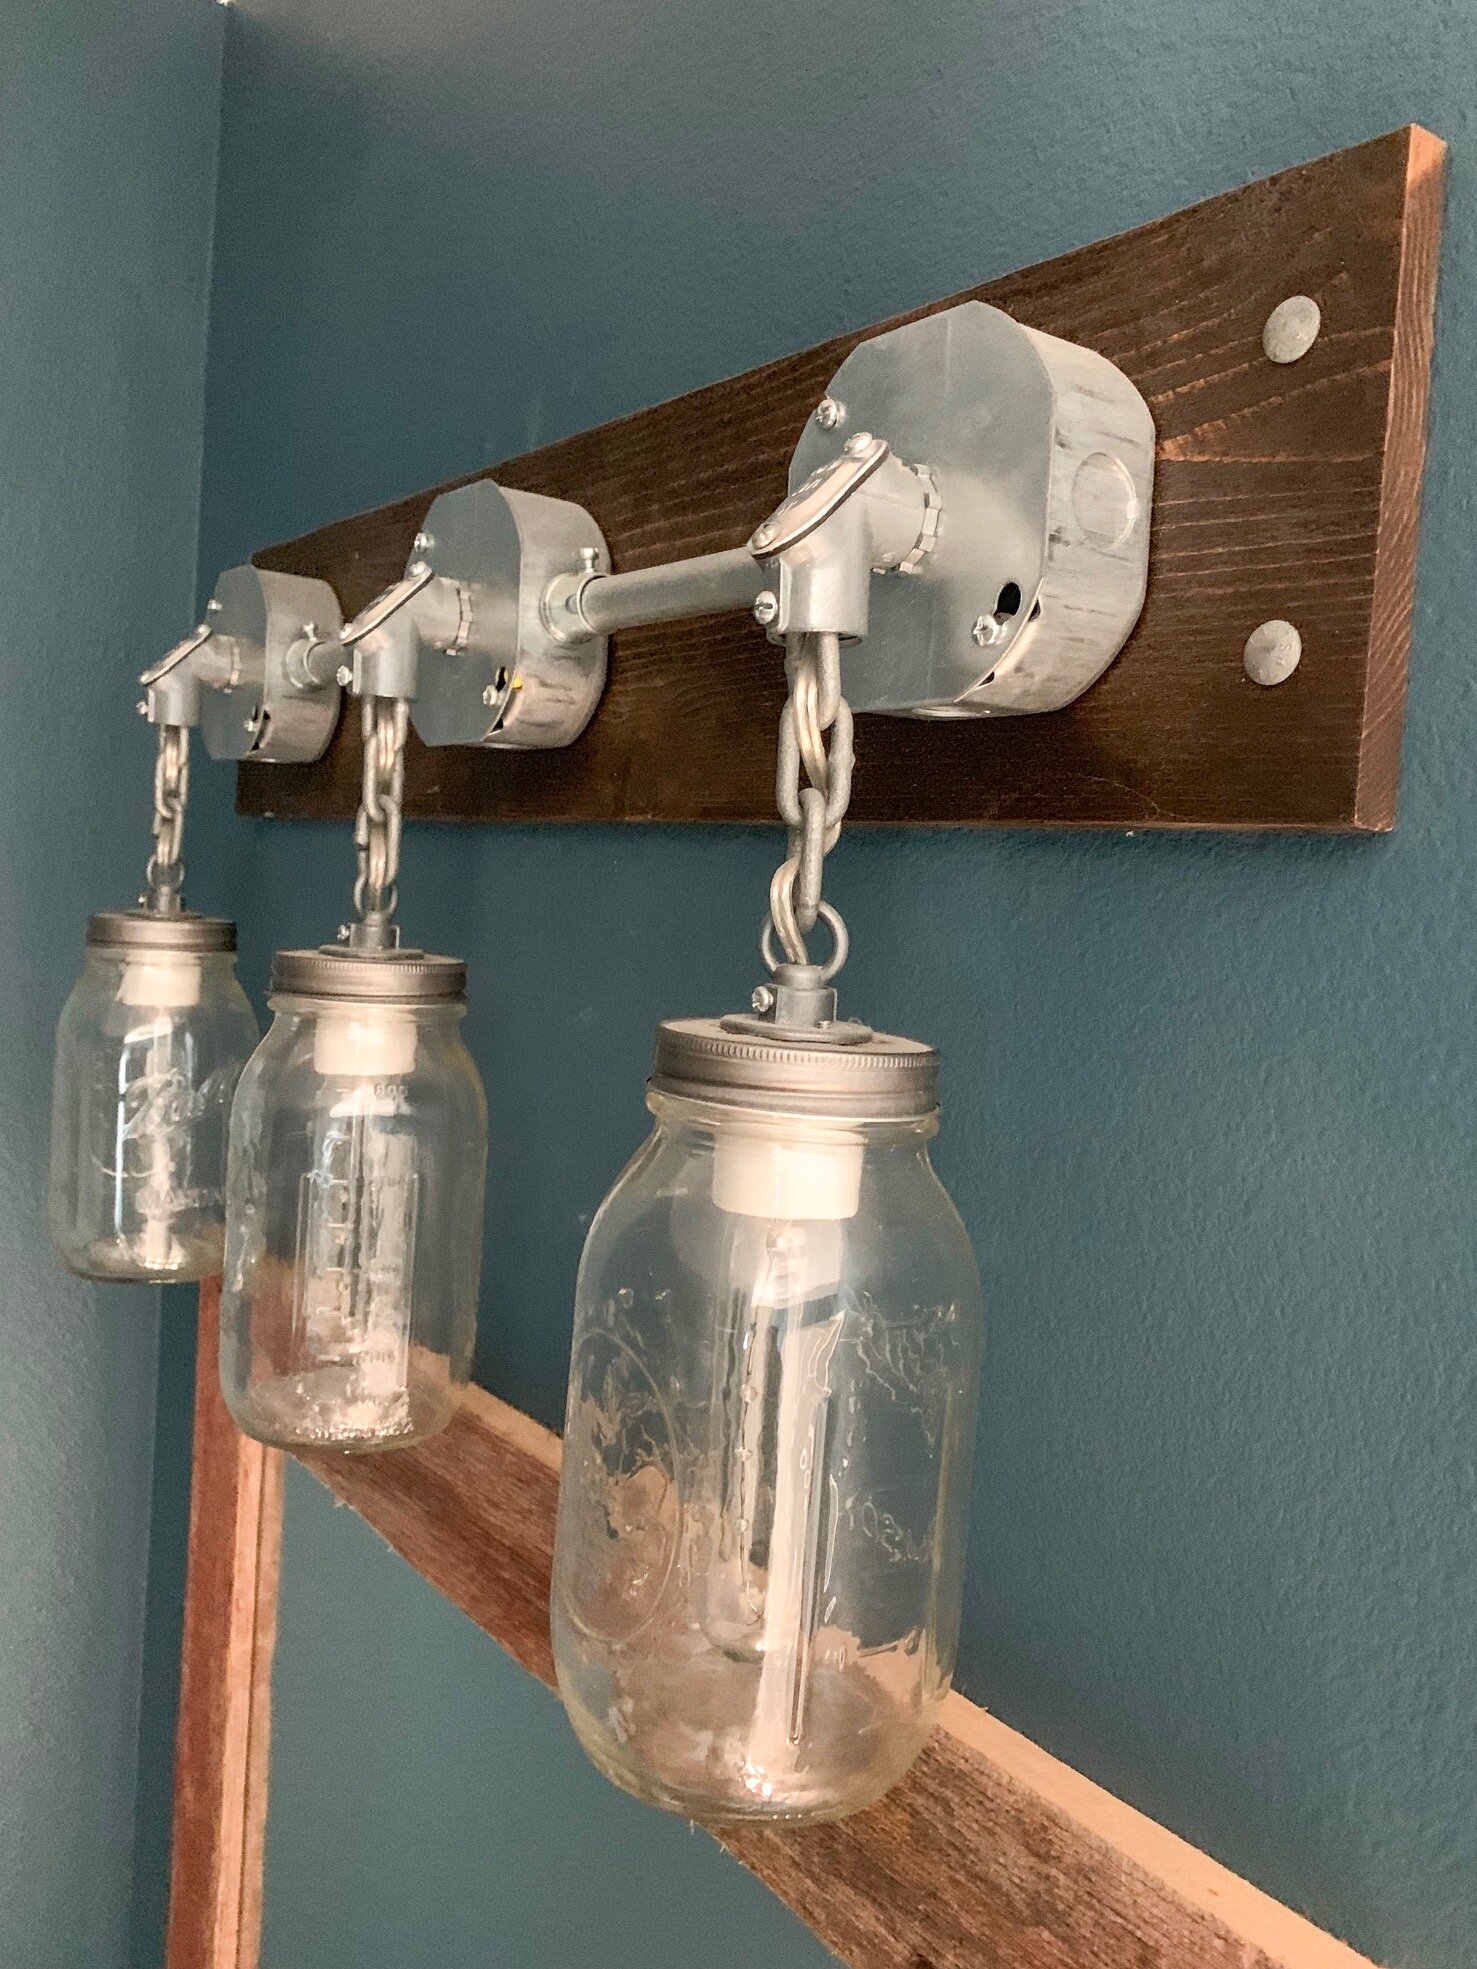
Rustic Home Accents
Hello friends!
It’s a hot and humid 1000 degree day here in Iowa, and I am suddenly finding time for all of my indoor tasks, such as updating this website! You will notice quite a few big changes to our site in the coming weeks, but for now most of the layout is remaining the same. I am not very skilled in the tech world, and don’t have a large budget for a website person, so it’s just me figuring things out by trial and error :)
Anyway enough on that, I wanted to pop in and put together a post about the most asked about items of my home, the various rustic home accents. I have several locally sourced items, and they are often the talking points of conversations with visitors. Now you might be wondering why any of this matters, and I will explain…
Adding a unique home accent can be both functional and decorative, all while setting your home apart from the rest…
-Have you ever driven through a neighborhood of similar style homes and had one stand out?
-On the contrary, have you been to several open houses or showings in a row and then been unable to recall what the inside of the home looked like the next day?
Let me show you what I am talking about…
This beam pictured is on my front porch and came from a barn that was taken down several years ago. It serves as a decorative item, and it also functional and holds up the front porch to my house.

Here are a few photos of other rustic home accents I have throughout my house…

An old window frame above my kitchen sink! In an ideal world there would have been a real window here, but since the floor plan of the house didn’t allow for one, this is the next best thing!

Is a home even complete without a giant rusty pig? :)

Floor to ceiling barn wood flag…because, America
Spare bathroom light fixture, and you can see the barn wood mirror beneath!

The pantry door is an old trap door to the attic space of a c.1920 carriage house

Our custom kitchen cabinets are new, but they were made to look old by using wood with imperfections
Ok, that’s not even all of them, but y’all get the idea! Unique items really make a home stand out in a crowd, and while some of these items were expensive (hello cabinets!), many of them were thrifted, free, or purchased for very minimal cost. Budget friendly is my way of life :)
That’s all I have for you today! Do you decorate with rustic home accents? Feel free to shoot me a message, I would love to see them!
Until next time-
Rachael
Farmhouse Renovation: Month 6 Update
It’s a new month, and that brings a new farmhouse update!
This will be the last update before the finished project reveal, which will be sometime in June. Originally we had planned on this project only taking 6 months, but as we know a pandemic had other plans. We have tried to remain as flexible as possible and just log some extra hours when we can (between essential jobs).
My favorite part of this month’s update is the vertical siding on the front of the home, which is something we have never done prior to this project. The cost of this type of siding is significantly greater than traditional horizontal siding, and I am not sure why other than increased demand due to current trends. Anyway, it looks great! Here’s a close up…

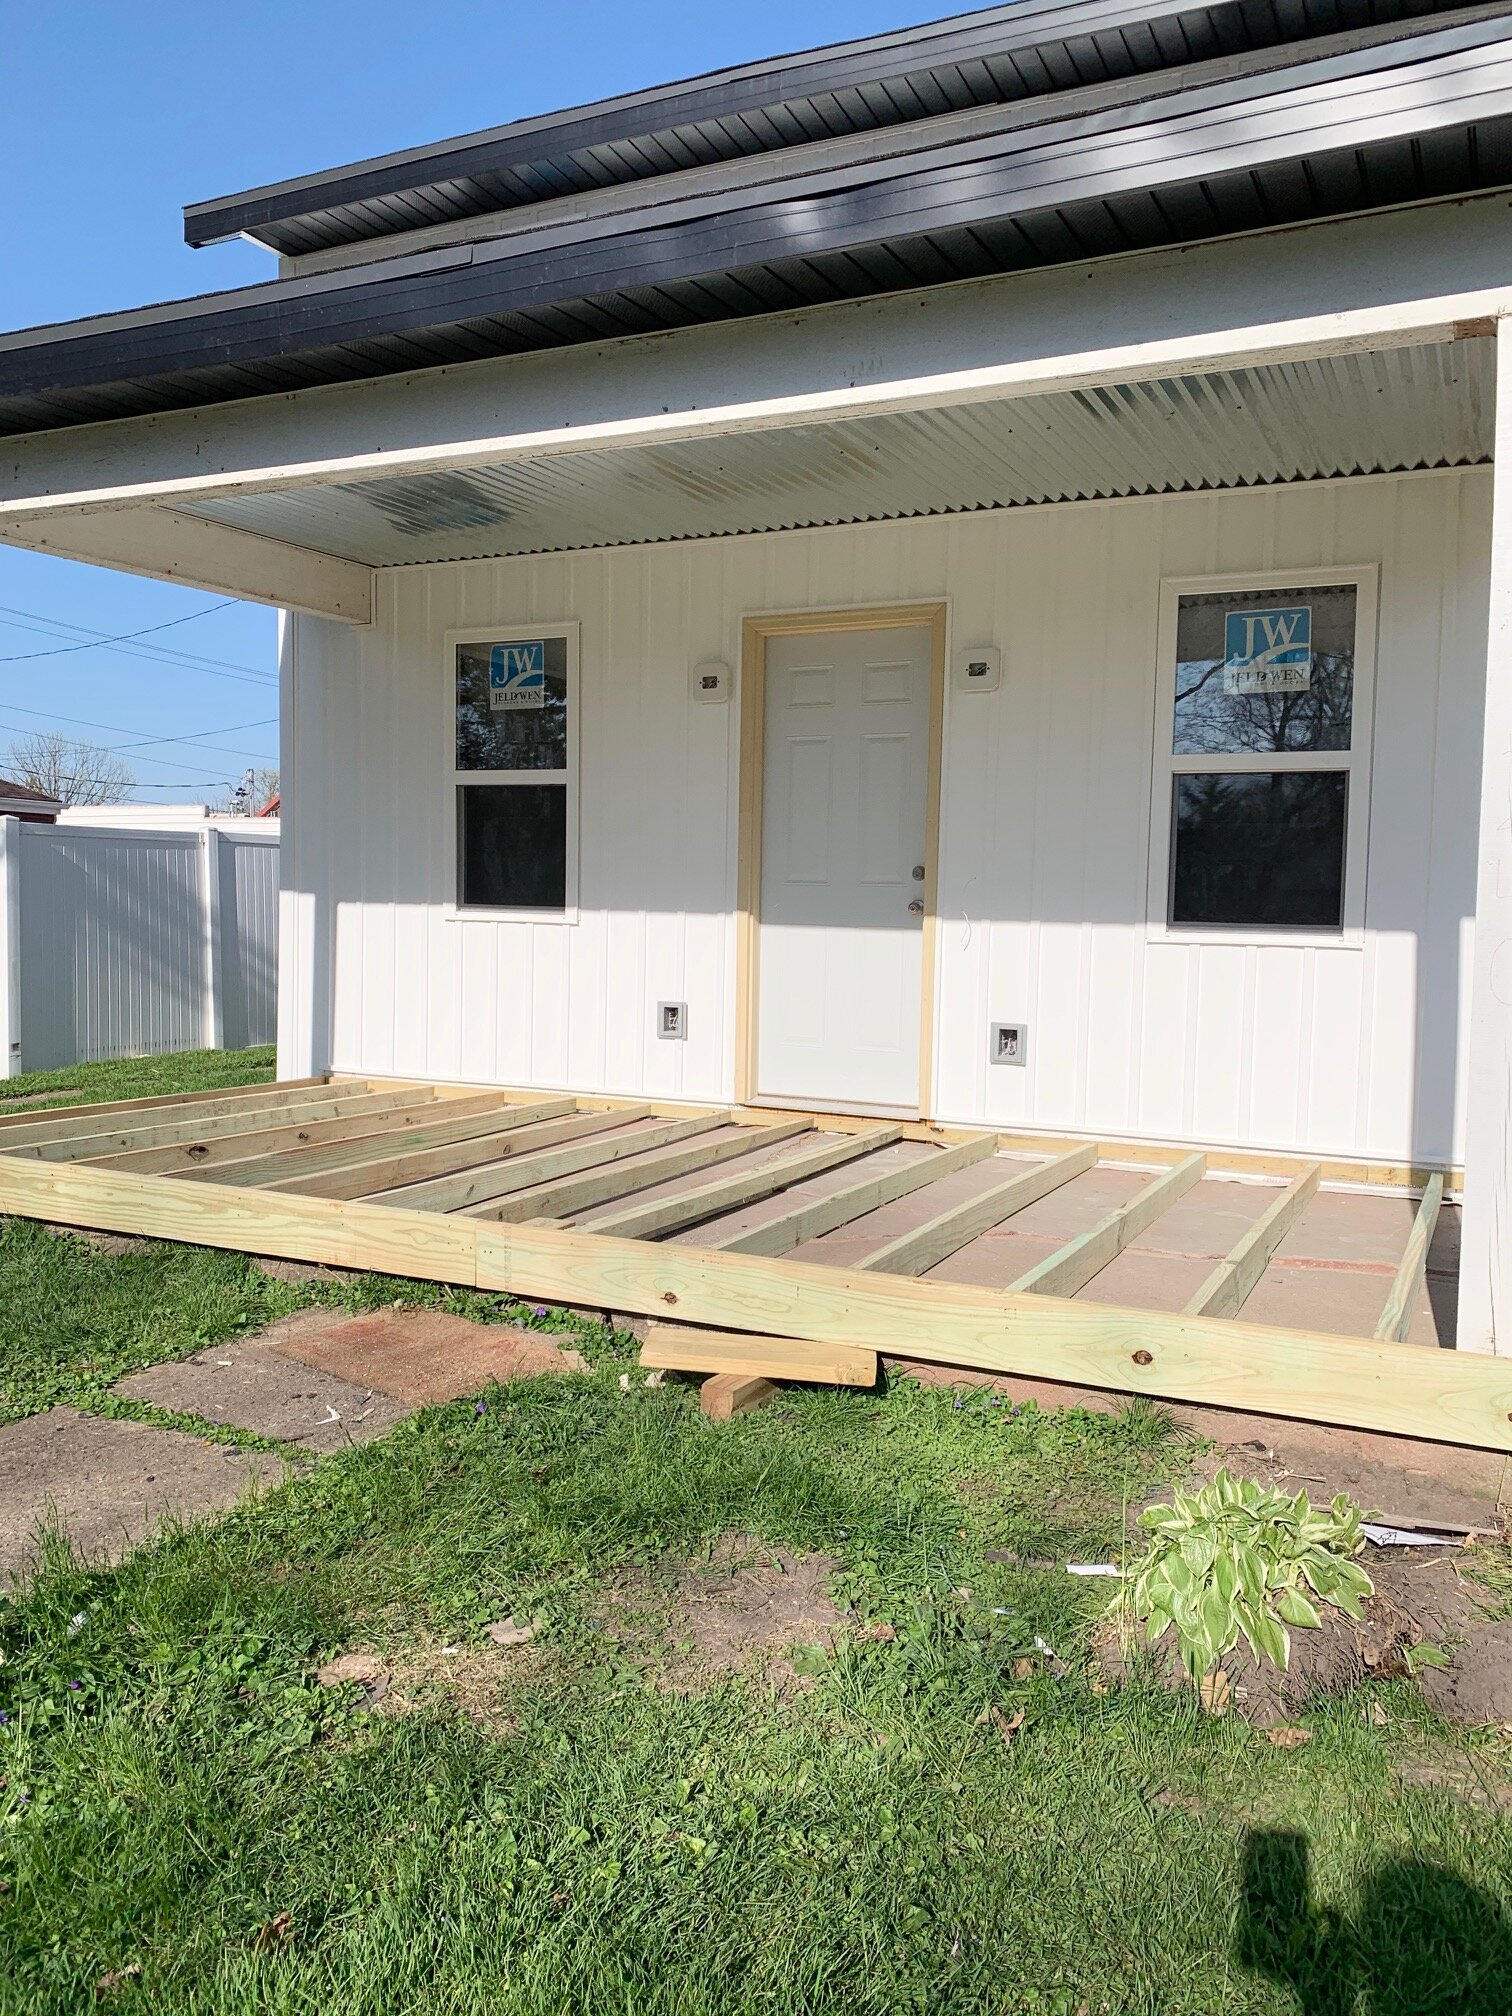
Another addition to the front porch is the tin ceiling, which will naturally rust over time and look older/more original. We also are in the process of installing a deck over the existing porch cement slab, which will level it up and overall just look nicer. Here are a couple photos of the front exterior.

Note: Final door and frame are not installed yet!
Another exciting install this month was central air conditioning, which was never previously installed in the home. I’m not sure how anyone survived for the last 120 years of sweltering Iowa summers without central air, but we have officially solved that problem!

A/C for the win!
Equally exciting is the addition of attic access and blow in insulation. Iowa is an extreme weather state (extremely hot and extremley cold) so proper insulation is key to managable utility costs. Anyone else get excited about insulation? Just me? Ok…

Attic access in the hallway!
That’s all the photos I can share for now, as I need to save some for the final reveal. I’m really looking forward to these next few weeks of finishing touches, and I will probably have a few sneak peek’s over on Instagram.
I hope wherever you are reading this that you are able to stay safe and healthy during this unprecidented time. I am looking forward to finishing this project, for the simple fact of having one less iron in the fire during all of this uncertainty. As always, thank you for stopping by the blog today, it really does mean a lot!
Unitl next time,
Rachael
Farmhouse Renovation: Month 5
If you are new here, we are in the process of renovating a c.1900 Iowa farmhouse that we purchased about 5 months ago, and to be honest I thought we would be pretty much done with this project by May 1st. Well, as you all know, a world-wide pandemic came along and threw everyone’s plans for 2020 out the window.
I was torn on even writing this update, I mean there are much more important things you could be reading right now. Ultimately I decided to proceed, to try and provide a sense of normalcy for myself and maybe a 5 minute break from reality for my readers.
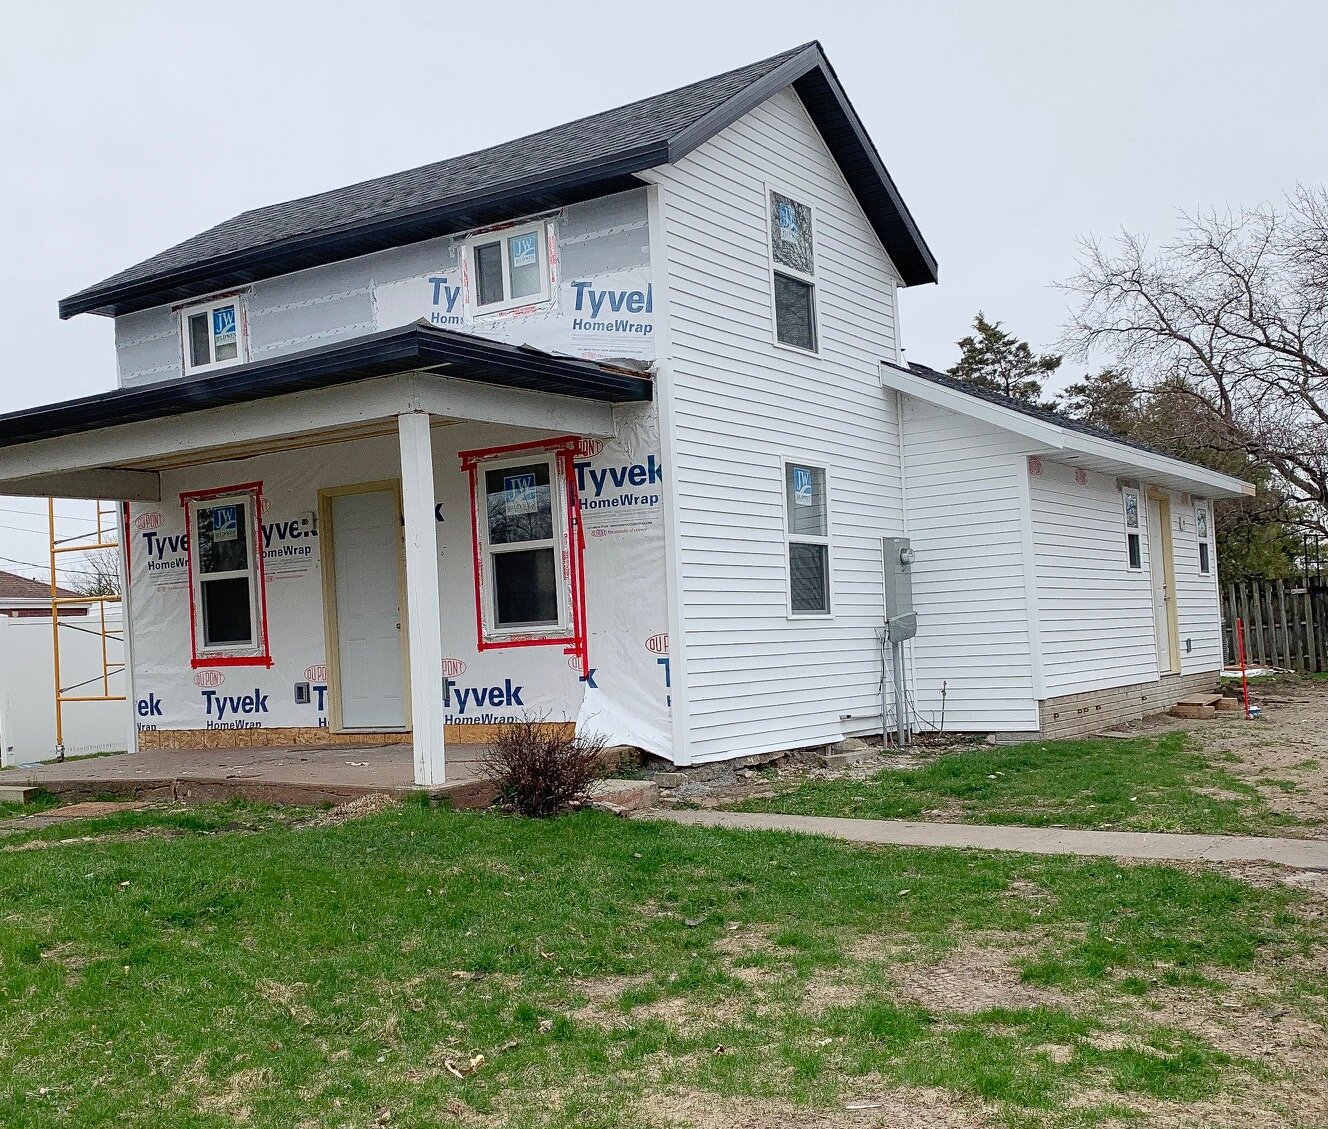
Over the last month, we have made huge progress on the outside of the house, installing new siding, sofitt and fascia. You will notice the black sofitt (overhang of the roof) on the old section of the house, and white on the new section. We also have white vertical siding for the front of the home, which is actually going up tomorrow, weather permitting. Here is a close up photo of the sofitt, so you can see the difference.
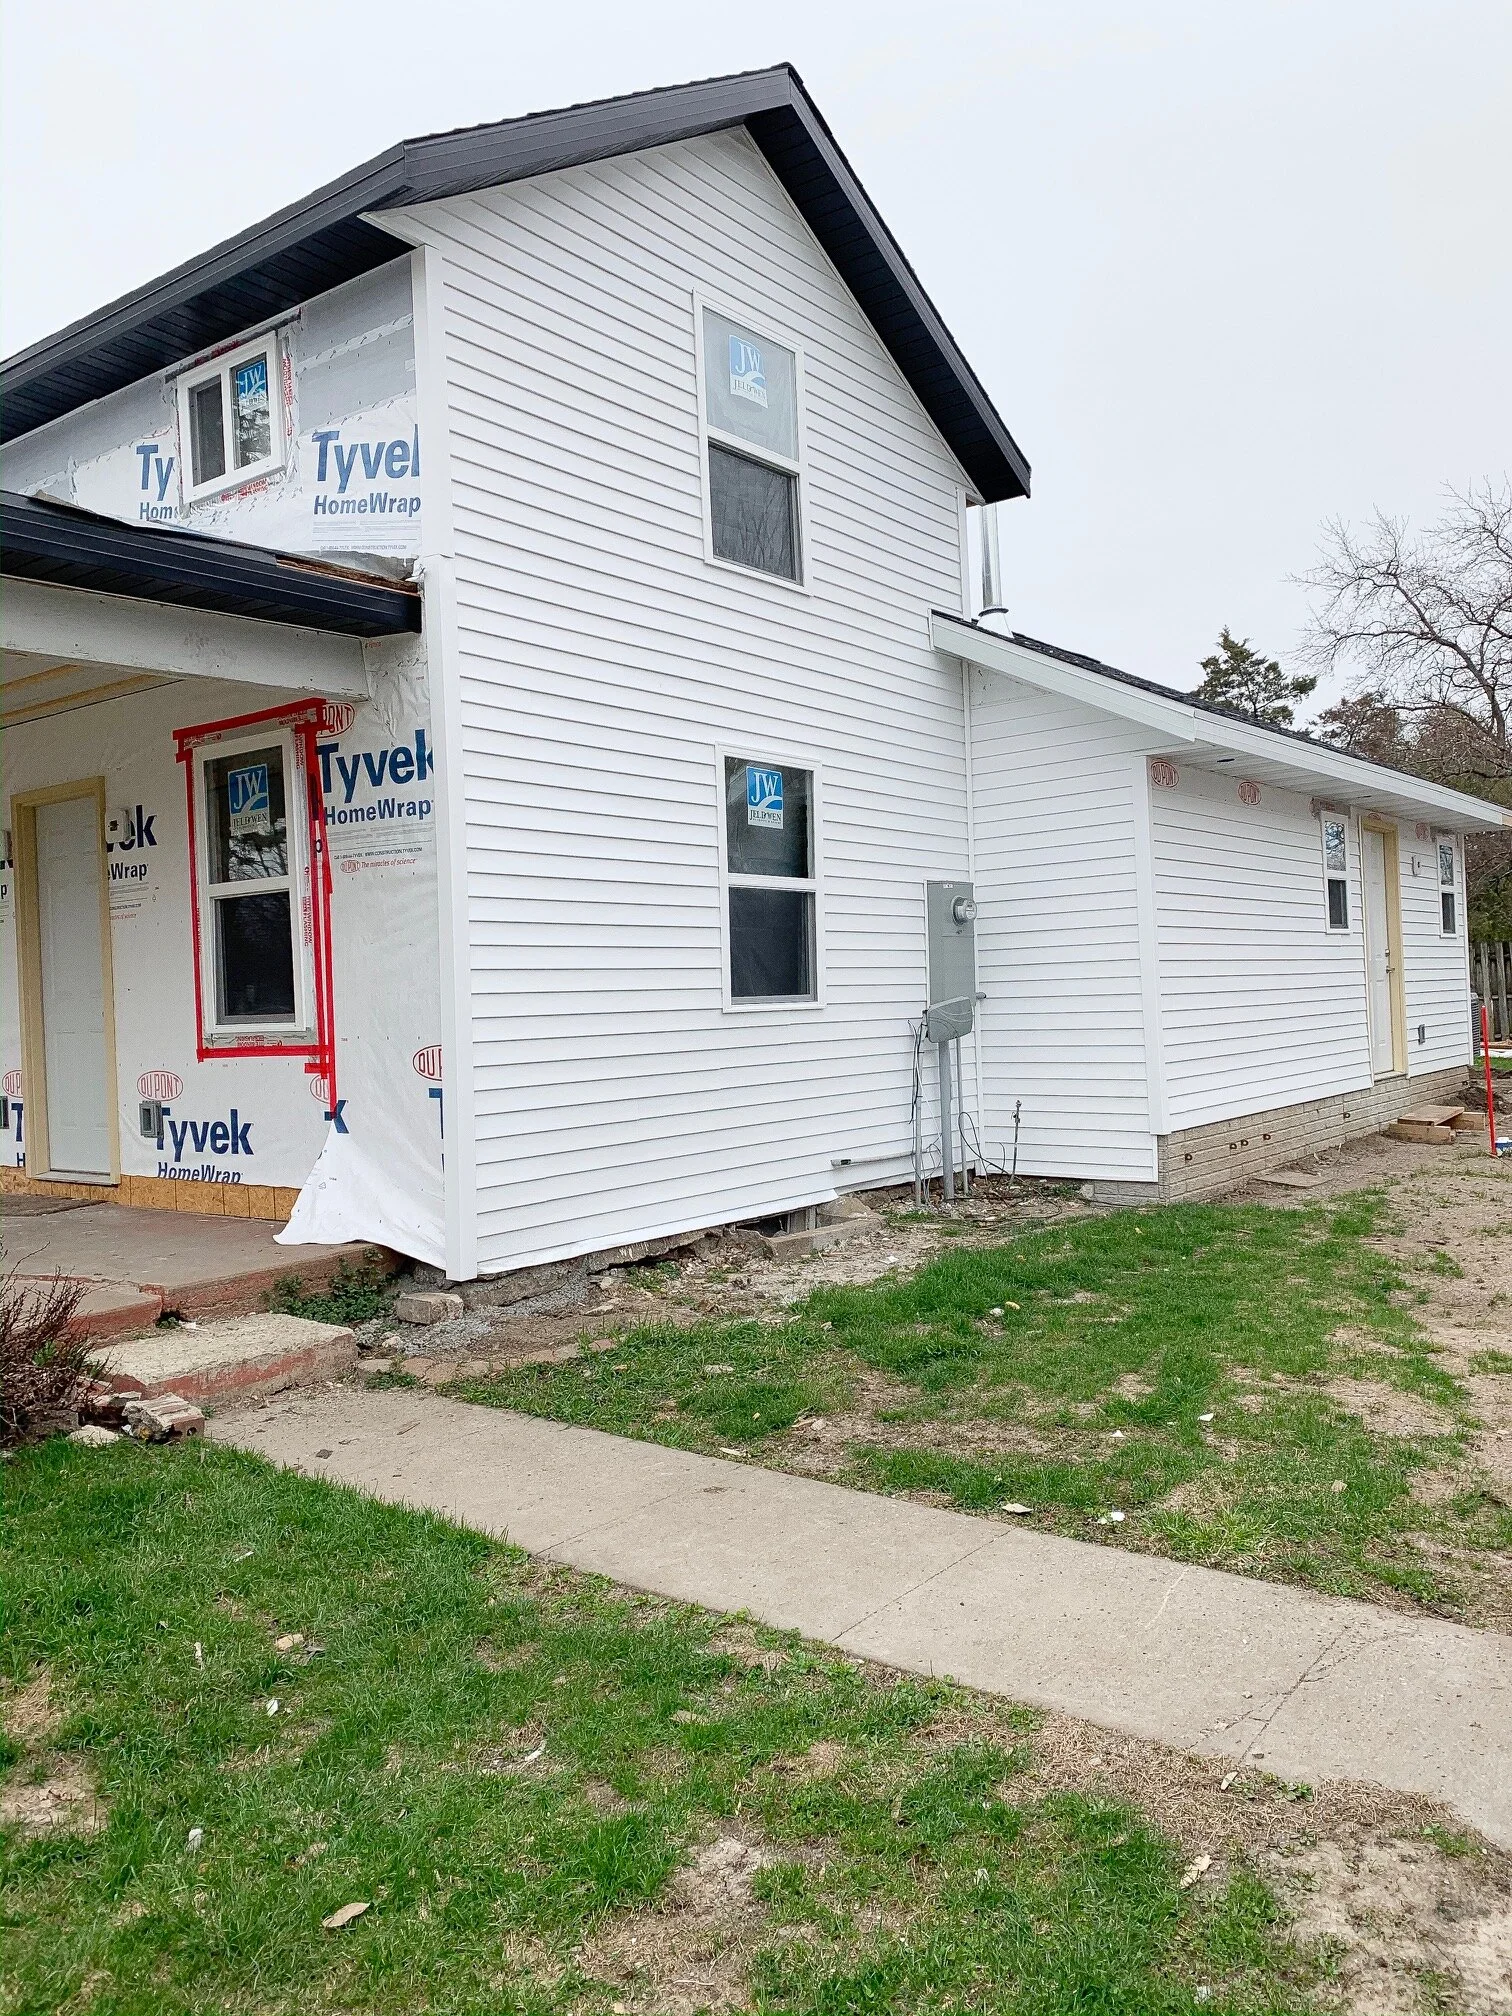
I really wanted to do something different for the original section of the home, to make it stand out, and I think the contrast of the black sofitt is exactly what was needed. I really wanted to install vertical siding on the entire house, but it’s so much more expensive than horizontal, and wasn’t really in the budget. Either way, the home will look amazing with an all new exterior.
In fact, I dug up an old photo of the house that we took right after we bought it and I will add it below for comparison. There’s quite a difference from a few months ago!

This was taken right after we closed on the house!