Spring Farmhouse Decor Items on Amazon (Budget Friendly!)

Hi there!

I know it’s wishful thinking for most of us that spring will be here soon, but that doesn’t stop me from wanting to de-clutter, disinfect, and decorate with bright colors. If you have been following for a while now, you know I love all things budget friendly and that includes decor. I frequently make my own decorations, but there are some times when a minor purchase can really make a difference to a space, and today I have brought you my top picks for budget friendly spring farmhouse decor items from Amazon.

*Note: This post contains affiliate links, for my full disclosure please click here.

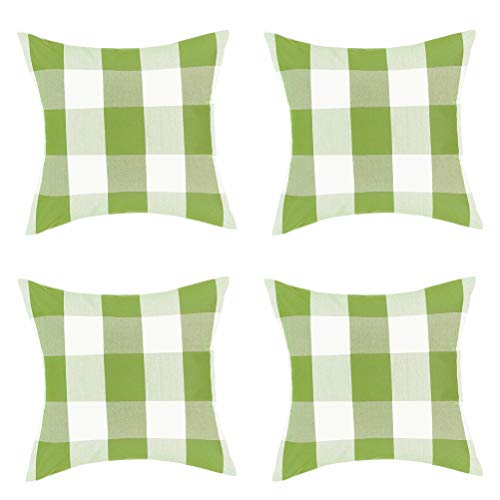
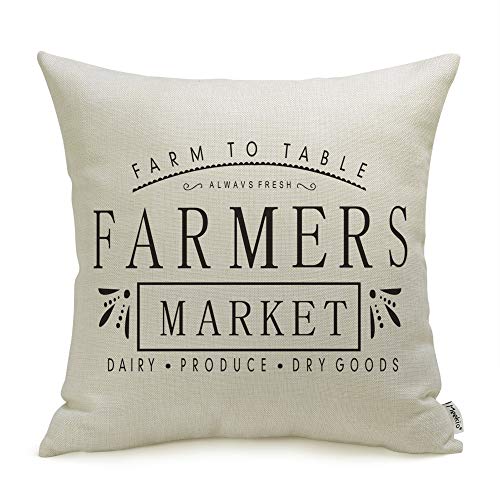
Quick and Easy Updates

If you are like me, you might not have a ton of time to refresh your home for the next season, which is why I love simple pillow decor. Just bust these out of storage and pop them on the couch! Done!

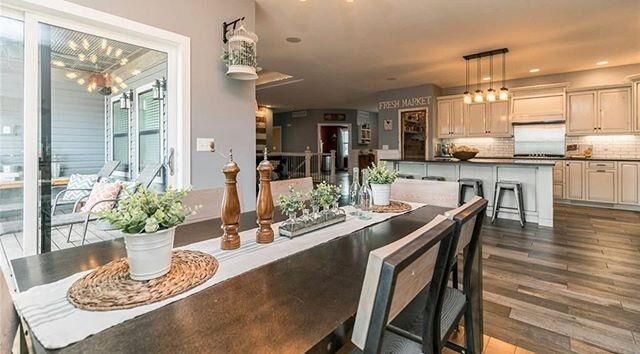
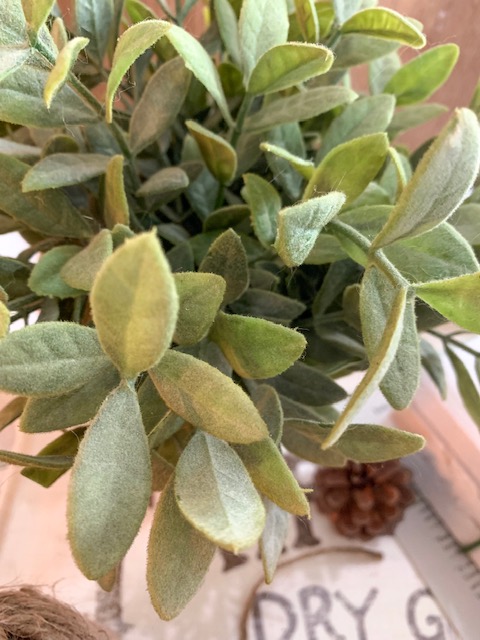
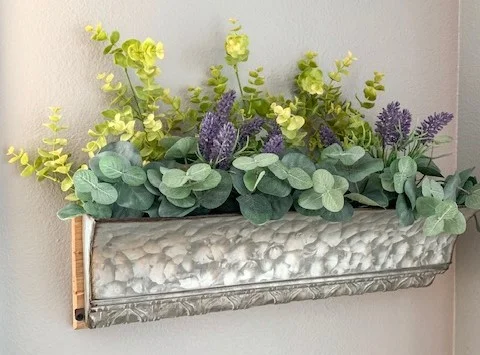
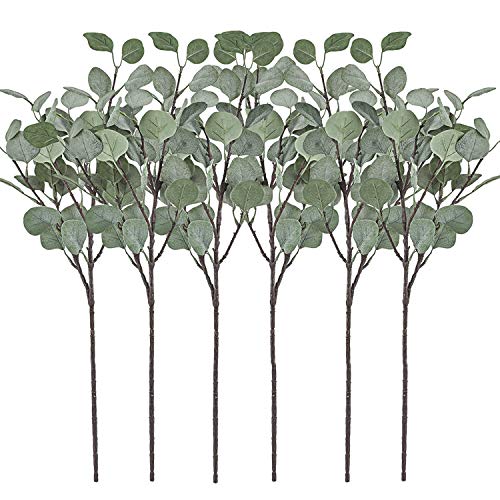
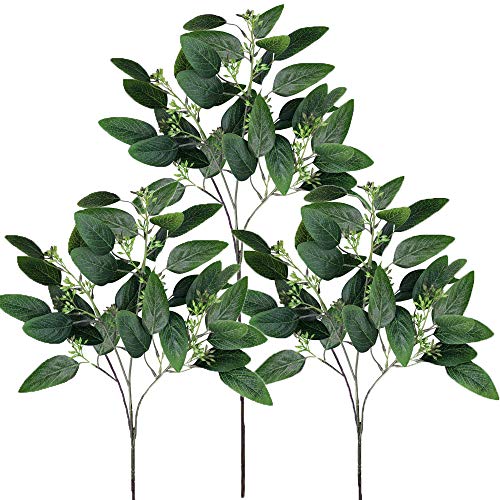
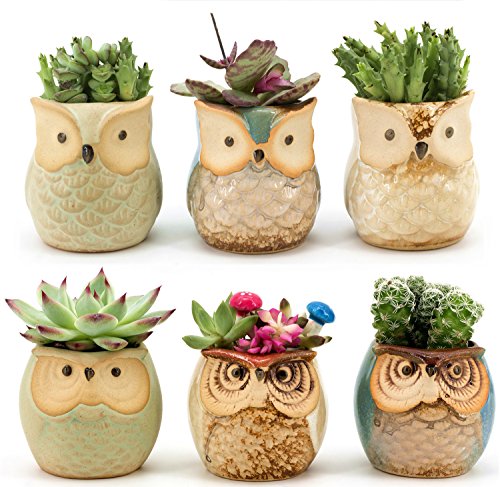
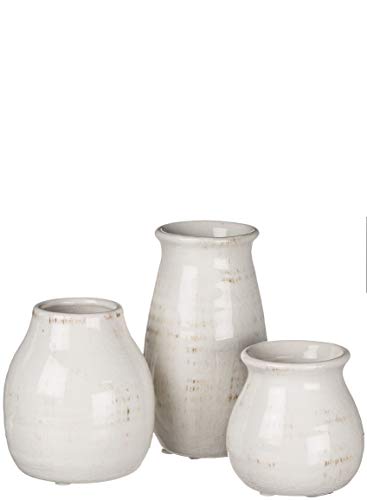
Incorporate the Outdoors

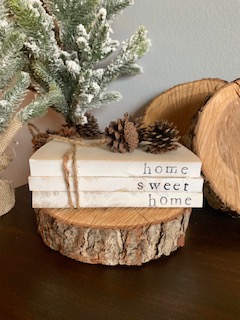
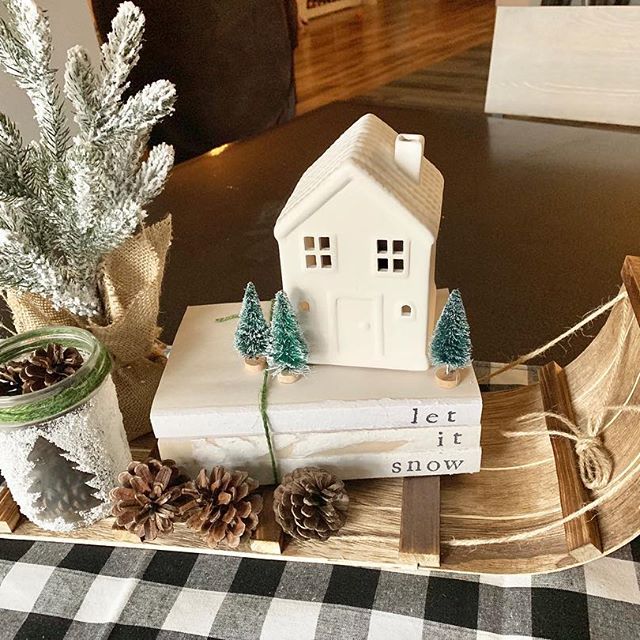
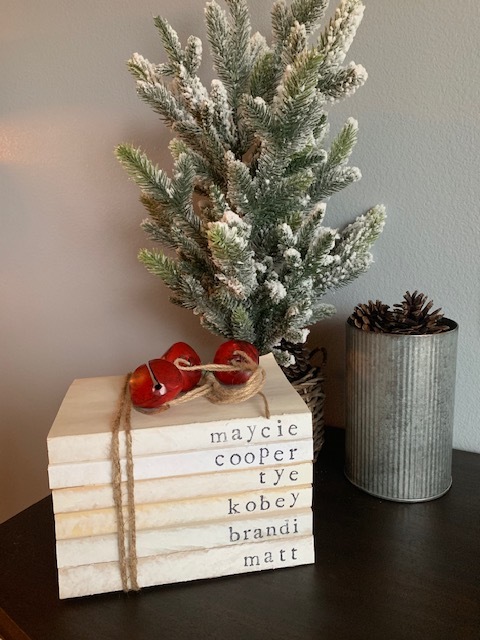
Spring is a great time to start bringing your indoor and outdoor spaces together. This can easily be accomplished by decorating your front flower beds or starting your garden early indoors. Depending on your weather patterns, this time of year can be busy with planting. For us in the upper Midwest, we have a while to go yet before we can get our hands dirty outside so until then we bring the outdoors in!
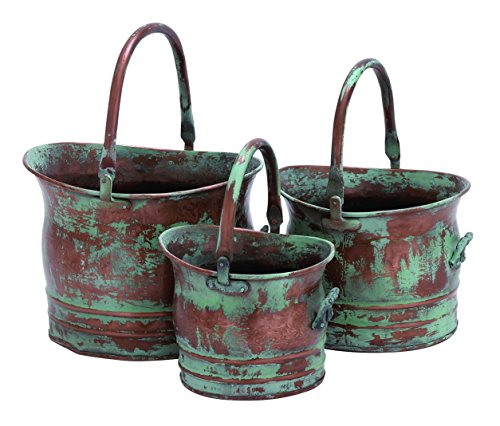
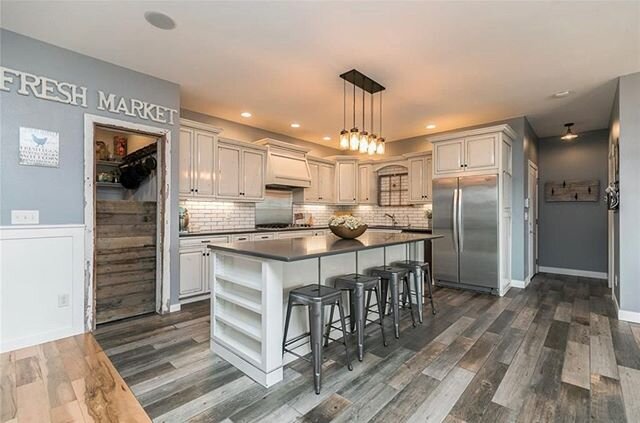
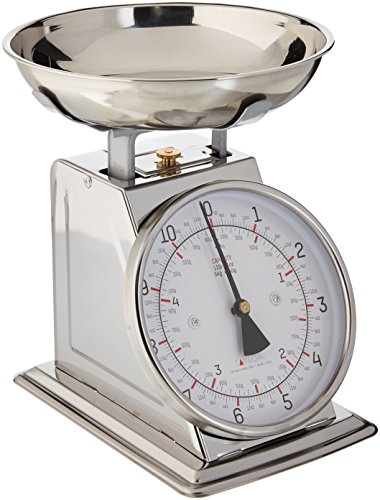
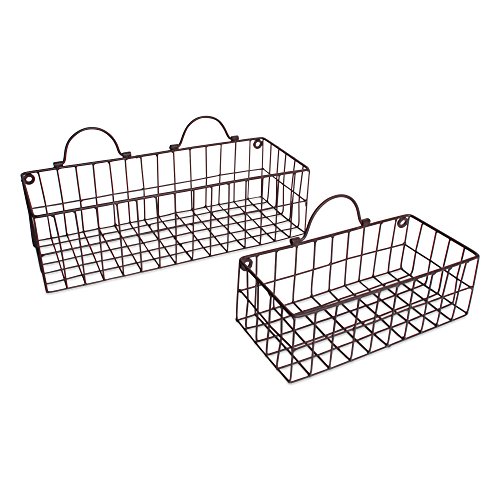
Prep the Kitchen

With all the fresh food that will be coming in from the garden, I like to take time to reorganize the pantry. These hanging baskets will be perfect for fresh produce (we are going to try and do a ton of onions this year)!
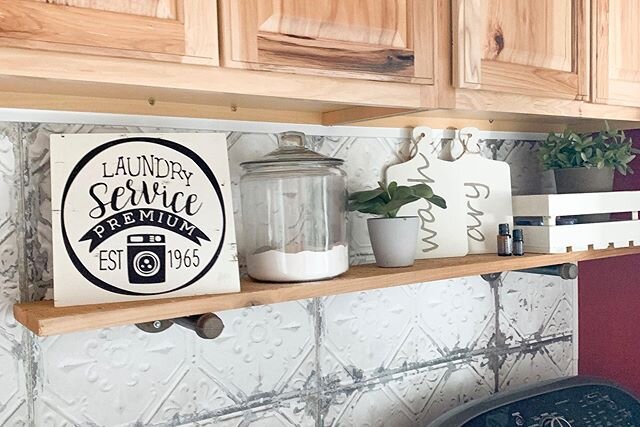
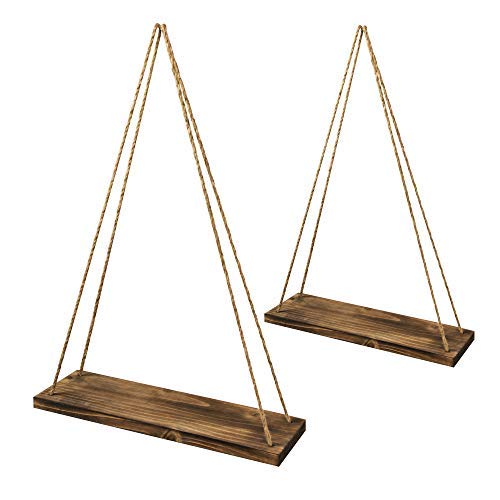
Everyday Essentials

These last few items can be versatile for many seasons, making them worth the time and effort of installation!


Don’t forget to Pin this post for the future! Simply hover over the image below, and the Pinterest icon will show up, easy!

Blocked In.png

I hope this post brought you some inspiration for your own home. As always, I love your feedback and feel free to leave a comment on this post or shoot me an email if you have something specific you would like me to look for. Make sure you are following us on Instagram for all of our updates!

Signoff.jpg

Thrift Store Cabinet $5 Makeover

Hello! Here in Iowa we are finding ourselves stuck in an endless cycle of snow storms and closings, which isn’t all bad since it allows for time to finish up projects around the house. Today I want to share with you a simple and inexpensive $5 makeover of an old medicine cabinet that I found at a thrift store a few months back.

Now, if you are thinking like my husband Adam, you might wonder what on earth I was doing buying an old medicine cabinet, but I saw some hidden potential in it becoming a cabinet/shelving piece for my enormous (and mostly bare) entryway. Here are a couple pictures of the cabinet in it’s original condition.

IMG_0558.jpg
IMG_0559.jpg

The first task at hand was to take the doors off and get rid of the mirrors, all while saving the hardware for reassembly. After everything was taken apart and cleaned, I began painting with some Valspar chalk paint that I had on hand.

IMG_0671.jpg
IMG_0672.jpg

After the whole cabinet received a couple coats of paint it was time to reassemble the doors, and I used chicken wire in place of the original mirrors. I chose this material for a couple of reasons; I wanted the decor inside to be visible and I generally hate cleaning mirrors. I found a roll of chicken wire at my local farm store for $5, and that purchase ended up being the only expense for this entire project!

IMG_1034.jpg

All that was left was reassembly, with the original hardware, and I hired my husband to hang it on the wall in our entryway. I think it turned out really cute, and in the pictures below you can see how our enormous entryway is slowly starting to come together!

(our permanent front door has yet to be installed)

(our permanent front door has yet to be installed)

This entryway has been a challenge for me to decorate (I mean, we have only lived here three years and it’s still mostly empty). However, this medicine cabinet turned decor shelf has given me the jump start I needed to finish this space once and for all. Do you have a room/area in your home that is a challenge to decorate? If so, I would love to hear how you tackled it.

For now, its back to shoveling snow for me, but I hope this project brought you some inspiration for an inexpensive furniture makeover in your future!

Signoff.jpg

Toy Chest Makeover - DIY

Hi friends! It seems we have found ourselves in an endless cycle of snow days here in Iowa, but I’m using this time to complete all those small projects I never seem to have time for. Today I’m going to share with you my most recent project, a quick and easy makeover of a children’s toy chest.

My husband found this toy chest on Facebook marketplace a few months back, and it had been sitting in our garage as a kind of ‘rainy day’ project. Well recently I found myself with some free time due to terrible weather, and decided to give it a quick makeover.

Here are a couple before photos of the top and sides of the piece.

IMG_0735.JPG
IMG_0726.JPG

I removed the hardware that attached the top to the rest of the box and ran a sander over the entire piece to smooth out any rough edges, since a one year old would soon be climbing all over it.

Next, I painted the entire toy chest with some furniture paint and allowed it to dry. The original hardware was a dull brass color, but some black spray paint fixed that!

I decided to add a little DIY stencil to the top piece of the toy chest, and if interested you can see my complete stencil tutorial here.

My ‘stencil’, which is just large font printed on regular paper.

My ‘stencil’, which is just large font printed on regular paper.

Below is an up-close photo of how the stencil turned out, ignore the mess!

57014445217__80F87A59-26DD-4AB3-BBF6-94C881AB3812.JPG

After everything was dry my husband was nice enough to put it all back together, and he added a couple rubber stoppers to the inside of the lid to prevent little fingers from being pinched. Overall, it was a quick no-cost makeover and now matches the decor in my daughters room.

IMG_0925.JPG
Rubber stopper to prevent pinched fingers

Rubber stopper to prevent pinched fingers

IMG_0924.JPG

That’s it! This project was a little time consuming due to the stencil, but with several days in a row of negative windchill, it seemed I finally had the time to take this on so I went for it!

As always, feel free to follow us on Instagram (@aps_design) for all of our up to the minute projects and behind the scenes antics! :)

Signoff.jpg

DIY Laundry Detergent

Hi friends! Today I want to share a quick post on my DIY laundry detergent. If you have been following along you know that I love all things budget friendly, and when it comes to cleaners and detergents I prefer as few chemicals as possible for my family. Now I also believe there is a time and a place for bleach, and I am not opposed to busting out the heavy duty cleaners if needed, I just prefer not to use those for laundry.

Let’s get to it! This recipe is SO simple, and makes a large amount!

Here are the ingredients:

IMG_5237.JPG

8 cups Baking Soda

6 cups Super Washing Soda

2 bars castile soap (grated)

I like to use one bar of peppermint and one of lavender, but this time I only had lavender on hand.

Mix the baking and washing soda together in a large bucket, grate the bars of soap and mix again.

That’ts it! I use 1/8 cup per load. Not only does this clean your clothes and smell amazing, but it also cleans your washing machine! I store my detergent in a large glass jar, pictured below.

I also have been using wool dryer balls for YEARS (in place of fabric sheets) and never had to replace them! I use them with or without a drop of essential oil (for scent) and I have found that the more dryer balls I put in with my clothes, the faster they dry. This saves energy as the machine runs for a shorter amount of time.

IMG_0775.JPG

This little DIY laundry routine has really cut down the cost of washing/drying laundry in our family, and I hope it can bring some inspiration to yours! Have you tried this homemade detergent? Let me know how you like it!

Looking for the products I used for this post?

These are affiliate links, to see my full disclosure click here.

Signoff.jpg

Vintage Inspired Book Sets

Hello! It’s below zero today in Iowa, and I am not planning on leaving my house for any reason, (except Starbucks of course) so I am using this day to catch up on DIY projects, book orders, and various other items I have lined up for you guys!

If you follow me on Instagram, you know that I recently started making vintage inspired book sets as cute personalized gifts for family members and friends. Well, it turns out there was a bit of a demand for these, so I recently created an Etsy shop to streamline that process. However, if you are local feel free to contact me via email/phone/etc to avoid shipping costs!

I believe these are so popular in part because of how neutral they are, fitting in to virtually any home’s existing decor, which could be especially beneficial as a house warming or wedding gift. Here are a few examples:

Aren’t they cute?? I love how each set tells a different ‘story’.

Well, I had better get back to my to-do list while I have the chance. Stay warm out there!

Signoff.jpg

DIY Candlesticks

Hello! I hope January is treating you well, wherever you are located. Iowa is gearing up for a major winter storm, and while the snow is pretty, it generates some long days and nights of snow removal. If you find yourself snowed in, I have a super easy winter craft to share with you today, and if you are fortunate enough to have great weather then pin this post for a rainy day!

Candlesticks are new to my personal decor, although I have seen people use them for years and always admired their versatility. I had planned on purchasing some the next time I saw a good deal (I never pay full price for anything) but recently I went to a thrift store and saw they had old staircase spindles for $2 a piece, so I picked up a few and decided to try making my own. I think they turned out really well, and I wanted to share how I made them since it was SO easy! Let’s get to it!

IMG_0556.jpg

Here are the staircase spindles straight from the thrift store, very budget friendly at $2 a piece!

The first step is to wipe them down of any dust or grease, I used a bleach wipe but you could use anything you have on hand.

IMG_0614.JPG

Next, I used some white chalk paint that I had on hand to paint the spindles, using two coats. Make sure to take a brush and wipe out any excess paint within the details/grooves in the woodwork.

Then, grab a piece of sandpaper and sand down/distress to your taste.

Clean off the spindles using a lint free cloth, and apply a VERY thin layer of wax to seal, wipe off excess with another lint free cloth.

IMG_0669.jpg

After these dry completely, preferably overnight, cut them to desired sizes. I was able to get 5 different sized candlesticks out of these three spindles.

Now for the fun part! Decorate!

I had fun styling these candlesticks with greenery and even put them in a birdcage that I had on hand. Next fall I plan to use them to hold pumpkins, and maybe even ornaments next Christmas. These are such a versatile piece of decor, I can’t believe I didn’t have any until now, but better late than never!.

Spring Faux Greenery Guide

Hi all! I know you might read the title of this post and think to yourself it’s January and too early to decorate for spring, and while I certainly agree, I do like to add a pop of greenery to my winter decor to keep things fresh. Iowa has a habit of being brown, with the exception of snow, for months on end and I personally prefer a hint of green to keep me plugging away until spring!

First, let’s discuss where I like to shop for faux greenery.

I get a lot of questions about where I find my stems and it varies by season. For example, I like to shop at Hobby Lobby for fall and winter stems due to their extensive selection and great prices on seasonal items. For spring or year round items I prefer Target or Amazon, due to their rock bottom clearance prices. Target usually has more of the style of faux greenery I prefer, and there is the satisfaction of seeing it before you purchase, however Amazon reviews can often times answer any questions you might have prior to buying and it helps they have a hassle free return policy on most items.

Next, lets take a look at the types of faux greenery available.

Below you can see a couple different examples of greenery currently in my home. The left photo shows more of a softer look with muted tones and a ‘fuzzy’ texture. I prefer this type of greenery for any stand alone plant that I decorate with, as it matches the softer tones throughout the rest of my home.

The photo on the right shows a mixture of large matte eucalyptus leaves with a smaller, more ‘shiny’ plant. When creating a display with multiple plants, I prefer to use different textures so the individuals stand out.

Softer, ‘fuzzier’ look

Softer, ‘fuzzier’ look

Matte vs Shiny

Matte vs Shiny

Here is another example of how the matte, softer looking plants work well with the decor already in my home.

This greenery is from Target. Book sets available here

This greenery is from Target. Book sets available here

Here are examples of mixed textures with multiple plants in flower boxes that I have in my dining room. I did add a hint of color to these displays, and I plan to continue to add to them later on in the season. I like how each type of plant stands out from the bunch.

IMG_0629.JPG
IMG_0630 (1).jpg

If you are looking for a few greens to get started with, I rounded up a couple options below from Amazon. You just can’t beat the bulk pricing and quantities!

Note: These are affiliate links, and you can read my full disclosure here.

Well, that’s all for today! I hope this post was able to provide some inspiration for your own decorating!

Signoff.jpg

My (No-Cost) Entryway Table Decor

Hi all! I have (quite unexpectedly) found myself in the middle of a January heat wave here in Iowa, and that has brought about inspiration to purge all things winter, clean, and organize. Now depending on where you are from, you might not think 50 degrees is a heat wave, but to an Iowan this kind of weather calls for opening windows and doing some spring cleaning!

Now if you follow me on Instagram, you know that recently I tackled the large entryway table to my home and cleared all Christmas decor and started fresh. This table has always been challenging to decorate, partially because it is so large and also due to the rest of my entryway being so bare, making it the focal point for all visitors.

Also, being that I was in a cleaning and purging mood, I didn’t want to have to leave and purchase any decor items and interrupt my motivation so I decided to style the table with only items I had on hand. If you have been following along for a bit you might remember that I took this same ‘no-cost’ approach to my front porch this holiday season and that blog post received the highest traffic of any that I have written, so I know you all enjoy my re-purposing and budget friendly take on decorating! If you missed that post, I will link it here.

OK, let’s get to it!

I tackled this large table in sections, pictured below is the right hand side of the table.

IMG_0513 (1).JPG

Here we have a vintage birdcage that we used as a card holder at our wedding, as well as an old spool (from a friend’s basement clean out), a tray of pine combs, and some twine. Easy!

Up above the birdcage, and on both sides of the table, I have these copper lanterns I purchased years ago at Hobby Lobby, and they are both hanging on iron hooks that were in an old carriage house that we tore down after it sustained wind damage beyond repair. These hooks held the bridles and other equipment for the horses that resided in the barn. You can see an up close picture below.

IMG_0504 (1).JPG

Next up, the left side of the table!

IMG_0505 (1).JPG

This end has quite a collection of miscellaneous items! I have absolutely no idea where the basket is from, I have had it for so many years. I filled it with a metal canister I previously picked up at a thrift store, a distressed mason jar that I made, some wood slices and a wooden sign that I had laying around.

Now for the finishing touches and final picture!

IMG_0509 (1).JPG

Here is the finished table! In the middle I added some additional wooden signs, a small bit of greenery, an old re-purposed shutter and a metal ‘hello’ sign (it’s an entryway after all!).

This metal sign I picked up at JDH Iron Designs down in Waco, Texas when I was there almost two years ago to see the Magnolia Market. If you followed along on the HGTV show Fixer Upper, you might remember that Jimmy Don and JDH Iron Designs made all of the metal signs that were featured in the market and in the finished homes. My sign is even autographed by Jimmy Don! If you ever make it down to Waco I highly recommend visiting his shop. (Not a sponsored post, I just really like his work!)

The actual sawhorse table was built by Adam and APS Construction, I think it might have been the very first piece of furniture he made.

Well, I’m off to take advantage of this warm weather and tackle a few more things outdoors before it returns to January around here! I hope this post has provided you some inspiration for decorating your own home and I will see you guys soon!

Signoff.jpg

Hello January!

Hello! We made it through the holiday season at my house, and I don’t know about you but I’m ready for all of the clutter to be packed up. I still have some simple flocked trees that I am decorating with, but all of the holiday decor is back in storage. Christmas is my favorite time of year, but by the end of the season I always feel overwhelmed with glitter, gift wrap, and general disorder.

With all of that in mind, I thought I would share my simple table design for the remainder of winter. Iowa has had some chilly temperatures but no real snow since November, so everything outdoors is gloomy and brown.

IMG_0436 (1).jpg

My initial thoughts when I was digging through my decor and putting this together was that I needed something simple and with a hint of color. As you can see, I chose mostly neutral colors and added a pop of greenery to remind us that spring will be here (hopefully) soon.

I have several of these book sets all over my house, each telling a different ‘story’. I am working on setting up a web page where these can be ordered but for now if you would like a set just contact me. I put this tray together and then set it on top of a simple beige and green table runner that I had in my spring decor collection. I was in the mood for simple, and kept it at that.

I hope you are all staying warm this January, wherever you are located! As always, you can catch us on Instagram or Pinterest for daily decorating ideas and I will be back soon with some fun DIY projects to keep you busy during these long winter months! Cheers!

Signoff.jpg

Bring it, 2019!

I have never been a person who makes resolutions for the new year, but recently I have caught on to the idea of having a ‘word’ for a focal point behind fresh ideas and goals.

This year, i’m going with the word ‘visibility’.

For those of you who may be new to our community, 2018 was a big year for APS as we branched out into the tech world and constructed this fancy website that you are currently viewing. While APS Construction and APS Design are not new businesses, the idea of documenting and publishing content to a website was (and still is) very new to us.

The suggestion to create a website came up about a year ago, and to be honest I tried to ignore it for as long as I could, as the thought of taking the time to learn the behind-the-scenes technical details seemed daunting. But the need for a way to organize and showcase our work to better serve our clients was not going to go away, so in August I tackled this project head on. And while this website is still a work in progress and receives almost daily updates and tweaks, it certainly is nice to be able to send a client here to view past projects instead of trying to scroll through thousands of photos on a phone.

We have some big plans in store for the coming year, and increasing our visibility will be in the background of all of them. Soon you will be able to find APS Design’s ‘blog’ portion on Apple News, I will share the official link for anyone interested when everything is done being approved by Apple.

I can also share that I am in the final stages of developing a ‘commerce’ portion of this site, where customers can easily purchase the personalized book sets that you might have seen on our Instagram or Pinterest accounts. This should hopefully streamline the process and make things easier on both ends, but first I have to get through the legal side of things and draft ‘terms of service’ and register to collect state sales tax and all of that fun stuff.

As other activities become more finalized I will be sharing them, and as always I will be posting our current client and DIY projects to give you some inspiration for your own farmhouse. We don’t know all that 2019 has in store for us, but we are ready to work hard and see where this journey takes us.

Signoff.jpg