Getting BOLD, with Paint!

Recently I was asked about my ‘bold’ paint colors in my home, and how I choose them. Determining colors for a room has never been a time consuming process for me (I am the person in the greeting card aisle that goes with the second or third one that I pick up), but I know this is not always the case for everyone. I have friends who have been wanting to paint their home for nearly a decade but cannot agree on a color or finish.

Today I am sharing my tips on how I make my (bold) paint choices, and maybe they will provide some inspiration to you as well!

The photo that prompted the bold paint color discussion!  Photo credit to Corridor Home Photos

The photo that prompted the bold paint color discussion! Photo credit to Corridor Home Photos

First, choose a high quality paint!

I like the paint and primer combination paints, especially if my project contains existing paint. These styles are a little bit more per gallon, but always have full coverage and eliminate the primer step. Personally, I like the Ovation, HGTV, and Valspar brands at Lowes, but this is just my preference.

Now, It’s time for the color!

I follow a few simple rules…

  1. Never try to match: If there is existing permanent decor (such as cabinets, flooring, trim, etc), never try to match it. I always go with a complimentary color instead.

  2. Work with what you have: Have a difficult color already on the wall? Don’t want to rent an extension ladder to re-do that vaulted ceiling? Pick something that compliments instead (see step 1). My first home came with a single wall that was deep chocolate brown, which was absolutely not my style. Instead of trying to cover that up, I added teal to a neighboring wall to brighten the space (throwback picture below…)

  3. Don’t sweat it: Paint is the most cost effective way to transform your home, and it can always be changed! If you are unsure which color to pick, go with your heart and change it later if you end up not liking it.

My VERY FIRST home, photo from most recent listing.  This home has been sold several times since I lived there, and none of the owners have changed a thing!  Not even the curtains!

My VERY FIRST home, photo from most recent listing. This home has been sold several times since I lived there, and none of the owners have changed a thing! Not even the curtains!

Now, I fully understand that some people prefer neutrals and there is nothing wrong with that! In fact, I really like neutral paint and decor, but it’s just not something I would choose for my own home. In my opinion, all white or neutral colors make for an interesting design challenge so the room does not come across as sterile or cold.

As much as I enjoy a good challenge I also need the decor at my home to be practical. I hate dusting, so arranging 800 pieces of furniture and decor to fill a neutral space is just not realistic. Adding a bold paint color helps decorate the room a bit. Again, just my personal preference!

Here are a few more BOLD paint choices from my current home:

BOLD slate color for the fireplace bump out.  Photo credit: Corridor Home Photos

BOLD slate color for the fireplace bump out. Photo credit: Corridor Home Photos

Barn red in the laundry room, and slate blue in the powder room!

Barn red in the laundry room, and slate blue in the powder room!

Well if you have made it this far you deserve a gold star, as this post somehow became quite lengthy! I guess I am passionate about my paints! Ha! If you have a bold paint choice in your home, I would love to see it! Tag me on Instagram or send me a message!

As always, thank you so much for continuing to support our small business! We will chat soon, big things coming to APS (wink wink).

Stay cool out there in this blazing heat!

-Rachael

Sawhorse Table Refresh

Well hello friends!

It’s been a little while since I posted a decor refresh, and there’s no time like the present! February is when I normally dig out some of the faux greenery, mostly just to remind myself that spring is almost here. The temperatures have been steady in the 30’s lately, which might not sound warm depending on where you are located but trust me it’s pretty darn good for winter in Iowa!

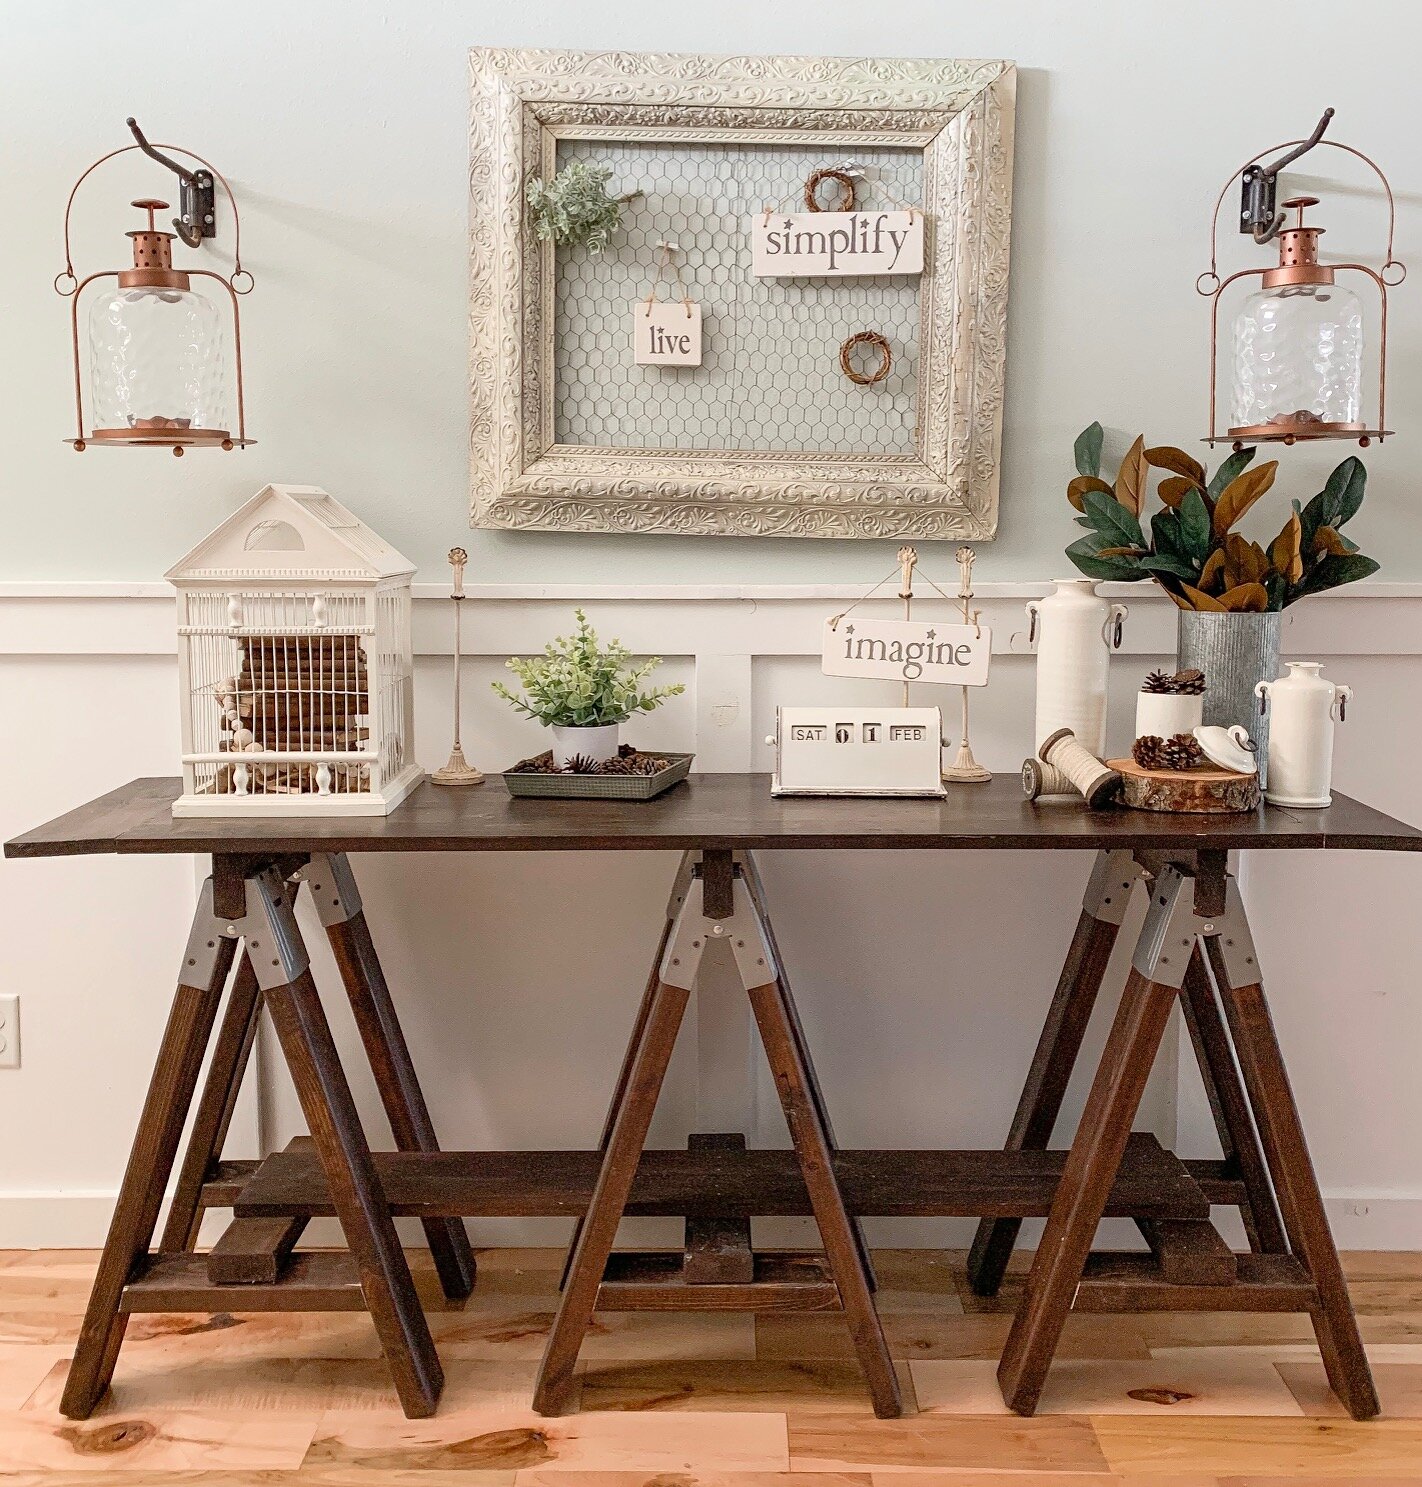
The table I am sharing today is in my entryway, it’s a sawhorse table that my husband Adam built several years ago. Here’s a few photos of what I did with it recently.

IMG_5431.JPG

These magnolia stems were considered holiday decor at Target, so I snagged them at the end of December for 70% off (y’all know I love a bargain!).

IMG_5433.JPG

Recently, a friend generously gave me this stack of old books and I stacked them in an old birdcage with some wooden beads. Simple! I also wanted to mention that little green plant in the background, they are currently at target for $5! They are quite nice quality for the price!

Here are a couple photos of the whole table put together…

IMG_5435.JPG
IMG_5437.JPG

This table came together nicely, minus the crooked frame on the wall but hey, we can’t have it all together ALL the time :)

That’s all I have for you today, thank you for stopping by the blog today and be sure to check back soon for my dining room refresh that I have in the works!

Stay warm out there!

-Rachael

Laundry Room Makeover

I am always looking for inexpensive ways to update and/or decorate our home, and my laundry room was recently at the top of my list of spaces that needed serious help. I had seen several designers recently posting about using wallpaper to update a space, and my first reaction was not a positive one. I mean, wallpaper?!? Who has time for that??

Well as it turns out, I had time for it, and so do you! Wallpaper has come SUCH a long way from the days where I remembered my grandparents mixing paste and matching patterns, only to have it dry and shrink just enough that it no longer lined up perfectly. I was curious how this “new” version worked, so I ordered a roll from Target’s website, which has dozens of options.

Today’s version of wallpaper has no mess, simply peel and stick. Make a mistake and need to remove it? Just peel it off the wall, no damage to the paint/wall, and you can re-use the piece! This feature in particular makes a wallpaper project budget friendly, I did this entire laundry room makeover with only one roll, which was $30. Don’t worry about matching patterns either, the print I chose has a tiny pattern line on it so you can easily tell where the next piece should line up.

So I went for it and ordered the wallpaper….

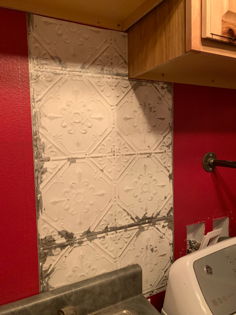
Before I show you how it turned out, let’s take a look at some ‘before’ photos!

IMG_2833.jpg
IMG_2834.jpg

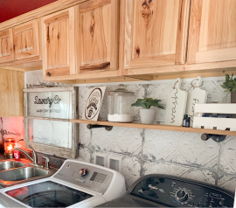
This laundry room functioned just fine how it originally was, but I wanted a space that was more inviting and had a ‘fresh’ look. I first shopped the garage for some shelving materials, then picked up a vintage window for the space above the sink, and finally picked out the wallpaper that would tie it all together Somehow, I roped Adam into helping me.

Neither one of us had ever worked with wallpaper, and thus we had no idea how to install it. I envisioned unrolling it and sticking it to the wall (why make it more difficult than it needs to be, am i right?), however Adam had other ideas.

He approached the situation as thought it were flooring, and found the center of the wall and the center of the wallpaper pattern and started there. As a result, the first piece took about 45 min to place, but the rest of it went much faster.

1700ca29aa1eba020faa98dd6bf2a176.jpeg

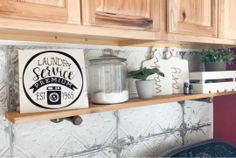
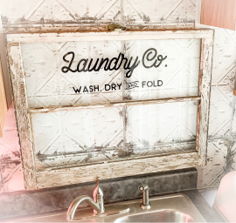
After the wallpaper was applied, we placed a small white trim around the top edges to give it more of a polished look. Then all that was left was to mount the shelf and hang the window, and suddenly the laundry room had been transformed! Here are a couple photos…

1196adc30beb1d6a26cf52087c461b89.jpeg
6364e2c8af2997e941723f82ab8f0f20.jpeg
c605325eff2465490afd16c2625ed5a7.jpeg
c3aa0964342bad40dbdea099c8f6c1b4.jpeg
5217d21cd956a95bb9bb2501809c70cc.jpeg

This budget friendly update has made quite a difference, and I am really happy how it turned out. This was a learning experience, but it really was quite easy, so if you are looking to freshen up a space consider using wallpaper!

That’s all I have for today, I am headed back outside to enjoy this second Summer that Iowa has given us this week! I will be back soon with our latest outdoor client project, as soon as I load and edit the photos :)

As always, thank you for stopping by the blog today! We really appreciate it!

-Rachael

Fall Front Porch Decor Guide

Ok, we made it to September, which means Fall decor is in full swing!

I have the pumpkin bread in the oven, harvest candles burning, and a huge bale of straw on the front porch. It’s just not officially Fall until a bale of straw is on the front porch!

Our porch is west-facing, and has quite a bit of afternoon sun & heat throughout September. For this reason, I have initially decorated with only faux items as any live flowers or pumpkins would be scorched by the elements. I imagine around the beginning of October I will be able to add some Fall mums and pumpkins to the mix. For now, I will share what I have done so far so you can hopefully find some inspiration for your own porch!

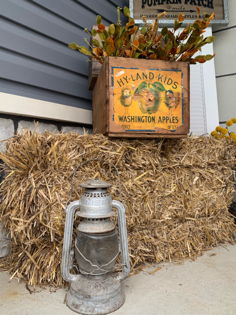
As I mentioned above, a bale of straw is a must! I picked up one at a local farm and fleet store for $5. If you wanted a super simple front porch setup, and didn’t have time to round up other decor, a simple stack of three bales of straw would work perfectly!

10e92e66358603552256d087b322b80f.jpeg

Here I have my bale of straw sitting on end, matched up with some other items I shopped from my garage!

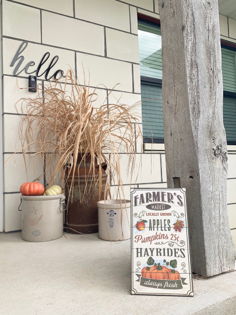
Next up, I grabbed some trimmed dead grasses and stuck them in a rusted metal milk jug that usually resides on my porch year round. I also had a few faux pumpkins and put them in a crock along with a fold out sign. The vertical barn beam is the front pillar to our house (neat, right?!).

895b8c9b5448ed2aa1f9ff0bf04a42d8.jpeg

If you have been following along for a bit, you might remember the thrift-ed set of white shutter-style closet doors that I picked up this spring, and how I used them on the porch to hang buckets of succulents. Well, that set of closet doors remains in place, only this time with a few Fall items….as pictured below!

37dd5432f190a903cc32fbd12a4ec9b7.jpeg

We are still in the process of getting a black door, but for now I have to work with what I have! I found the door hanger in the holiday section of a local craft store, and I am extra excited about the fact that it doesn’t make any noise when it blows in the wind!

My last important piece of porch decor is this metal sunflower, which is one of my all time favorite outdoor items. Around November I will have to retire this guy until next Summer, but for now he stay’s put!

847e348cdc44357c989d5930e0ce0393.jpeg

Well friends, that’s all I have going on for the front porch this time around! As I mentioned above, I will be adding some live flowers and pumpkins as the days get cooler, and I will be sure to post an update. Until then, happy decorating for Fall and thank you for stopping by the blog today!

-Rachael

The Final Summer Porch Refresh!

If you have been following along you might be aware that sweet corn season officially started this week here in Iowa, and I might be just a teeny bit excited about that! In fact, I had to incorporate the first delivery of corn into my final Summer porch refresh of the year. That’s correct, the next time I redo this space it will be with pumpkins!

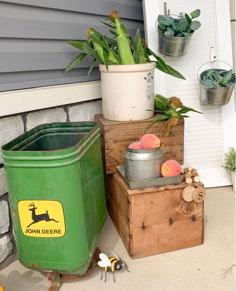
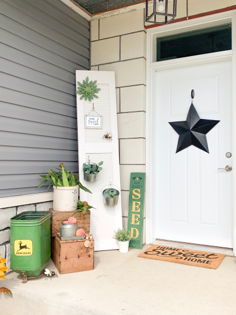
But for now, I had to take down the 4th of July decor and I wanted to incorporate a few farming pieces to set up for the future harvest season. As a collector of all things random and old, I happened to have everything I needed stored in the garage (which has kind of unintentionally become my decor locker, just don’t tell Adam). This John Deere seed planter from an old tractor is a great example…

74906d4031a1b99e1e184eb495f70cb0.jpeg

The fresh ears of corn in this photo are from our local CSA/farm share program that is delivered weekly throughout the spring and summer. For more information about farm shares, you can see my full post here.

Here are a couple more photos of this newly refreshed space!

3a82275f7f885595fa0b0334e6447638.jpeg

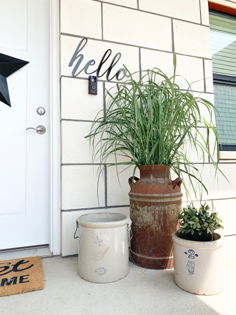
For the other side of the door I snagged some of the decorative grass from my front landscaping that is currently out of control, and stuffed it into an old rusty milk can that i picked up at a garage sale a couple years back. The black metal ‘hello’ sign will stay for now, but I might take it down for the winter months, as it gets pretty cold here and I don’t want it damaged or warped in any way.

8c410791a4ce8682d44f2dfbf638e95a.jpeg

Here’s a front shot of the whole front porch, which is one of my more favorite area’s to decorate at my home. Now, if only I can light a fire under Adam and have him replace the construction door that’s been there for 4 years next month! It’s the little things….

8f61029b17d664610d873b31d0628ba2.jpeg

That’s all I have for you today, thank you for stopping by the blog and I hope I have been able to inspire you on your own decorating adventure! As always, feel free to share your projects and questions either here or over on Instagram.

Happy Summer!

Rachael

Collaboration with Glyn-Mawr Winery

Today is the day! I can finally reveal my latest project, and I am so very excited!

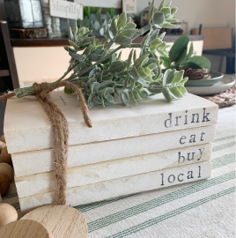
Recently, I had a local business reach out and request some of my personalized book sets for their winery and tasting room that has a small merchandise area stocked with items from nearby artisans. Prior to this meeting I had never been to Glyn-Mawr Winery or their tasting room/storefront ‘the local’, but I quickly fell in love with their farmhouse and country style decor (and might have picked up something for my laundry room remodel). I snapped a few quick photos, and you will see what I’m talking about!

00a298564c6dbfa87f82805504b7353d.jpeg
ba342c5c99f38a907f1ff2cc6ad5c5ea.jpeg
64846d732ecd9bbda57ed066f0a1951b.jpeg

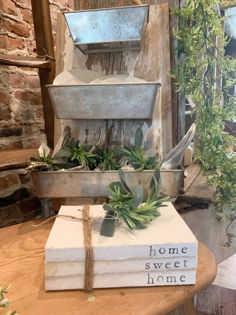
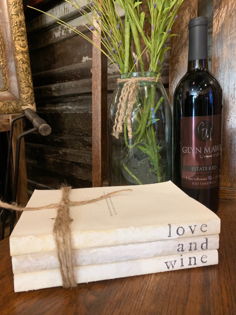
Here are a couple examples of the book sets I made for their shop…

a80857d6b73e8d95db2f972184278486.jpeg
145dee27f483eadd1cf3385648109f84.jpeg
4a796342855f1e185baef3fde1cc3e1b (1).jpeg

The entire town has a 4th of July antique festival, full of vendors and food trucks and the like, and if you are local to eastern Iowa it’s definitely worth the drive. Weather permitting, I will be there myself tomorrow, so feel free to stop by and say hello!

Thank you for stopping by the blog today, and have a safe 4th of July!

Signoff.jpg

The Easiest Decor DIY Ever!

Hi there! I’m writing to you from sunny Iowa, and while 40 degrees might not be warm where you are from, it’s certainly a welcomed sight in this region! Today I have a super easy and quick DIY ready for you, perfect for filling in those small spaces in your home.

You will need:

  1. Twine

  2. Clothespins

  3. Scissors

That’s it!

Let’s get to it!

I picked up these clothespins and twine from Lowes

I picked up these clothespins and twine from Lowes

Now that you have everything gathered up, take the scissors and cut a 2 to 3 foot section of twine and begin to wrap it around a clothespin, with no particular pattern. I like to choose varying lengths of twine and make some clothespins ‘fatter’ than others, so they all appear different when piled up together. Repeat this process as many times as you desire, and you can either hot glue the ends or simply tuck them in.

These little twine clothespins are great fillers for any decor, since they are neutral and not specific to a season. Here are a couple photos of how I used them just today.

a71d47622b411b621d3957acb9cb4488.jpeg
f8b947043b83bacaeee2691de36f575d.jpeg

This project was also very budget friendly, I think the grand total was around $7. For those looking for clothespins, I found them in the cabinet organization section at Lowes (don’t ask me why they keep them there, I never understand how that place is organized).

Well, I am headed back outside now that all of my winter decorations are officially unfrozen from the front porch….it’s time to clean that area up!

As always, thanks for stopping by the blog today!

Signoff.jpg

The Kitchen Reveal You Don't Want To Miss!

Sometimes there are home improvement projects that linger, for years. This would be one of those projects. Our kitchen was 95% finished for the last two years, all but for some 6 or 8 back splash tiles and decor. Well, since this winter is approximately 15 months long, we had time to finally get a few things done around here and this project was one of them!
A little background info:

the home we currently live in was designed on a piece of notebook paper by my husband. We eventually had to have an architect develop the house plans off of our drawing (because let’s face it, we know nothing about truss systems for roof structures) but the floor plan stayed the same. Now we had previously built additions to homes, and remodeled existing structures, but building the entire home from scratch was a new endeavor. Oh, and did I mention we had never designed a kitchen… (yikes!).

So off we went with our notebook paper drawing to meet a local cabinet maker and have him help us come up with something. He told us what worked logistically for wiring and plumbing, and showed us some basic layouts he had in production. I knew I wanted something different and unique and by the time we left our first meeting I am pretty certain he thought I was nuts.

Fast forward to that next summer, and we were laying tile and painting the walls in preparation for the cabinet maker to bring and assemble the cabinets. I don’t have many pictures from this point in time (maybe because we were literally building our home during the night and working during the day), but this photo below shows you the basic outline of our cabinet system (excuse the contractor lighting and pizza box).

IMG_4543.jpg

The next step was to add counter tops and appliances, which then made this kitchen functional. We were on a time crunch, so finishing touches and decorating took the back burner. We just needed our kitchen to pass the final building inspection and we could worry about the rest later.

Originally, I was interested in concrete counter tops but my husband talked me out of it. We cook A LOT at our house, and he was afraid that we needed a stronger material that could take a beating without showing any signs of wear. I am happy to report that after three years of constant use, these quartz counter tops have held up perfectly and have zero imperfections.

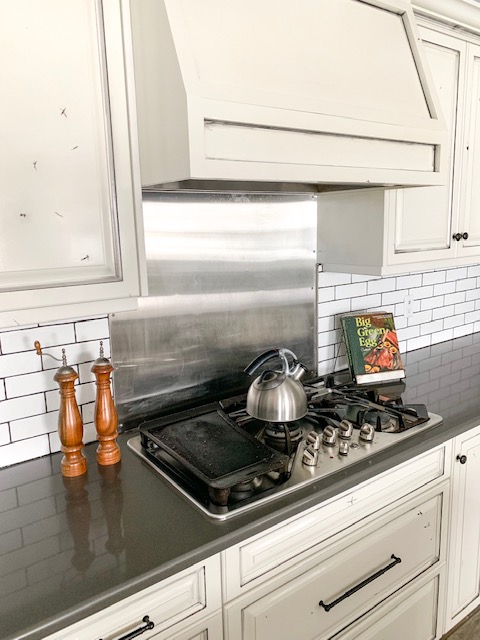
We did add a stainless steel back splash behind the stove area pretty early on, and then gradually finished the rest of that wall with subway tile, as you can see pictured below.

IMG_1205.JPG

One of the first comments people usually make when they see our kitchen for the first time is that our cabinets look ‘beat up’. Well, I think this is where our custom cabinet maker thought I was nuts, but I wasn’t going to budge on the distressed look. The material is knotty alder, and we chose all of the wood that had the greatest amount of natural knots and ‘imperfections’. Then, combined with black glaze and iron knobs and pulls, this kitchen has the appearance that the cabinets are older or re-purposed, when in fact they are brand new. I know this is a unique look, and it’s not for everyone, but it really came together in the end and I couldn’t be happier with how it turned out.

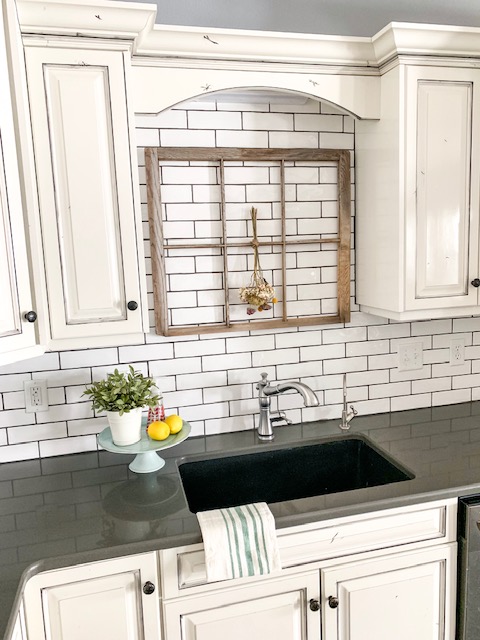
Ok, fast forward a couple of years to present time, and the last of the subway tile was installed over the kitchen sink. During the notebook paper design phase, I had pictured a window for this space but it was not feasible since the garage was on the other side of the wall. I still decided to put a window in this space, but just had to be a bit more creative.

IMG_1201.JPG

I found an old farmhouse window at a salvage barn for $5, and I immediately knew it would work for this space. All of the glass was removed, which was perfect since it would make cleaning a breeze. This window frame is very light, and thus I was able to install it easily with command strips. Plus, I didn’t really want to drill into the fresh tile! (yikes!) And while I love our sink, I would have preferred a copper farm sink but that just wasn’t in the budget for this house (maybe next time!).

Here are a couple more photos/angles of our kitchen:

IMG_1192.JPG
IMG_1197.JPG
IMG_1206 (1).JPG

Well I could go on and on about this kitchen, it really is the focal part of our home and I am so excited that it is finished. This was a huge lingering project that I can finally cross off of our list, all thanks to our epic long winter this year. If you have any other questions about the materials or process, feel free to leave a comment here or catch me on Instagram. As always, thanks for stopping by the blog today! We really appreciate your support!

Signoff.jpg

DIY Candlesticks

Hello! I hope January is treating you well, wherever you are located. Iowa is gearing up for a major winter storm, and while the snow is pretty, it generates some long days and nights of snow removal. If you find yourself snowed in, I have a super easy winter craft to share with you today, and if you are fortunate enough to have great weather then pin this post for a rainy day!

Candlesticks are new to my personal decor, although I have seen people use them for years and always admired their versatility. I had planned on purchasing some the next time I saw a good deal (I never pay full price for anything) but recently I went to a thrift store and saw they had old staircase spindles for $2 a piece, so I picked up a few and decided to try making my own. I think they turned out really well, and I wanted to share how I made them since it was SO easy! Let’s get to it!

IMG_0556.jpg

Here are the staircase spindles straight from the thrift store, very budget friendly at $2 a piece!

The first step is to wipe them down of any dust or grease, I used a bleach wipe but you could use anything you have on hand.

IMG_0614.JPG

Next, I used some white chalk paint that I had on hand to paint the spindles, using two coats. Make sure to take a brush and wipe out any excess paint within the details/grooves in the woodwork.

Then, grab a piece of sandpaper and sand down/distress to your taste.

Clean off the spindles using a lint free cloth, and apply a VERY thin layer of wax to seal, wipe off excess with another lint free cloth.

IMG_0669.jpg

After these dry completely, preferably overnight, cut them to desired sizes. I was able to get 5 different sized candlesticks out of these three spindles.

Now for the fun part! Decorate!

I had fun styling these candlesticks with greenery and even put them in a birdcage that I had on hand. Next fall I plan to use them to hold pumpkins, and maybe even ornaments next Christmas. These are such a versatile piece of decor, I can’t believe I didn’t have any until now, but better late than never!.

Spring Faux Greenery Guide

Hi all! I know you might read the title of this post and think to yourself it’s January and too early to decorate for spring, and while I certainly agree, I do like to add a pop of greenery to my winter decor to keep things fresh. Iowa has a habit of being brown, with the exception of snow, for months on end and I personally prefer a hint of green to keep me plugging away until spring!

First, let’s discuss where I like to shop for faux greenery.

I get a lot of questions about where I find my stems and it varies by season. For example, I like to shop at Hobby Lobby for fall and winter stems due to their extensive selection and great prices on seasonal items. For spring or year round items I prefer Target or Amazon, due to their rock bottom clearance prices. Target usually has more of the style of faux greenery I prefer, and there is the satisfaction of seeing it before you purchase, however Amazon reviews can often times answer any questions you might have prior to buying and it helps they have a hassle free return policy on most items.

Next, lets take a look at the types of faux greenery available.

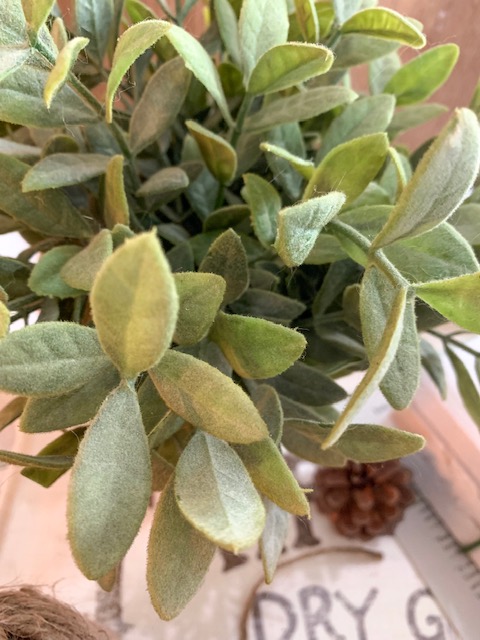
Below you can see a couple different examples of greenery currently in my home. The left photo shows more of a softer look with muted tones and a ‘fuzzy’ texture. I prefer this type of greenery for any stand alone plant that I decorate with, as it matches the softer tones throughout the rest of my home.

The photo on the right shows a mixture of large matte eucalyptus leaves with a smaller, more ‘shiny’ plant. When creating a display with multiple plants, I prefer to use different textures so the individuals stand out.

Softer, ‘fuzzier’ look

Softer, ‘fuzzier’ look

Matte vs Shiny

Matte vs Shiny

Here is another example of how the matte, softer looking plants work well with the decor already in my home.

This greenery is from Target. Book sets available here

This greenery is from Target. Book sets available here

Here are examples of mixed textures with multiple plants in flower boxes that I have in my dining room. I did add a hint of color to these displays, and I plan to continue to add to them later on in the season. I like how each type of plant stands out from the bunch.

IMG_0629.JPG
IMG_0630 (1).jpg

If you are looking for a few greens to get started with, I rounded up a couple options below from Amazon. You just can’t beat the bulk pricing and quantities!

Note: These are affiliate links, and you can read my full disclosure here.

Well, that’s all for today! I hope this post was able to provide some inspiration for your own decorating!

Signoff.jpg