Getting BOLD, with Paint!
Recently I was asked about my ‘bold’ paint colors in my home, and how I choose them. Determining colors for a room has never been a time consuming process for me (I am the person in the greeting card aisle that goes with the second or third one that I pick up), but I know this is not always the case for everyone. I have friends who have been wanting to paint their home for nearly a decade but cannot agree on a color or finish.
Today I am sharing my tips on how I make my (bold) paint choices, and maybe they will provide some inspiration to you as well!

The photo that prompted the bold paint color discussion! Photo credit to Corridor Home Photos
First, choose a high quality paint!
I like the paint and primer combination paints, especially if my project contains existing paint. These styles are a little bit more per gallon, but always have full coverage and eliminate the primer step. Personally, I like the Ovation, HGTV, and Valspar brands at Lowes, but this is just my preference.
Now, It’s time for the color!
I follow a few simple rules…
Never try to match: If there is existing permanent decor (such as cabinets, flooring, trim, etc), never try to match it. I always go with a complimentary color instead.
Work with what you have: Have a difficult color already on the wall? Don’t want to rent an extension ladder to re-do that vaulted ceiling? Pick something that compliments instead (see step 1). My first home came with a single wall that was deep chocolate brown, which was absolutely not my style. Instead of trying to cover that up, I added teal to a neighboring wall to brighten the space (throwback picture below…)
Don’t sweat it: Paint is the most cost effective way to transform your home, and it can always be changed! If you are unsure which color to pick, go with your heart and change it later if you end up not liking it.

My VERY FIRST home, photo from most recent listing. This home has been sold several times since I lived there, and none of the owners have changed a thing! Not even the curtains!
Now, I fully understand that some people prefer neutrals and there is nothing wrong with that! In fact, I really like neutral paint and decor, but it’s just not something I would choose for my own home. In my opinion, all white or neutral colors make for an interesting design challenge so the room does not come across as sterile or cold.
As much as I enjoy a good challenge I also need the decor at my home to be practical. I hate dusting, so arranging 800 pieces of furniture and decor to fill a neutral space is just not realistic. Adding a bold paint color helps decorate the room a bit. Again, just my personal preference!
Here are a few more BOLD paint choices from my current home:

BOLD slate color for the fireplace bump out. Photo credit: Corridor Home Photos

Barn red in the laundry room, and slate blue in the powder room!
Well if you have made it this far you deserve a gold star, as this post somehow became quite lengthy! I guess I am passionate about my paints! Ha! If you have a bold paint choice in your home, I would love to see it! Tag me on Instagram or send me a message!
As always, thank you so much for continuing to support our small business! We will chat soon, big things coming to APS (wink wink).
Stay cool out there in this blazing heat!
-Rachael
Sawhorse Table Refresh
Well hello friends!
It’s been a little while since I posted a decor refresh, and there’s no time like the present! February is when I normally dig out some of the faux greenery, mostly just to remind myself that spring is almost here. The temperatures have been steady in the 30’s lately, which might not sound warm depending on where you are located but trust me it’s pretty darn good for winter in Iowa!
The table I am sharing today is in my entryway, it’s a sawhorse table that my husband Adam built several years ago. Here’s a few photos of what I did with it recently.

These magnolia stems were considered holiday decor at Target, so I snagged them at the end of December for 70% off (y’all know I love a bargain!).

Recently, a friend generously gave me this stack of old books and I stacked them in an old birdcage with some wooden beads. Simple! I also wanted to mention that little green plant in the background, they are currently at target for $5! They are quite nice quality for the price!
Here are a couple photos of the whole table put together…

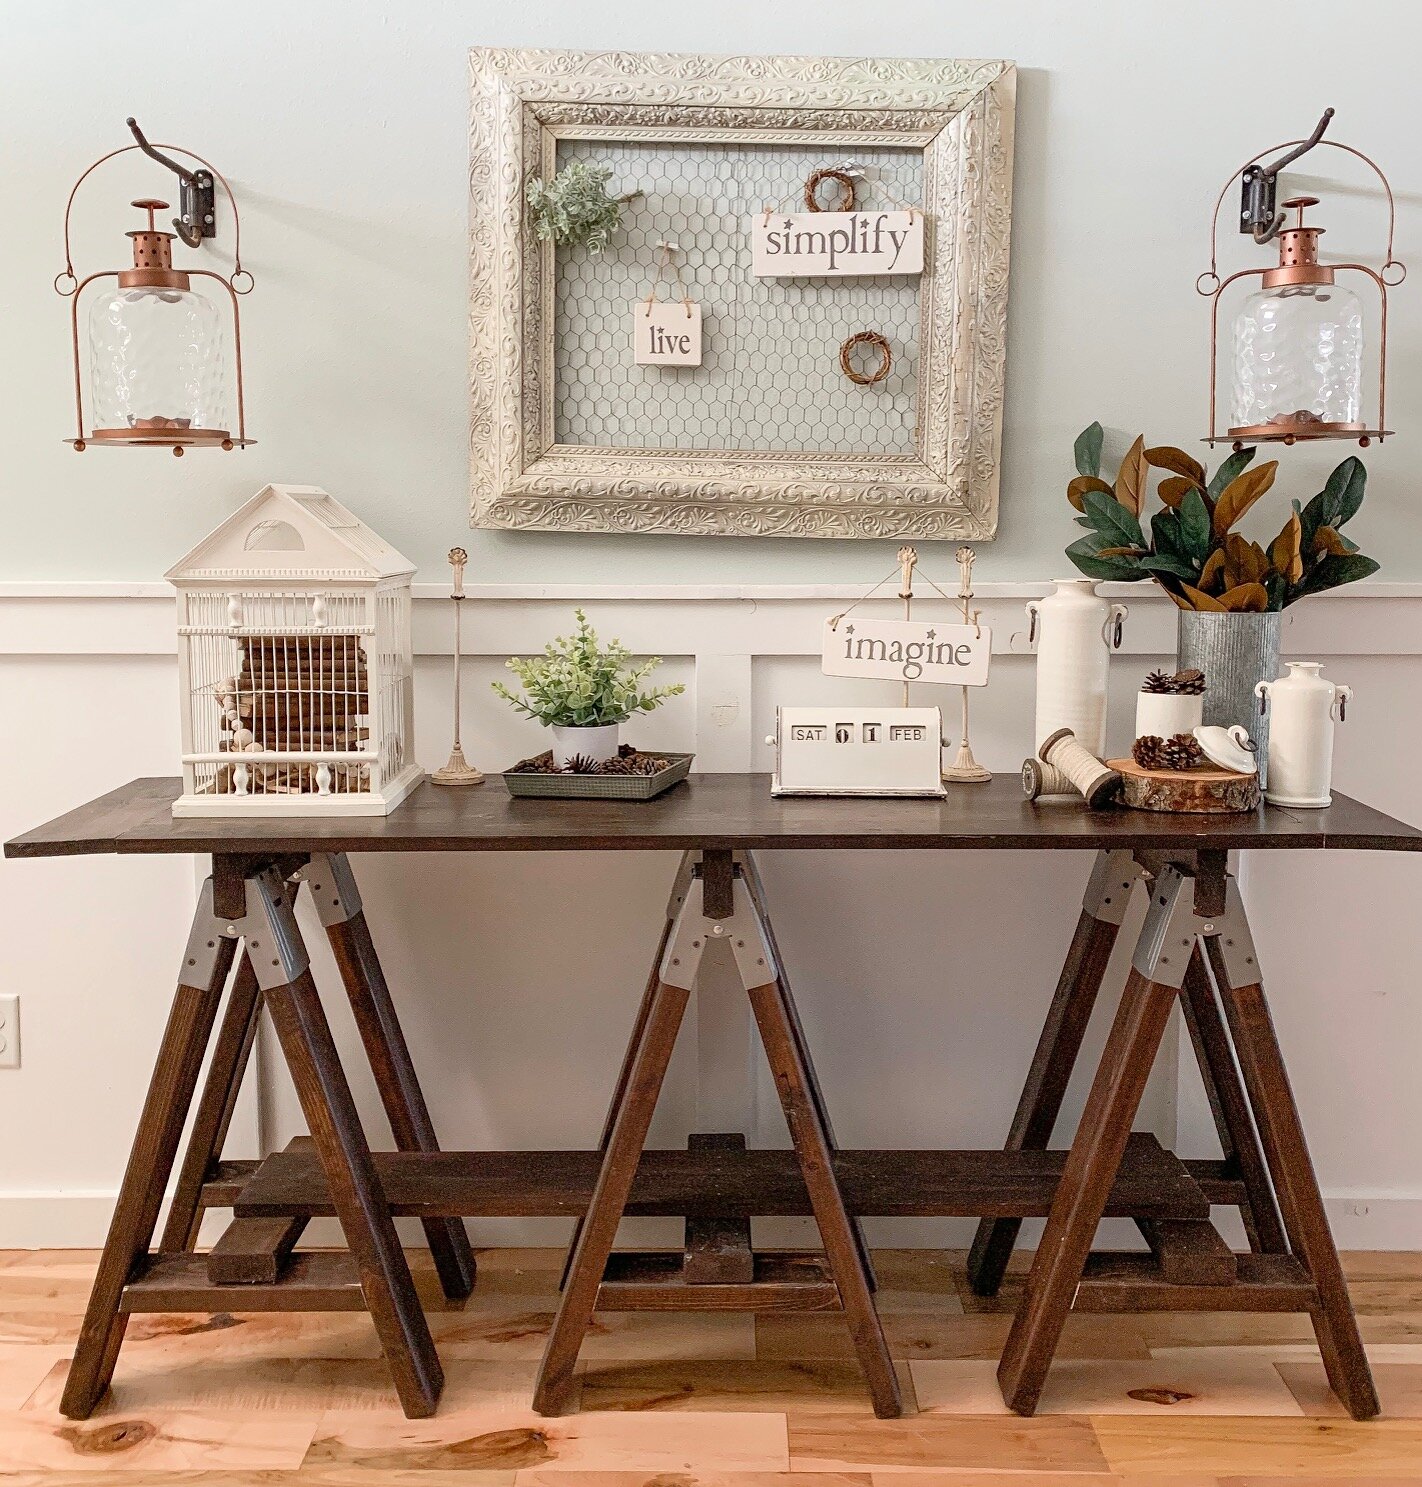
This table came together nicely, minus the crooked frame on the wall but hey, we can’t have it all together ALL the time :)
That’s all I have for you today, thank you for stopping by the blog today and be sure to check back soon for my dining room refresh that I have in the works!
Stay warm out there!
-Rachael
It's a Farmhouse Christmas!
I cannot believe it’s already December, and here we are just a few short weeks from Christmas. Maybe it was the wonky weather, or the fact Thanksgiving was so late this year, but either way I found myself quite unprepared for December’s arrival! I did (finally!) finish getting my house decorated and photographed, minus the front porch, and I am here today to share these with you!
If you are feeling behind in decorating and want some quick inspiration, this post is for you!
Here’s a quick dining room tour!
I love all things budget friendly, and Christmas is no exception! While I do purchase a couple things each year, they are always marked down or on clearance. I mostly just use the decor from previous years in new ways or in new places, and that always makes it seem like a fresh new look. For example, this garland on the table is tucked into my re-purposed chicken feeder that I frequently have on display here, and I added a couple candles and pine cones that I had on hand. Ta-Da!


I made this ‘Merry Christmas’ printable last year and took it to a copy and print shop to have it enlarged and printed on cardstock (for $1). If you would like the file for a quick download, shoot me a message!


Linking our personalized book sets here.
This corner of the dining room is new this year, since I picked up this vintage sewing table super cheap on marketplace. I also grabbed these mint bells from the Target dollar section this year, can’t go wrong with over-sized bells!
On to the kitchen!
I did a whole post on the kitchen that I will link here, but if you just want a couple quick ideas here are some photos from that post!


Next up is the entryway table, and if you have been following along for a while you might remember that I have a terrible time decorating this long table. I strive to keep it uncluttered, but it seems to just collect things on its own!

I am really feeling the ‘woodsy’/tree farm/greens and whites vibe this year, and that is new for me from previous years. I am not entirely sure why I gravitated toward this style this year, but I embraced the challenge to incorporate what I had on hand and decorate this table.
And, the tree
let’s just ignore the un-decorated shelves on the flag wall in the background. This pencil tree was new to us last year (hello Michael’s clearance!) and this nook in the railing is about the only location we can put it at the moment, as we have to tether it with twine to secure it won’t fall over. Our 2 year old has never tried to pull the tree over, but i am sure the moment I didn’t have it secured she would give it a try. Kids just know when you are taking a shortcut!

As you can see, I have a bit of a Starbucks ornament collection going, and soon I will need my own tree just for them. For now, I will just hang them out of reach of little hands.
Also, our tree skirt is just a burlap sack from our local farm store, Theisen’s. They sell them for roughly $1, and while they do shed a bit I like the rustic look they bring to the tree.
Well, that’s all I have for inside decor this year. I have yet to finish my front porch, as I am waiting on something to be delivered that I bought the day after Thanksgiving. Hopefully I will have that post ready sometime before Christmas!
In the mean time, I hope I was able to bring you some decorating inspiration and as always, thank you for stopping by the blog today! All of your support really means a lot to us! I’m going to sign off for now and get back to the farmhouse remodel, big changes happening this week so stay tuned for that!
Cheers!
Rachael

Kitchen Christmas Refresh
It’s that time of year, the most WONDERFUL time of the year! I know some people wait to decorate for Christmas, but I like to get it over with early and enjoy it for a couple of months. Last year I felt like everything got a little too cluttered/cramped around here so I am trying to keep it simple this go around.
I really am feeling the green/white color scheme this year, so you will mostly see that style from me. I started in the kitchen, because that seemed the easiest!
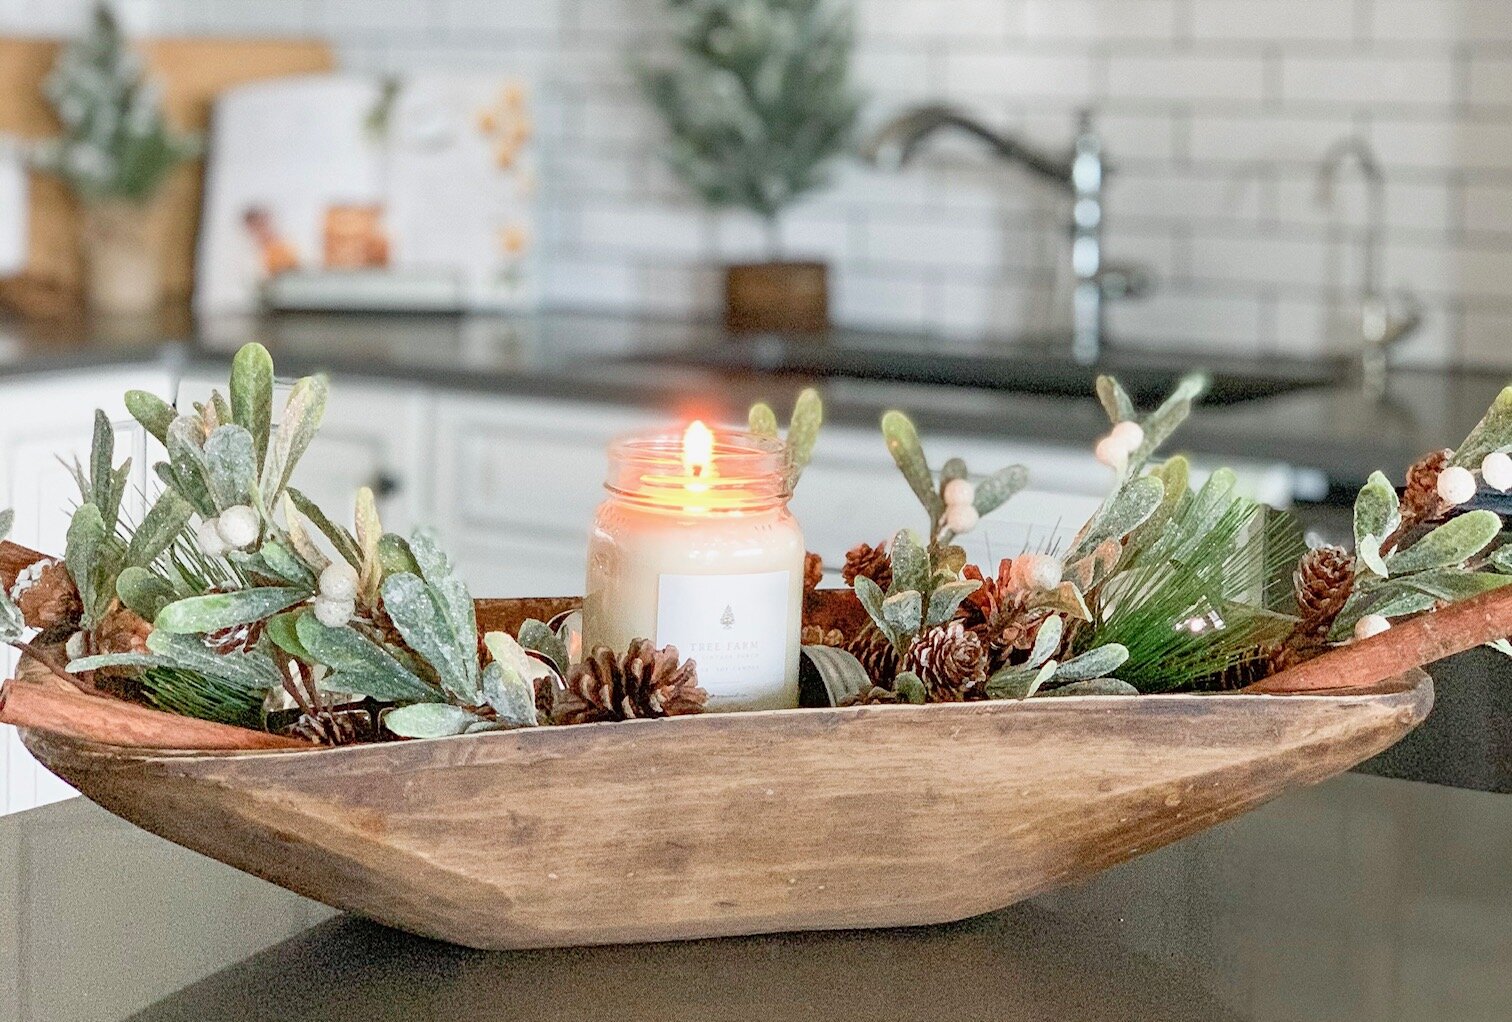
I picked this dough bowl up extremely cheap on a local Facebook site, and it has been sitting in my kitchen ever since. This season I added some faux greens and an amazing candle from my friends over at Antique Candle Co. (I am not an affiliate, I just really like their stuff!). This candle scent is ‘Tree Farm’ which works perfect for giving that real tree smell to a home.

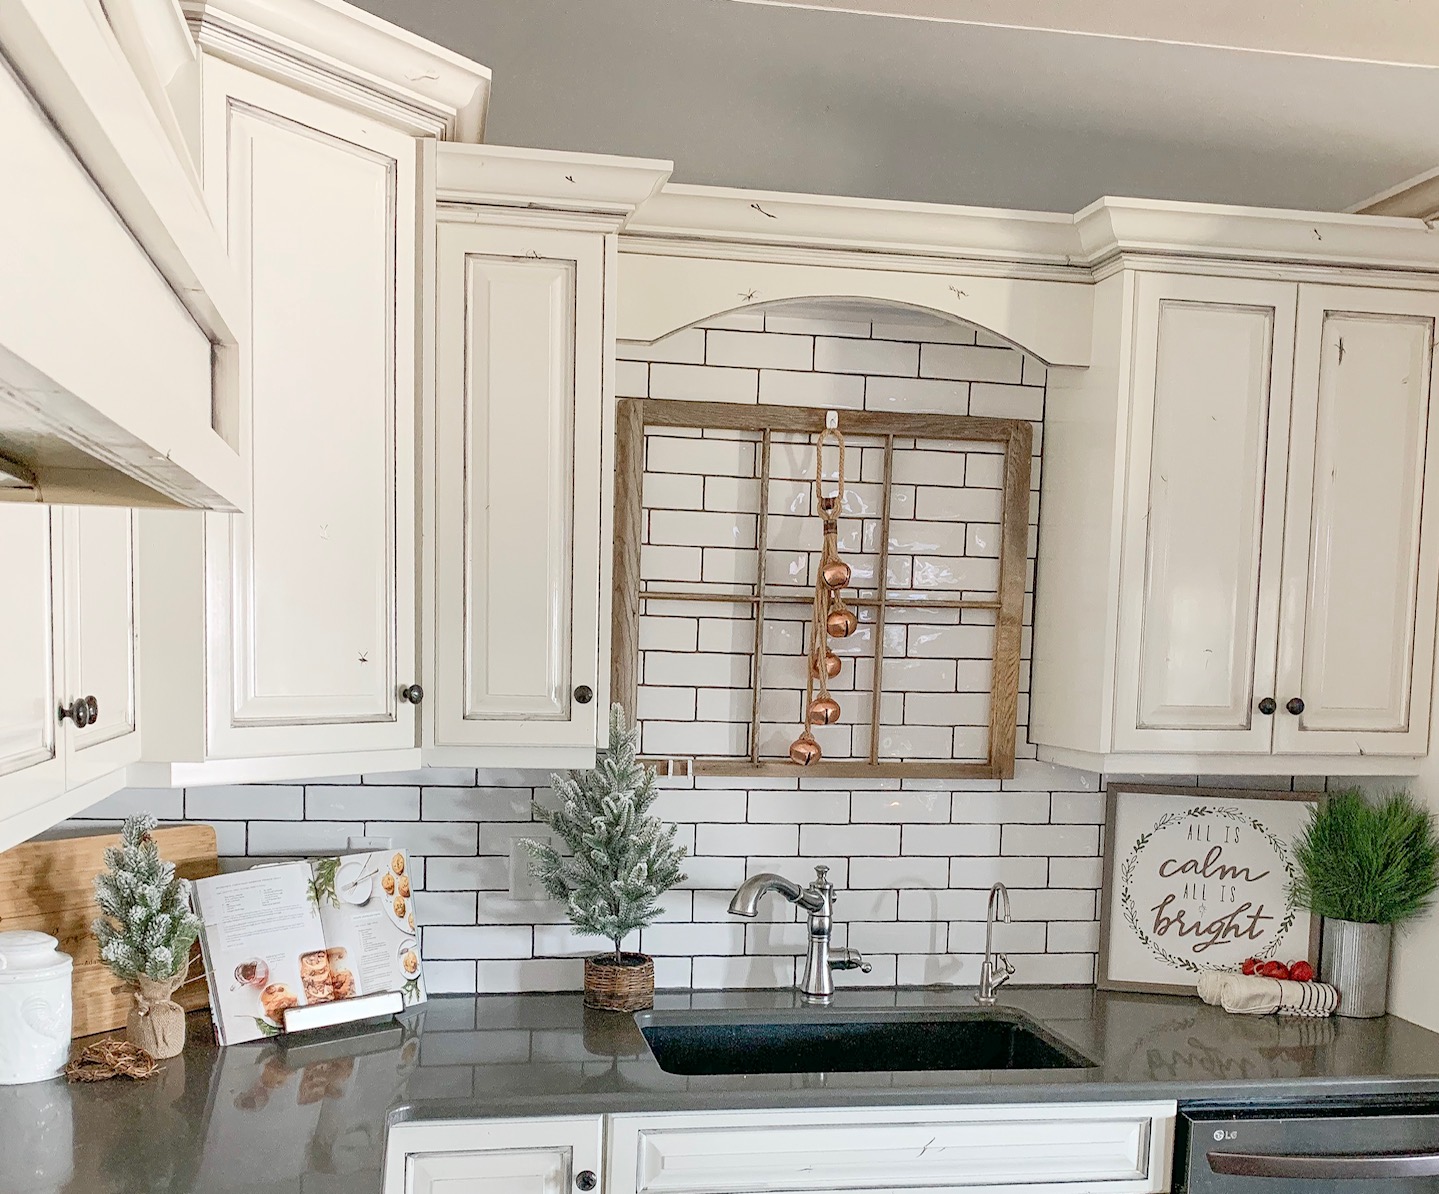
Now on to the sink area, and I struggled with what to put in the ‘window’. Originally, I wanted a wreath, but opted for the copper bells for the sake of simplicity.

It just wouldn’t be the Christmas season without home baked goodies in the company of friends and family. Both of us have close friends we consider family, thus our annual celebration ‘friendsmas’.

Lastly, a simple wreath over the range hood ties it all together! Here are a few additional photos that I took…

Dough bowl close up!

Hopefully my early decorating has provided some inspiration for your own home, feel free to tag me in your photos so I can take a peek! For now I am back to managing the fort, it’s Friday night and that means (most) tasks can wait until the weekend!
Cheers!
-Rachael
Repurposing : The #1 Budget Friendly Decorating Hack
I often get asked about decorating in general, and the cost associated with it. It’s no secret I am an epic bargain hunter, and I think that’s why repurposing old items is my favorite budget friendly decorating hack. The possibilities are only limited by your search terms on Pinterest!
Don’t like an old cabinet or buffet taking up space in your garage? Add some new paint and hardware and turn it into a decor display cabinet or changing table in a nursery. Looking for inexpensive ‘new to you’ furniture? Check out your local thrift store or salvage yard, and then spruce it up a bit.
Today I have a few examples of repurposed items currently on display in my home, and I will share the cost of the items and the updates that I did to them. Feel free to pin any images for later reference!
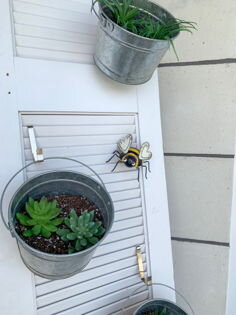
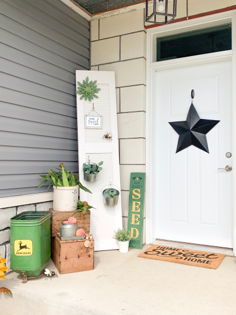
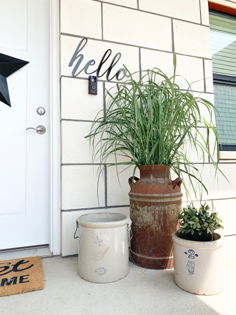
First up, my medicine cabinet turned decor cabinet! I found this beauty at a local thrift store, and I believe the price was only $10 (it was even on sale!). I completely updated it for only $5, and it now sits as a permanent fixture on my entryway wall, and I simply change out the decor for different seasons. For details on how I updated the cabinet, click here.
Total cost: $15

Medicine Cabinet, original condition