Farmhouse Renovation: Month 6 Update

It’s a new month, and that brings a new farmhouse update!

This will be the last update before the finished project reveal, which will be sometime in June. Originally we had planned on this project only taking 6 months, but as we know a pandemic had other plans. We have tried to remain as flexible as possible and just log some extra hours when we can (between essential jobs).

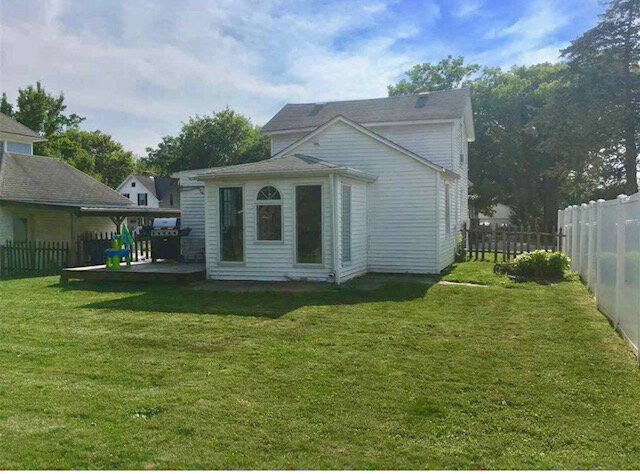
My favorite part of this month’s update is the vertical siding on the front of the home, which is something we have never done prior to this project. The cost of this type of siding is significantly greater than traditional horizontal siding, and I am not sure why other than increased demand due to current trends. Anyway, it looks great! Here’s a close up…

IMG_6041.jpg

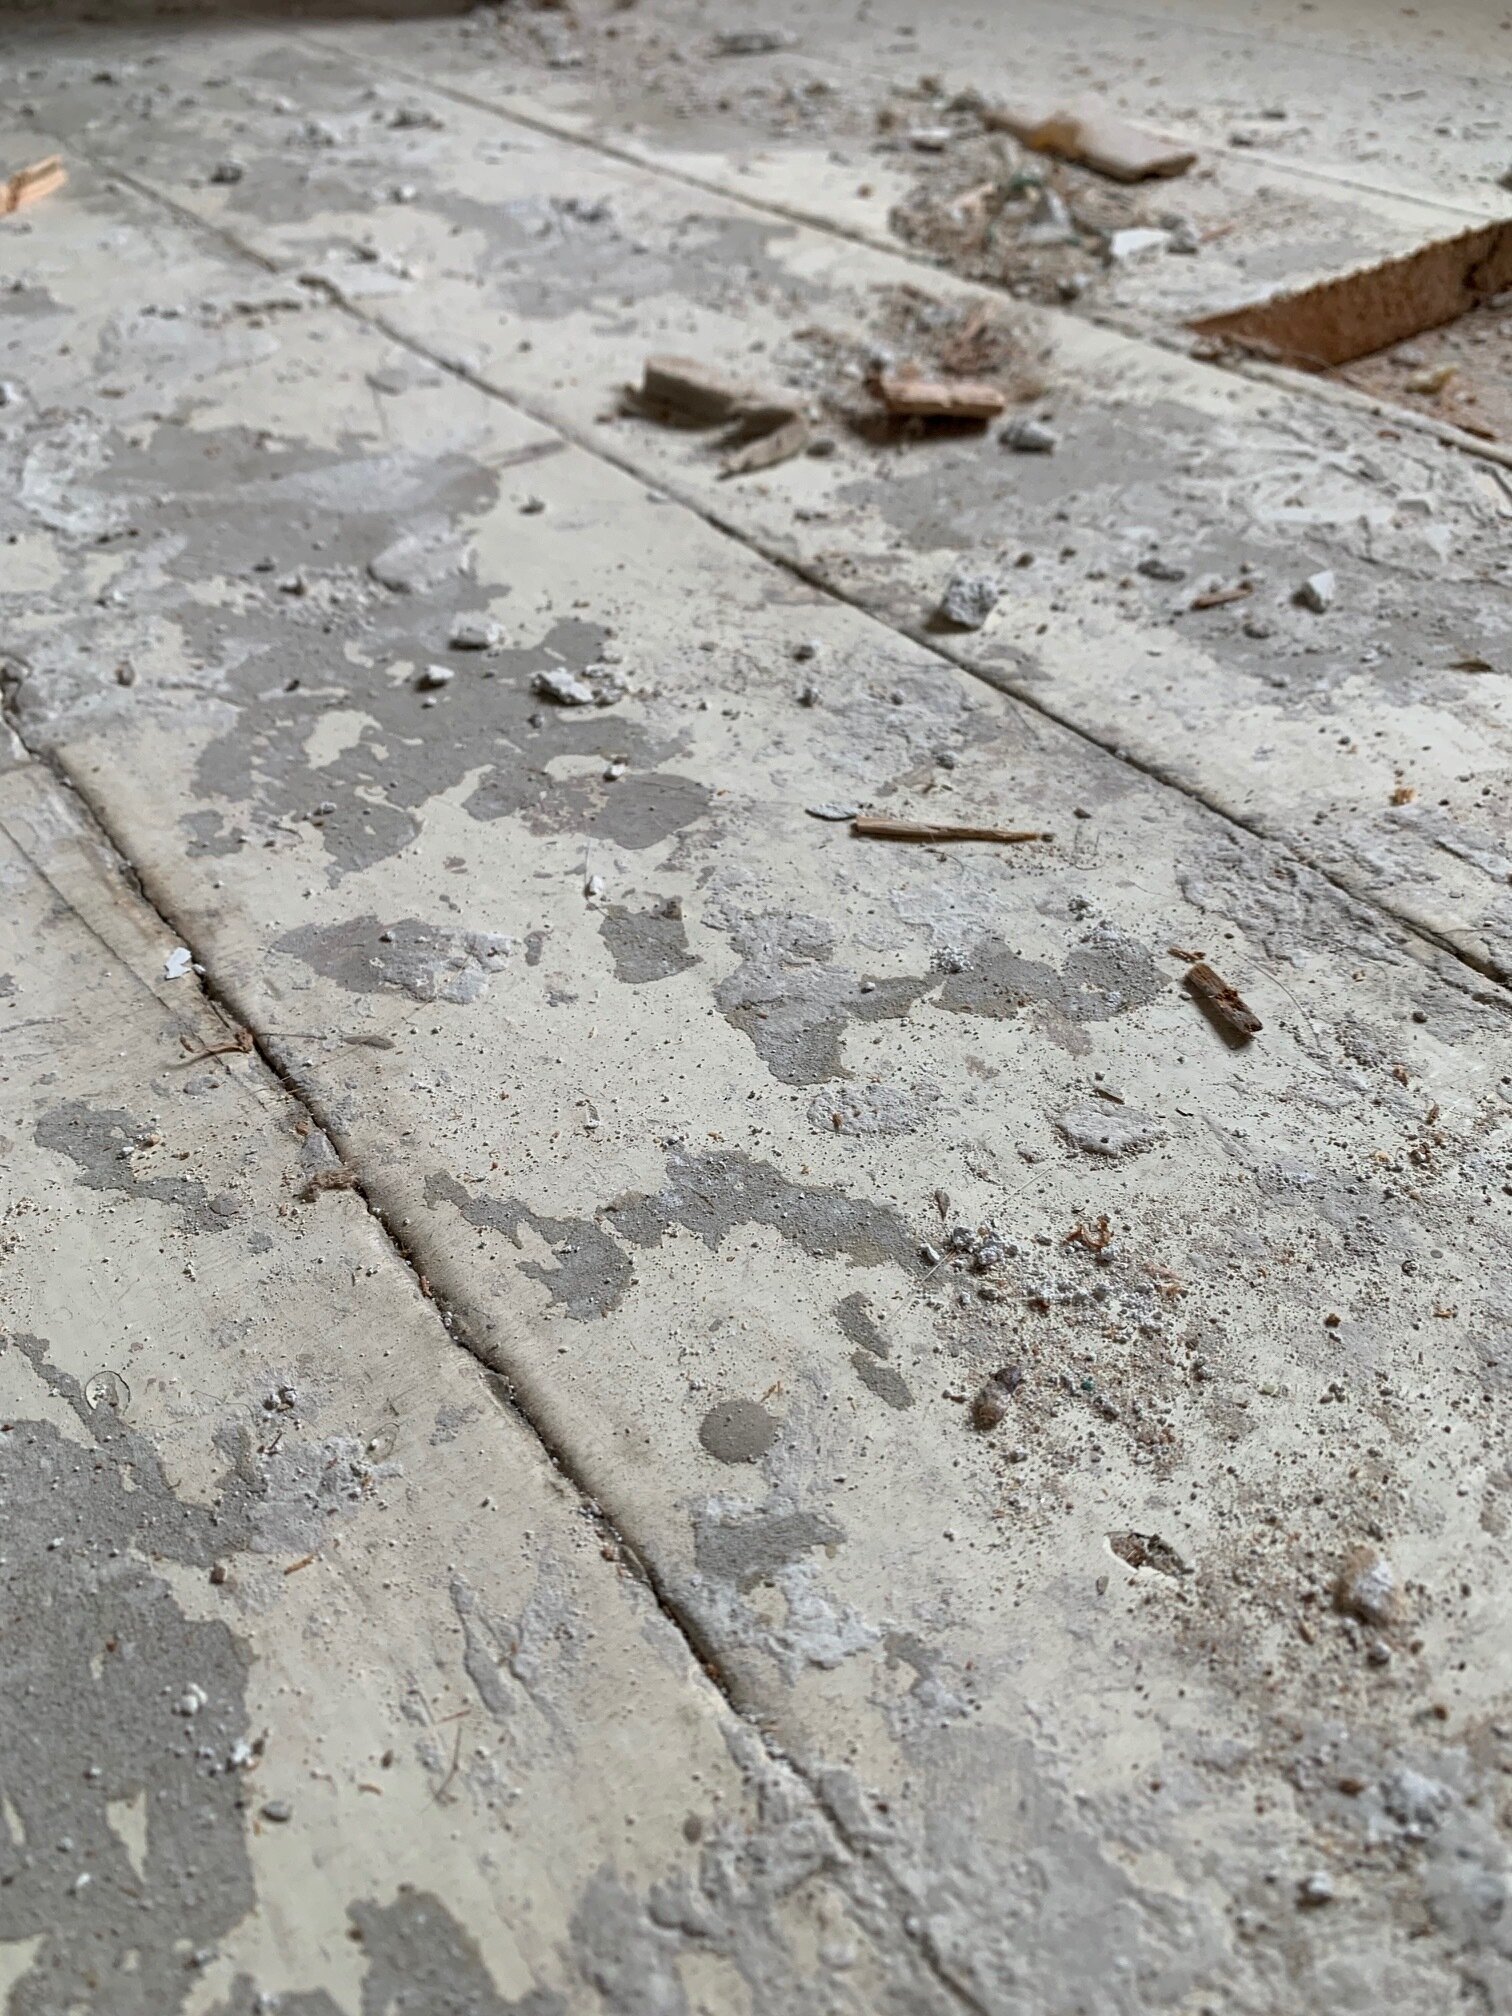
Another addition to the front porch is the tin ceiling, which will naturally rust over time and look older/more original. We also are in the process of installing a deck over the existing porch cement slab, which will level it up and overall just look nicer. Here are a couple photos of the front exterior.

IMG_6136.jpg
IMG_6135.jpg

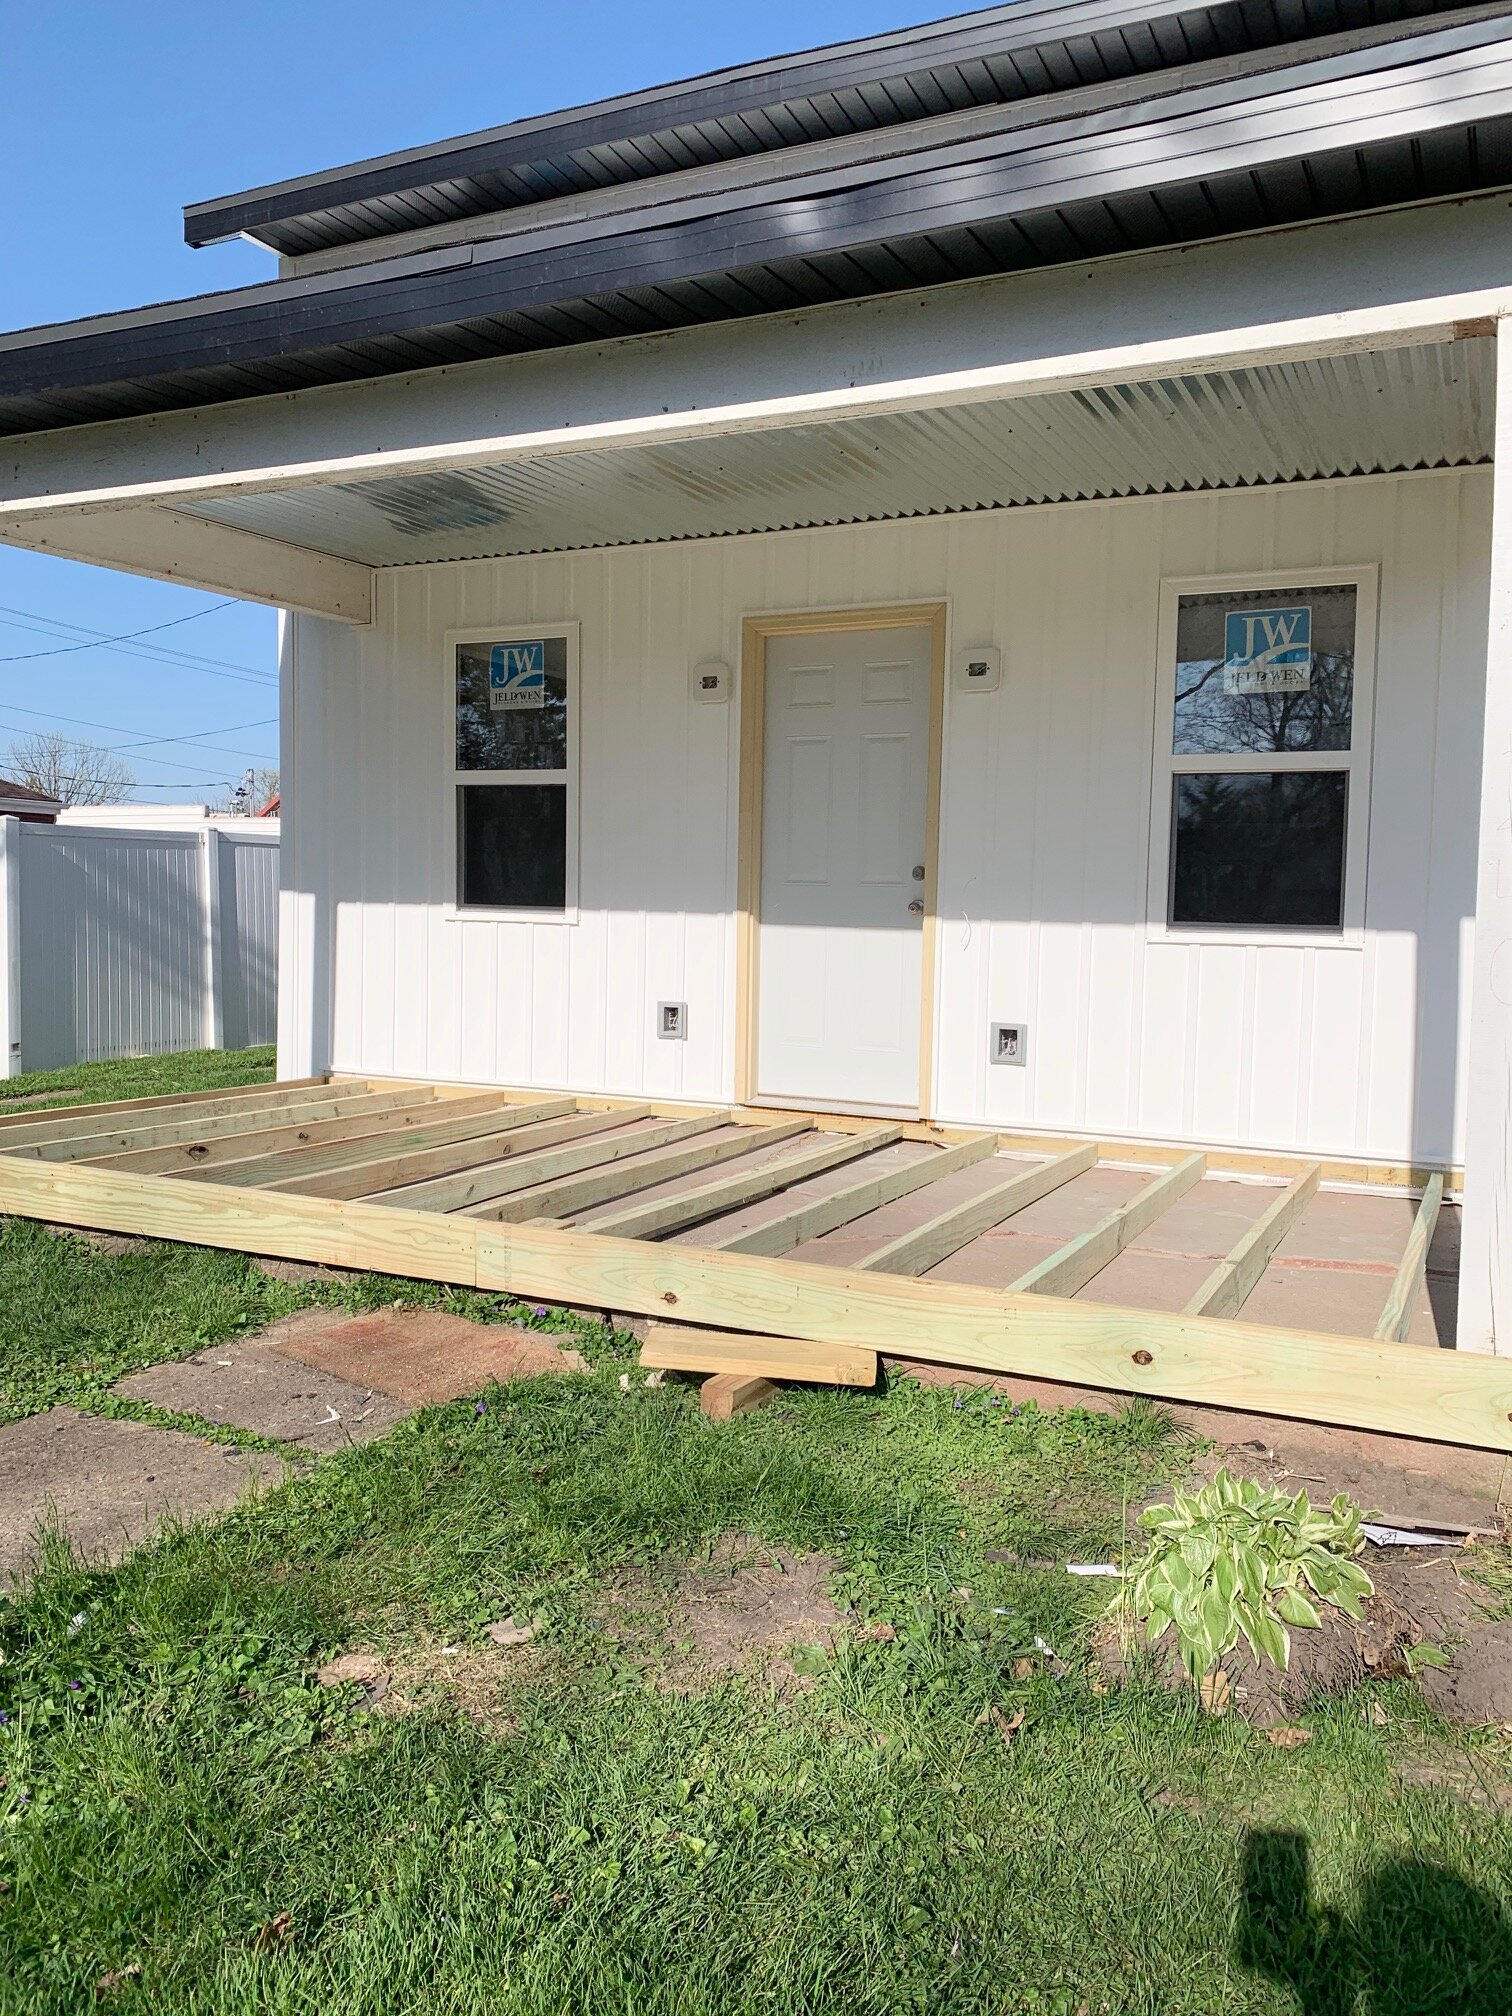
Note: Final door and frame are not installed yet!

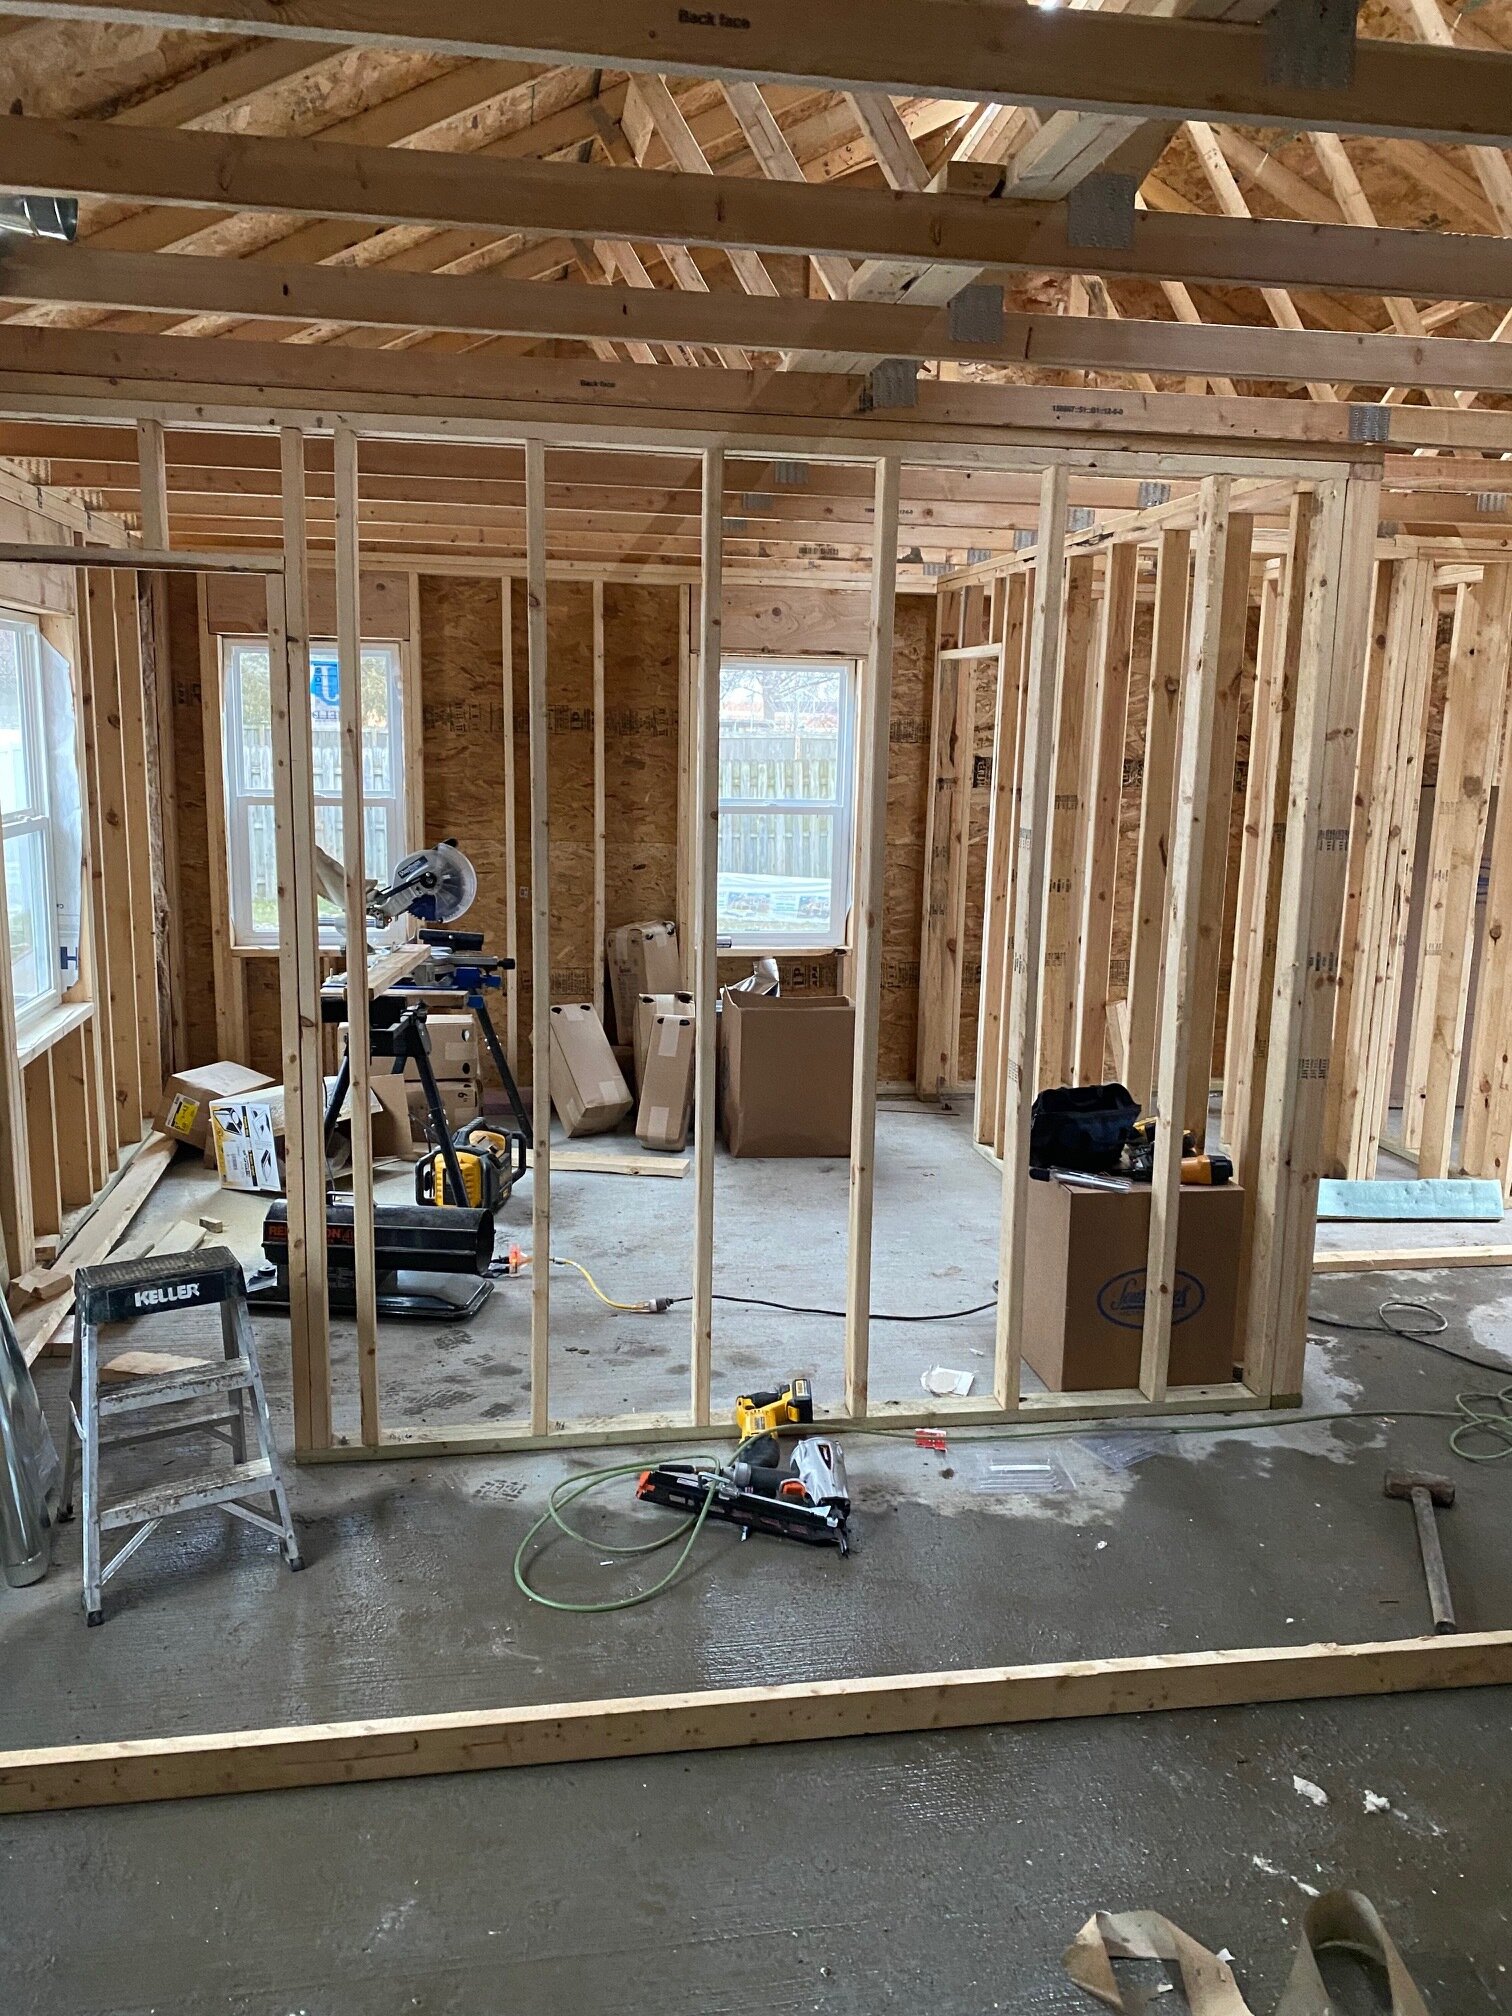
Another exciting install this month was central air conditioning, which was never previously installed in the home. I’m not sure how anyone survived for the last 120 years of sweltering Iowa summers without central air, but we have officially solved that problem!

A/C for the win!

A/C for the win!

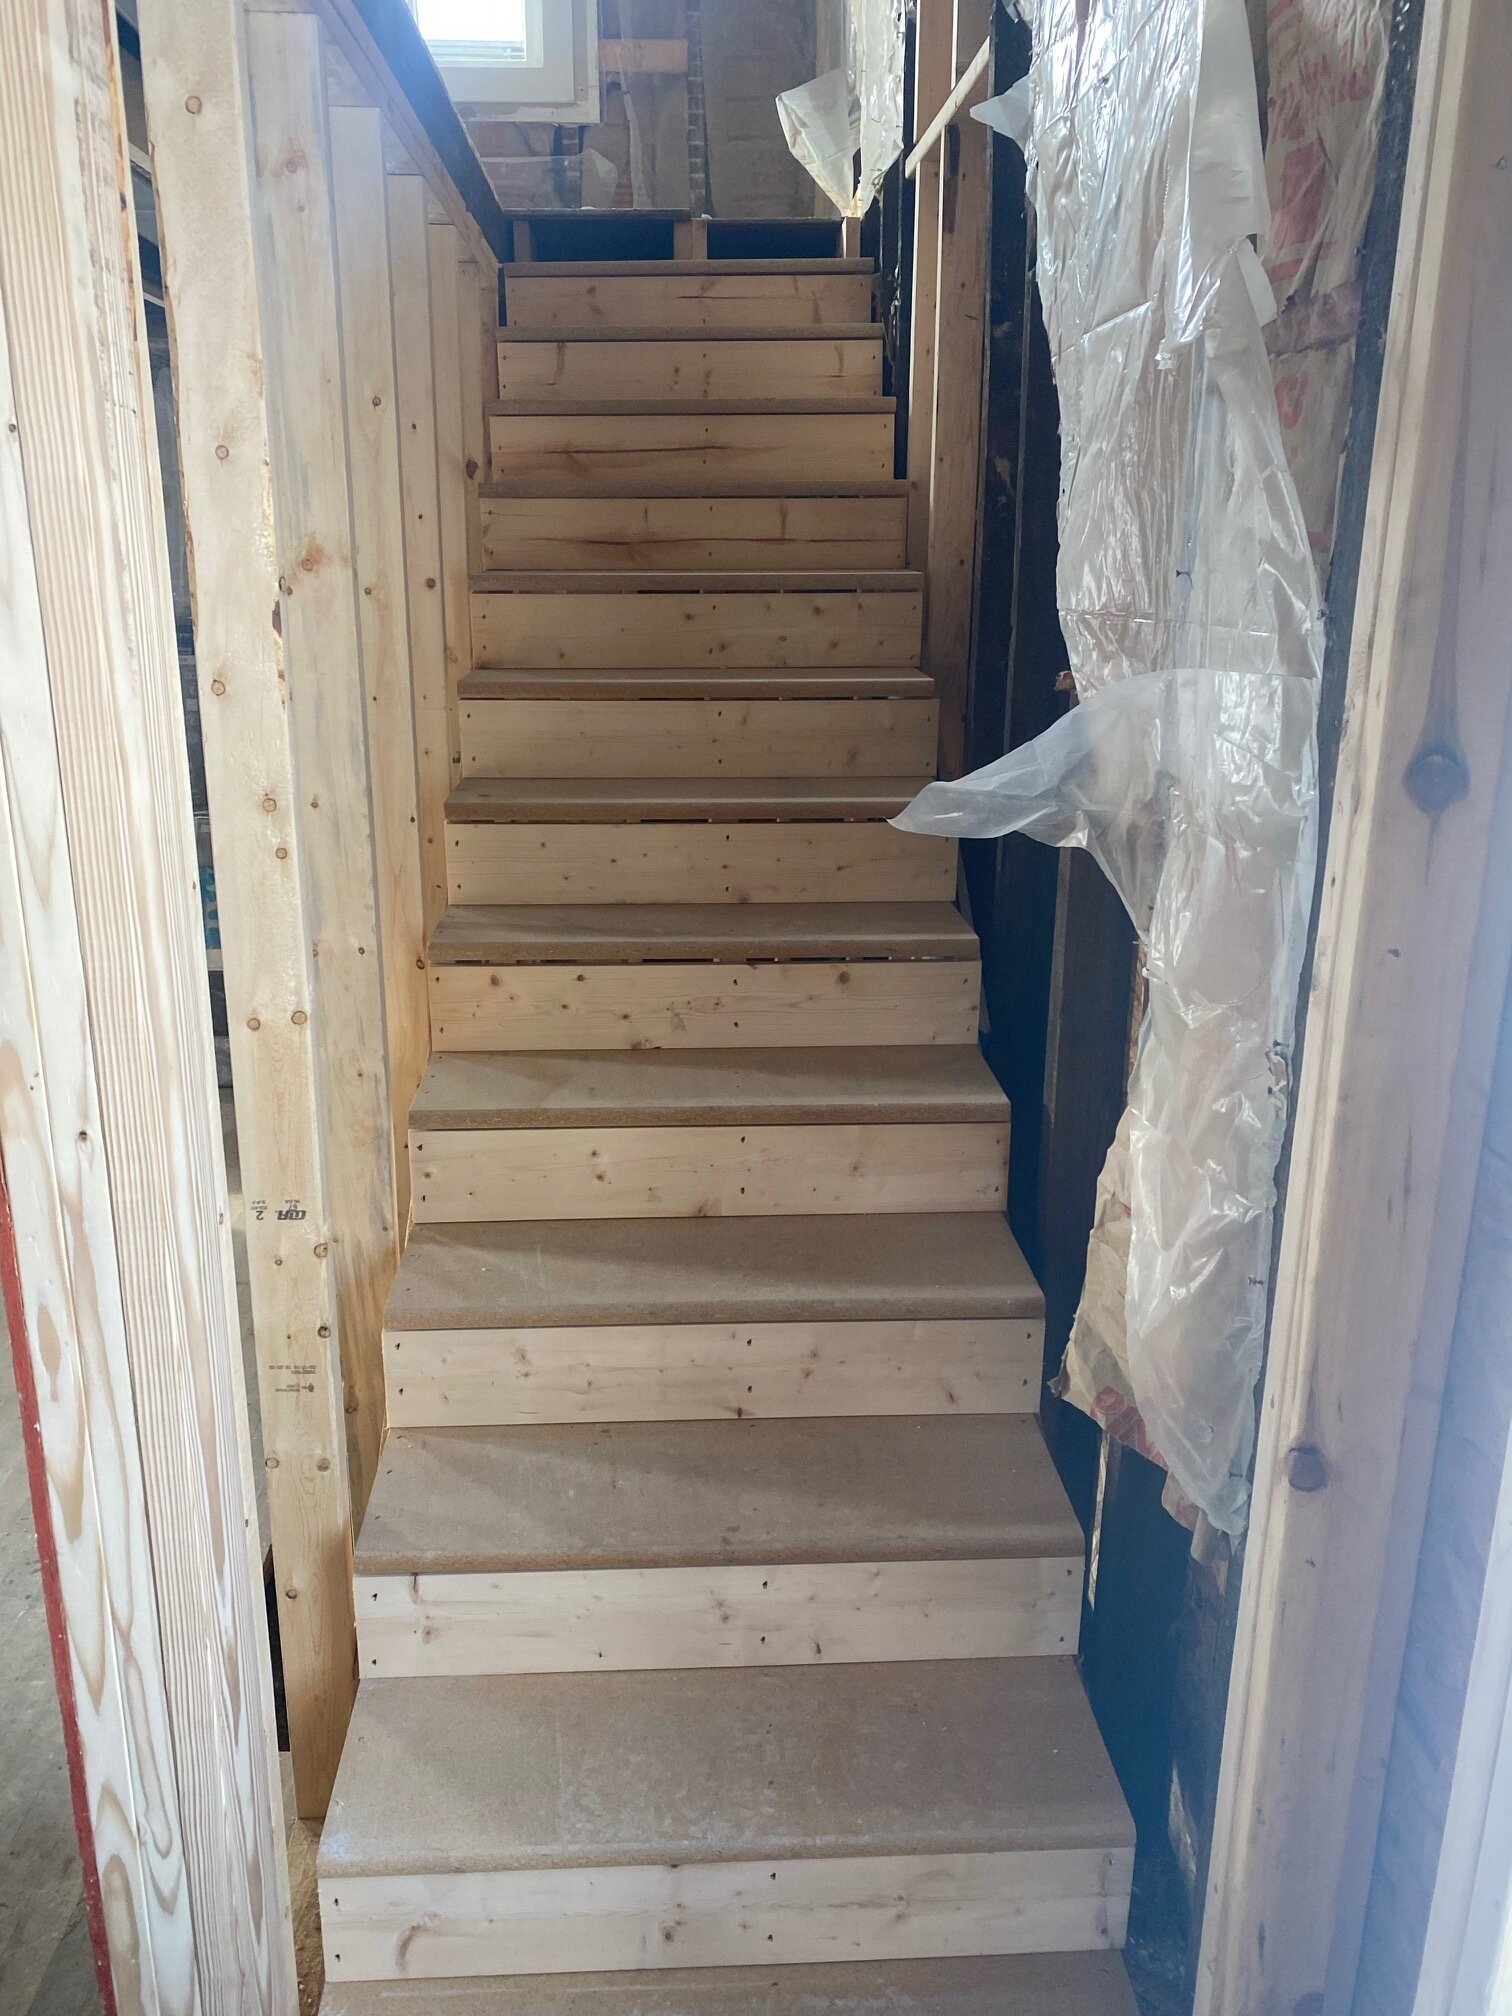
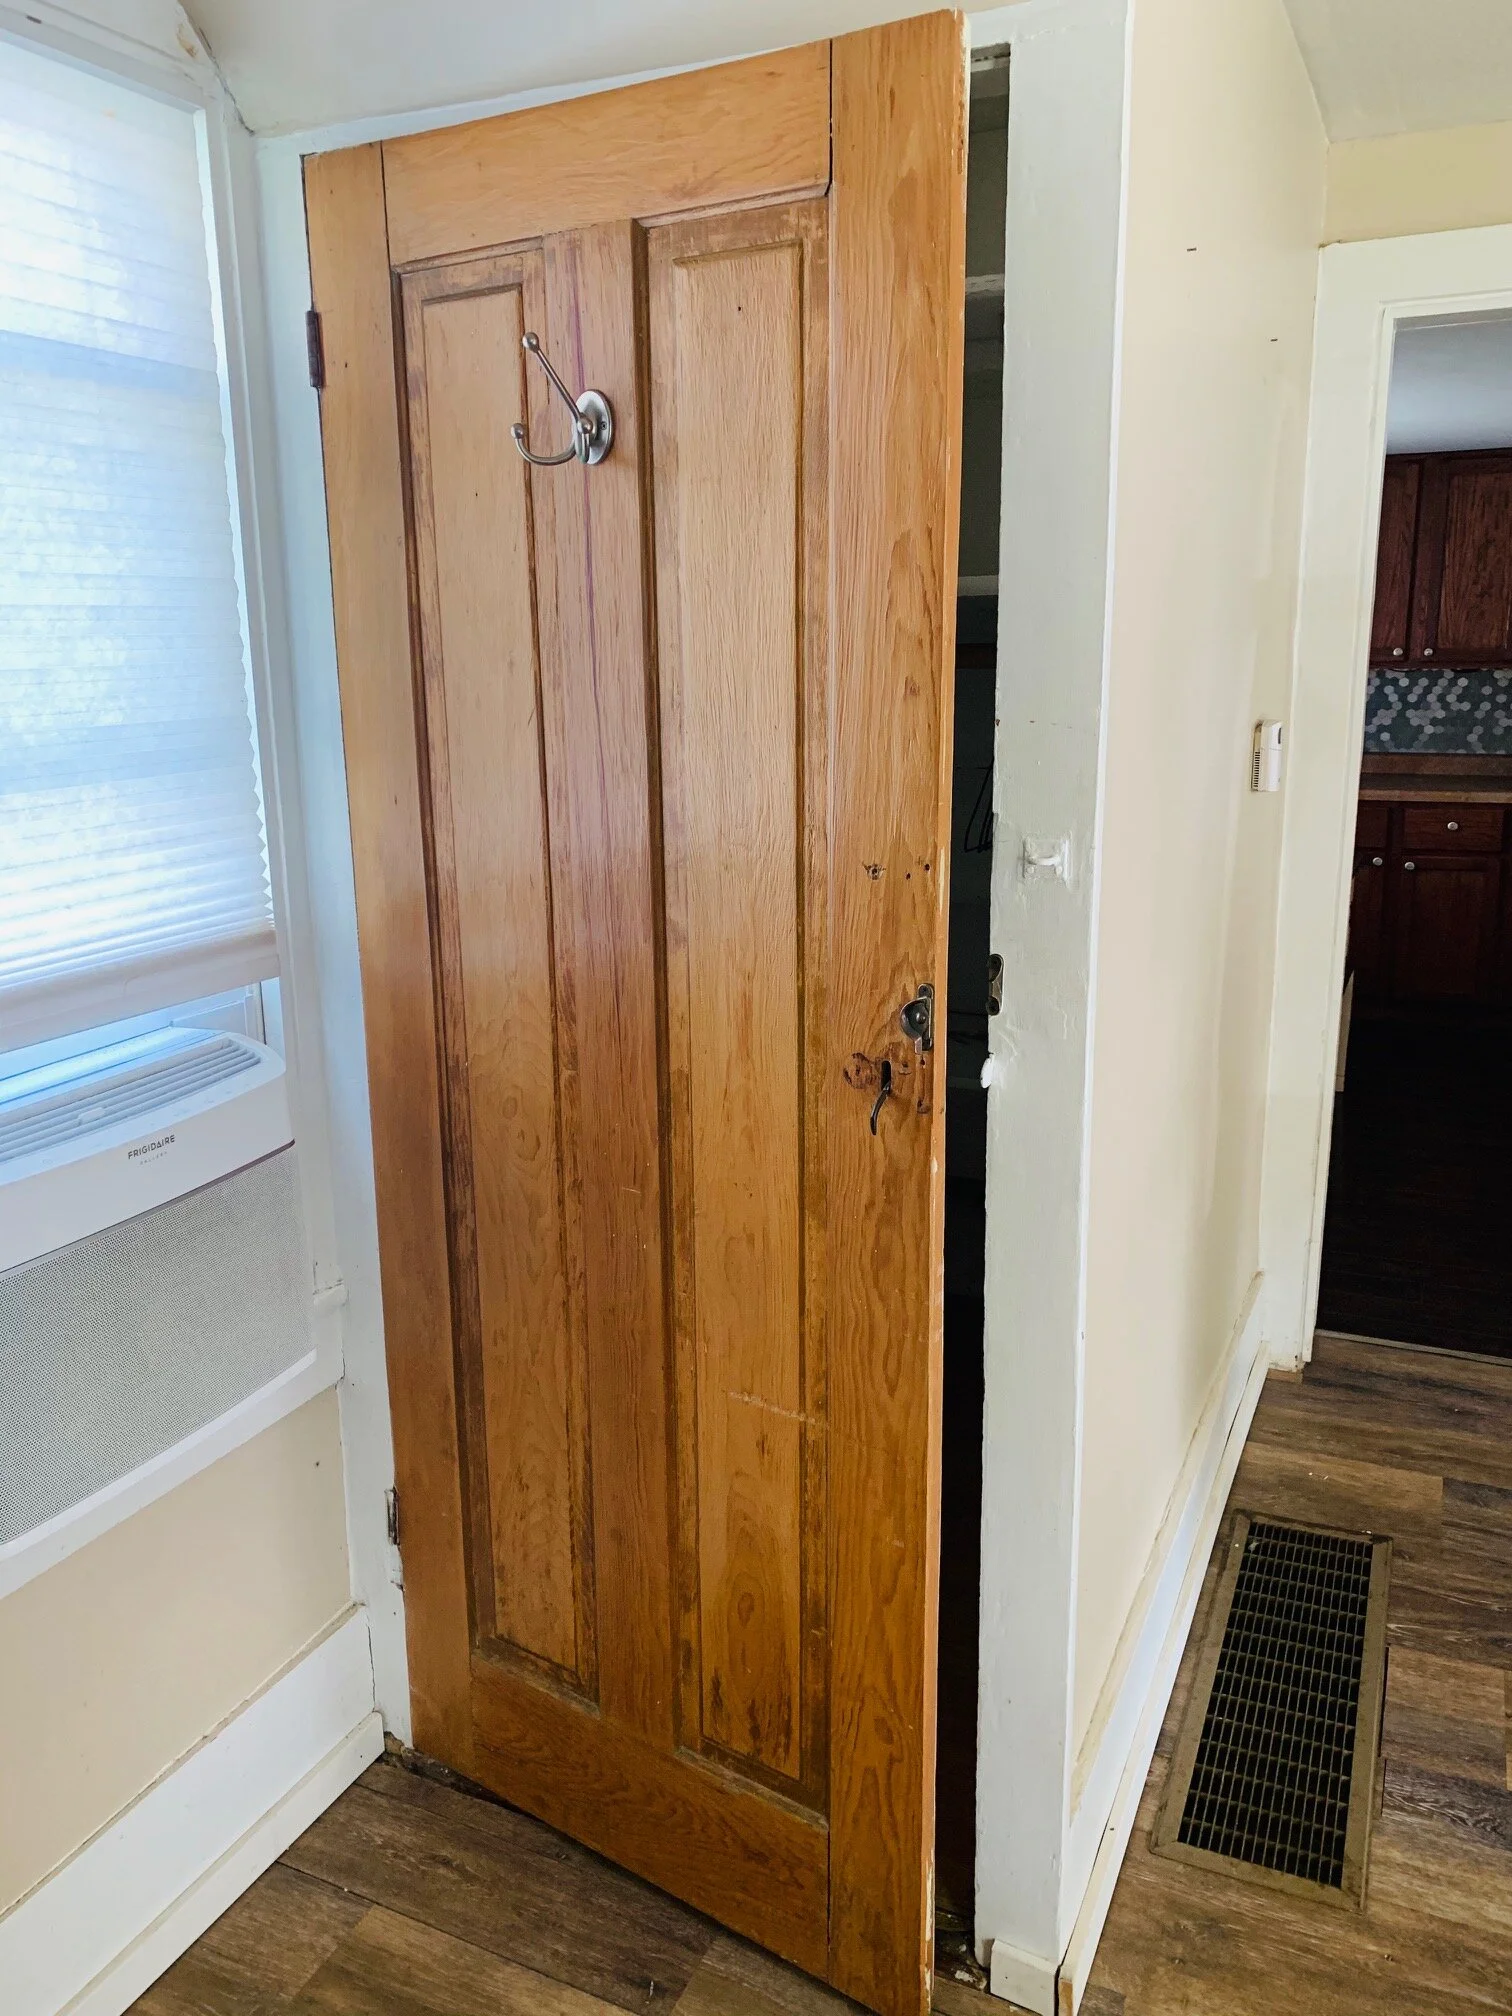
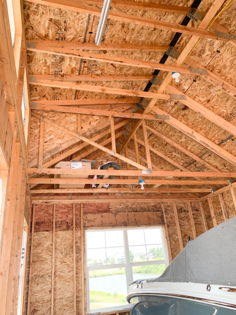
Equally exciting is the addition of attic access and blow in insulation. Iowa is an extreme weather state (extremely hot and extremley cold) so proper insulation is key to managable utility costs. Anyone else get excited about insulation? Just me? Ok…

Attic access in the hallway!

Attic access in the hallway!

That’s all the photos I can share for now, as I need to save some for the final reveal. I’m really looking forward to these next few weeks of finishing touches, and I will probably have a few sneak peek’s over on Instagram.

I hope wherever you are reading this that you are able to stay safe and healthy during this unprecidented time. I am looking forward to finishing this project, for the simple fact of having one less iron in the fire during all of this uncertainty. As always, thank you for stopping by the blog today, it really does mean a lot!

Unitl next time,

Rachael

Farmhouse Renovation: Month 3 Update

It’s time for another update on the farmhouse renovation project!

For anyone new here, we purchased a c.1900 Iowa farmhouse 3 months ago and promptly tore down a large (sagging) section and have been putting it back together ever since. This has definitely been an interesting project, mainly due to there not really being any building codes or rules to follow 120 years ago, so we have had to allow for extra time (and money) to accommodate unforeseen things along the way….(hello super scary/non supported second floor…i’m looking at you!)

Enough on the recap, let’s get on to the accomplishments for the month….

New this month:

-All Plumbing

-Furnace and all duct work

-Interior walls framed up

-All windows replaced

-Almost all the siding torn off original structure, and new OSB and tyvek paper

-All electrical wired up and ready

-A functioning set of stairs

Here are a couple photos showing the updates…

This photo is from the front porch, looking at the front door

This photo is from the front porch, looking at the front door

The porch view after new walls and windows!

The porch view after new walls and windows!

The above photos show just how extensive this renovation has become. Was it in the original plan to tear everything out to the studs? No. However, we needed to replace the improperly installed windows and that meant tearing off all the siding out front. The insulation and sheeting weren’t up to par and not really functioning, so they all had to go too.

Now, this means more work and increased cost, but we would rather spend a few more dollars up front and not have to worry about issues down the road. Plus, this is Iowa so we can’t have poor insulation and improperly installed windows or utility bills will be very high.

IMG_5409.JPG
IMG_5410.JPG

We have repeated this same process, section by section, for the entire house. Only one small part remains, and that will be done shortly. It’s particularly time consuming to do this all in January, but that’s what we have to work with at the moment. I mean, icy scaffolding just makes things more interesting…right?

IMG_0326.jpeg
IMG_0327.jpeg

Next up, we have a fully functional and standard size flight of stairs to the second floor. Gone are the days of ducking your head and climbing super small and steep steps with no railing.

Speaking of the second level, we haven’t been up there for several weeks while there were no stairs, and I lost track of how much we have to do up there as well. Obviously the windows will have to be replaced (might as well do them all, right?) but the flooring and fixtures will need work too.

IMG_5367.jpg
IMG_5366.jpg

The first photo is of the (likely lead) painted original flooring, and we simply cannot sand that down and use it, for obvious reasons.

The next photo is a view from the stairs, and while things might not look too bad up here there is still a bunch of work to do. For example, the door to the second bedroom no longer closes due to the bracing and raising of the floor that was required in order to ensure it would not come down. We also need proper safety mechanisms such as smoke detectors, railings, and windows that are the required size, in case of emergency evacuation. These things can all be done now, since we can now access this part of the house!

As always, our daughter (who we call ‘the inspector’) is as involved as a two year old can be, and she loves to ‘help’. The weather in January has made this somewhat difficult but we work with it the best we can.

Helping dad with the front door

Helping dad with the front door

Giving her approval of the new stairs

Giving her approval of the new stairs

That’s all I have for this update! I will leave you with a fun little before and after of the outside. As always, thank you for visiting the blog today, we really appreciate all of your support!

Cheers!

-Rachael

IMG_5171.jpg
IMG_5411.JPG

Farmhouse Renovation: Month 2 Update

Two months!

It’s been a little over two months since we purchased a 1900’s farmhouse, and then promptly took a bulldozer to a large section of it. We have since added back a large addition (almost 600 sq feet), to replace the torn down section and add some space.

Out with the old…

Out with the old…

In with the new!

In with the new!

Since our last update about two weeks ago, we have the addition completely closed in from the Iowa elements, thanks in part to some amazing December weather. Now if we could just request some daylight after 430 pm…ha!

Now that the new part is enclosed, we were able to open up the wall separating the original section from the new addition, and it was the first time I had seen the old part since we boarded it up! Here are a couple photos…

View inside the new part

View inside the new part

Looking into the original part of the farmhouse

Looking into the original part of the farmhouse

Opening up the walls and ceiling of the original section of the home presented it’s own challenges, including 120 years of dirt and grime. Oh and about 3 layers of ceiling in the old living room! Here are a couple before shots…

IMG_5182.JPG
IMG_0214.JPEG

Tearing into this section was not exactly in the original plan, but in order to update the electrical correctly and put new heating and air duct work in we decided to take it all down. There’s always that one moment in the home improvement shows where something goes wrong, and the owners are left with a decision on how to proceed, and for us it was this ceiling and what was underneath it.

I already mentioned there were a ton of layers to the ceiling, and this left us with quite a mess, but a more alarming issue was how the second floor was being (sort of) supported. The picture below on the right shows ONE board, that is kind of in a notch, and that was what held the floor joists for the second floor. One board, folks!

Lots of layers to the ceiling here!

Lots of layers to the ceiling here!

IMG_5179.jpg

That one board might have made it the last 120 years, but Adam didn’t feel comfortable leaving it one more day, so we had to handle that immediately. Let’s just say that this load bearing wall will soon be almost 12 in thick to provide much needed support to the second floor. Definitely a scary moment, but I am glad we found it when we did!

In other news, you can see in the photo on the above left that there should be some original flooring upstairs underneath the carpet! The second floor will be where our daughter, who we call the ‘inspector’, will have her bedroom and play room. She likes to visit from time to time to sweep and pick up trash, and we will take any help we can get!

Inspector, doing some inspecting

Inspector, doing some inspecting

Well that’s all I have for today! Soon we will be getting into the fun part of a renovation/build, when the rooms really start to take shape. Don’t forget to follow along on Instagram and Facebook, for some fun video updates of Adam working, and the Inspector inspecting!

Until next time…

-Rachael

Farmhouse Renovation Update: Week 6

Hello from frigid Iowa!

Major progress on the farmhouse project this week! Adam and crew braved the frozen tundra (and a ‘snow squall warning’) to frame up the walls and add the truss system, which gives this addition some shape and brings the full size and scale of this project into view.

This photo shows the size of this addition, it’s about 2/3 of the total square footage of the house!

F927EAC2-BCF7-4289-B0E3-2776B5F605E0.JPG

The cold Iowa elements aren’t friendly to power tools or air hoses, but fortunately we are really close to having this project closed up (hopefully this week).

And I couldn’t write this post without recognizing the hard work of Adam and his crew, braving the wind/rain/snow last week to get the the trusses set and keep this project on schedule!

IMG_5015.JPG

Unfortunately, there is no sign of warm weather (above 40 degrees) anywhere in next week’s weather forecast, but that is just how things roll here in the Midwest. Regardless, Adam plans to have the roof closed in and heaters on very soon, so at least the days of frozen air hose lines are numbered!

Well I am off to finish Christmas shopping today, wrap all the things, and try to keep up with the daily grind of this busy household. I am normally an early shopper and have everything done by now for the Christmas prep, but this year time got away from me, so I will just have to grab an extra coffee and make a mad dash to the finish.

Happy Weekend Friends!

Cheers!

Rachael

Farmhouse Renovation: Weeks 3 & 4

Well we have officially owned the farmhouse project for 4 weeks now, and I am impressed with how much we have been able to accomplish despite the colder than normal temperatures. Almost everything that is temperature dependent is finished, and once we get the new structure framed and closed in, it wont matter if the weather turns cold again.

For those of you who are interested in the details…

With temperatures in single digits and low teens during week 3, concrete was not able to be poured so we used this time to frame up the footings and line up the appropriate inspections.

IMG_4770.JPG

Things finally warmed up for week 4! We are obviously starting from scratch here, with 16 in wide and 8 in deep concrete footings. Adam does all his own concrete work, but I think even he was ‘over it’ by the time this foundation was poured.

IMG_0026.JPG
IMG_0027.JPG

Next up, we have the 4 ft concrete walls that will serve as the foundation for the structure we will eventually be adding to the home. As you can see from the photos, we are adding quite a bit of square footage to this home! I think even the city is impressed (ha!).

IMG_0036.JPG
IMG_4839.JPG

It’s definitely been nice that Iowa has given us a break with the cold weather so we could finish some of the temperature dependent parts of this project, and hopefully the weather will hold out one more week so we can get the floor poured. Thanks for stopping by the blog today and joining us for this crazy journey!

Cheers!

-Rachael

Farmhouse Renovation: Week One

Well it’s been quite the week over at the farmhouse renovation project, but we have accomplished a lot despite the Iowa weather skipping fall and turning full winter on us. The short version of the long story is the house is officially prepped to have it’s 3 additions torn off, and with any luck that will happen next week. I have had several questions on which rooms are staying and which are being torn down, so here is a breakdown:

Staying

  • Living Room

  • Upstairs Bedroom & Bonus Room

  • Front Porch

  • 1 Car Garage

Going

  • Kitchen

  • Bathroom/Laundry Room

  • Creepy Basement

  • Sunroom

  • Deck

  • Most of the Fencing

  • Lean-to Driveway Covering

We made some exciting discoveries this week while de-constructing the home, it is so interesting to me to think of the history within those 119 year old walls!

I have no idea who John or Amy are, or how old this touching tribute is! HA!

I have no idea who John or Amy are, or how old this touching tribute is! HA!

SUPER SCARY BASEMENT——No thanks!

SUPER SCARY BASEMENT——No thanks!

But the most impressive discovery of the week was by far these original wood floors (covered in wood-look vinyl tile). These floors are in surprisingly good shape and just need some TLC.

IMG_4528.JPG
IMG_4527.jpg

These floors are in the portion of the home that is staying intact, so we will come back to them later on. For now, this section of the home is being boarded up to protect it from the elements while we tear off the rest of the house.

This past week we:

-removed all appliances and fixtures from the tear down portion

-took down the lean-to structure attached to the garage

-took out fencing and other obstacles to make room for heavy machinery

-acquired the necessary permits for demolition

-had utilities disconnected

IMG_4518.jpg
IMG_4537.jpg

We had two random snow events this past week, and some unseasonably cold temps for October in Iowa, so that made outdoor work kind of difficult. Despite all of that, we have the property ready for the heavy machinery to come in next week and get to work. Adam is out of town for work all week, so that leaves me to manage whatever issues arise (yikes).

Hopefully the tear down goes as planned and we can start digging for the new foundation next week, as we really need to get that concrete poured before it’s too much colder here. Although, knowing Iowa, it will be 60 degrees in December so maybe we can take advantage of that! All we have to do is get it closed in before the frigid air arrives and then we can work with heaters and etc. It’s not ideal, but it’s where we are at this point.

I have some videos saved under ‘highlights’ on Instagram, if you are interested in seeing some of the excitement over the last week. Also, I will try to record as much of the demolition as possible next week (when I’m not running 1800 errands or handling whatever snags arise).

With that being said, I had better get back to making my list for next week! Thanks for stopping by the blog today, it’s definitely an exciting time in our lives!

Until next time-

-Rachael

We Bought A 1900's Farmhouse!

You read that correctly! Today we just dove right into the deep end and bought an authentic Iowa farmhouse built in 1900. This will be our biggest project to date, and either the best or worst idea we have ever had.

Your first question might be “WHY?!”, and to be honest I have asked myself this daily for the past month while this deal was in the works., including this morning.

The answer is complicated…but in the end it just felt right. The land value will only increase with time, and the home needs major repair but it’s not outside the scope of our abilities. We have always gone with our gut feeling on these types of things, and so far they have turned out ok, but that doesn’t make this huge purchase any easier on the mind! We have other properties that we own, but people live in those and thus pay for them. This home will not have anyone living in it, as it needs a major overhaul, so that’s where the added “yikes” factor comes from!

OK, here it is!

IMG_4409.jpg

The home is made up of the original structure from 1900, and three separate additions that were added over time. Our plan is to take down those three additions, and then add one larger one, with a single all-encompassing roof structure. The existing additions were either done improperly or they have deteriorated over time, and some of the resulting issues are so major it just needs torn down and replaced (ex: ceiling sags very low in the kitchen).

The good news is, the original structure is in good shape and just needs cosmetic work. There are also several features intact that show the home’s character and age. Here are a few snapshots from just today where you can see the original door, built-in cabinet, and (my favorite) the 8 inch trim.

IMG_4407.jpg
IMG_4408.jpg

I will get a full set of ‘before’ photos prior to doing any work, but the living room and upstairs bedroom are all that are staying in their original condition, and everything else is being torn down.

Speaking of work, I had better get back to this demolition permit, stay tuned for updates…..it still remains to be seen if this is our best or worst decision to date!

Thank you for stopping by the blog today! Check back with us soon!

-Rachael

The Boathouse Project

We are in Summer’s home stretch, and the Iowa heat and humidity have certainly been oppressive at times! That, combined with a tornado, made this outdoor client project particularly challenging, so we were really excited to finish it last week. Here are some of the pictures and details of “The Boathouse”.

77596cd4c3a343212faaeeabf841aa53.jpeg

The details:

-14ft by 26 ft building

-364 sq feet

-10ft 2x4 walls with active dormer

-200 amp electrical service

-8/12 pitch roof with asphalt shingles

We have had several comments that this building looks like it could be a tiny home, and plumbing aside it really could be! The poured concrete walls and polished floors make this building bug and critter free…not just your typical back yard shed! Here’s a peek inside at all the lofted space.

645f4720334f7ae4a5198bbf24b7452b.jpeg

The 10 foot walls provide a lot of extra space for storage racks or shelving in the future. And the 9 ft tall garage door helps with backing in a large boat full of lake accessories. For the below picture, keep in mind that Adam is 6ft 4in tall!

851bf6ad60970c6efd549879311900c1.jpeg

We have a couple more outdoor client projects lined up for the late Summer/early Fall, however they are not as labor intensive as this was. It’s always exciting to see a project come together, and this one was no exception! For now, we are on to the next as we need to squeeze out every last day of Summer that we can…( Maybe someday I could have something similar to this boathouse as my very own she shed! A girl can dream! haha).

Unitl next time friends!

Rachael & Adam

The Easiest Decor DIY Ever!

Hi there! I’m writing to you from sunny Iowa, and while 40 degrees might not be warm where you are from, it’s certainly a welcomed sight in this region! Today I have a super easy and quick DIY ready for you, perfect for filling in those small spaces in your home.

You will need:

  1. Twine

  2. Clothespins

  3. Scissors

That’s it!

Let’s get to it!

I picked up these clothespins and twine from Lowes

I picked up these clothespins and twine from Lowes

Now that you have everything gathered up, take the scissors and cut a 2 to 3 foot section of twine and begin to wrap it around a clothespin, with no particular pattern. I like to choose varying lengths of twine and make some clothespins ‘fatter’ than others, so they all appear different when piled up together. Repeat this process as many times as you desire, and you can either hot glue the ends or simply tuck them in.

These little twine clothespins are great fillers for any decor, since they are neutral and not specific to a season. Here are a couple photos of how I used them just today.

a71d47622b411b621d3957acb9cb4488.jpeg
f8b947043b83bacaeee2691de36f575d.jpeg

This project was also very budget friendly, I think the grand total was around $7. For those looking for clothespins, I found them in the cabinet organization section at Lowes (don’t ask me why they keep them there, I never understand how that place is organized).

Well, I am headed back outside now that all of my winter decorations are officially unfrozen from the front porch….it’s time to clean that area up!

As always, thanks for stopping by the blog today!

Signoff.jpg

Toy Chest Makeover - DIY

Hi friends! It seems we have found ourselves in an endless cycle of snow days here in Iowa, but I’m using this time to complete all those small projects I never seem to have time for. Today I’m going to share with you my most recent project, a quick and easy makeover of a children’s toy chest.

My husband found this toy chest on Facebook marketplace a few months back, and it had been sitting in our garage as a kind of ‘rainy day’ project. Well recently I found myself with some free time due to terrible weather, and decided to give it a quick makeover.

Here are a couple before photos of the top and sides of the piece.

IMG_0735.JPG
IMG_0726.JPG

I removed the hardware that attached the top to the rest of the box and ran a sander over the entire piece to smooth out any rough edges, since a one year old would soon be climbing all over it.

Next, I painted the entire toy chest with some furniture paint and allowed it to dry. The original hardware was a dull brass color, but some black spray paint fixed that!

I decided to add a little DIY stencil to the top piece of the toy chest, and if interested you can see my complete stencil tutorial here.

My ‘stencil’, which is just large font printed on regular paper.

My ‘stencil’, which is just large font printed on regular paper.

Below is an up-close photo of how the stencil turned out, ignore the mess!

57014445217__80F87A59-26DD-4AB3-BBF6-94C881AB3812.JPG

After everything was dry my husband was nice enough to put it all back together, and he added a couple rubber stoppers to the inside of the lid to prevent little fingers from being pinched. Overall, it was a quick no-cost makeover and now matches the decor in my daughters room.

IMG_0925.JPG
Rubber stopper to prevent pinched fingers

Rubber stopper to prevent pinched fingers

IMG_0924.JPG

That’s it! This project was a little time consuming due to the stencil, but with several days in a row of negative windchill, it seemed I finally had the time to take this on so I went for it!

As always, feel free to follow us on Instagram (@aps_design) for all of our up to the minute projects and behind the scenes antics! :)

Signoff.jpg