Hi friends! It seems we have found ourselves in an endless cycle of snow days here in Iowa, but I’m using this time to complete all those small projects I never seem to have time for. Today I’m going to share with you my most recent project, a quick and easy makeover of a children’s toy chest.
My husband found this toy chest on Facebook marketplace a few months back, and it had been sitting in our garage as a kind of ‘rainy day’ project. Well recently I found myself with some free time due to terrible weather, and decided to give it a quick makeover.
Here are a couple before photos of the top and sides of the piece.


I removed the hardware that attached the top to the rest of the box and ran a sander over the entire piece to smooth out any rough edges, since a one year old would soon be climbing all over it.
Next, I painted the entire toy chest with some furniture paint and allowed it to dry. The original hardware was a dull brass color, but some black spray paint fixed that!
I decided to add a little DIY stencil to the top piece of the toy chest, and if interested you can see my complete stencil tutorial here.
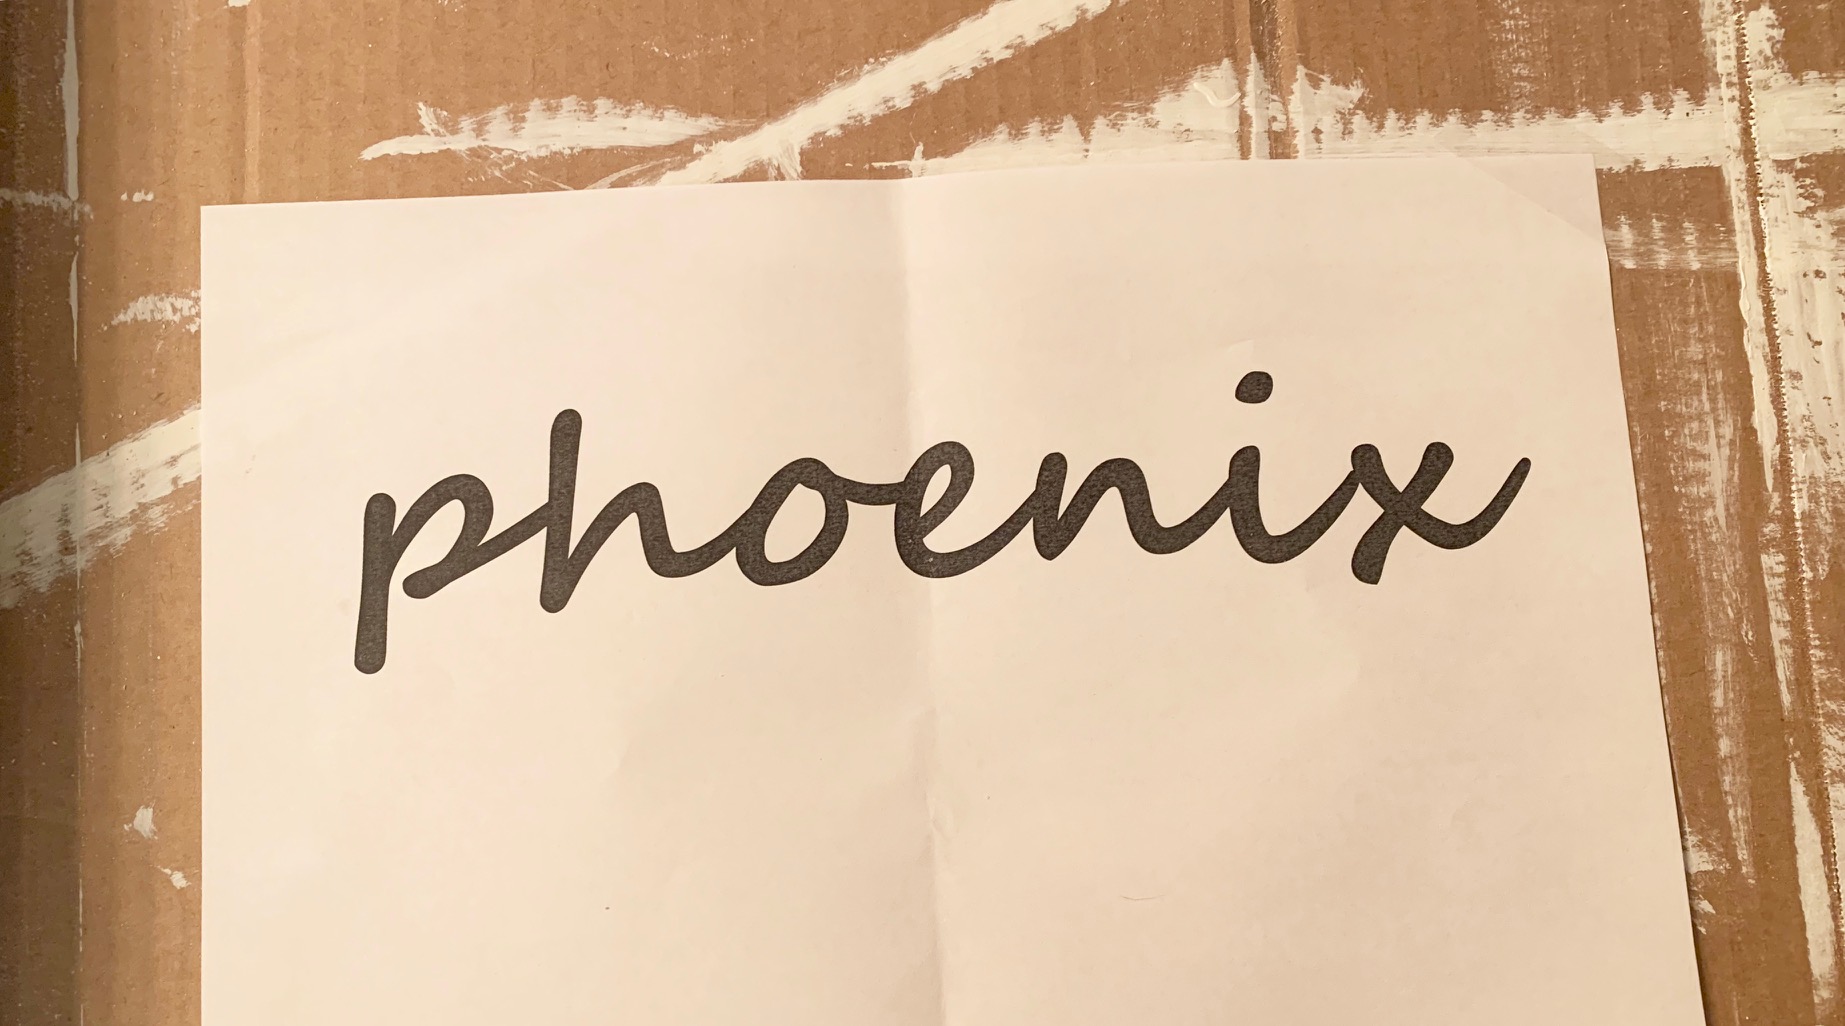
My ‘stencil’, which is just large font printed on regular paper.
Below is an up-close photo of how the stencil turned out, ignore the mess!

After everything was dry my husband was nice enough to put it all back together, and he added a couple rubber stoppers to the inside of the lid to prevent little fingers from being pinched. Overall, it was a quick no-cost makeover and now matches the decor in my daughters room.
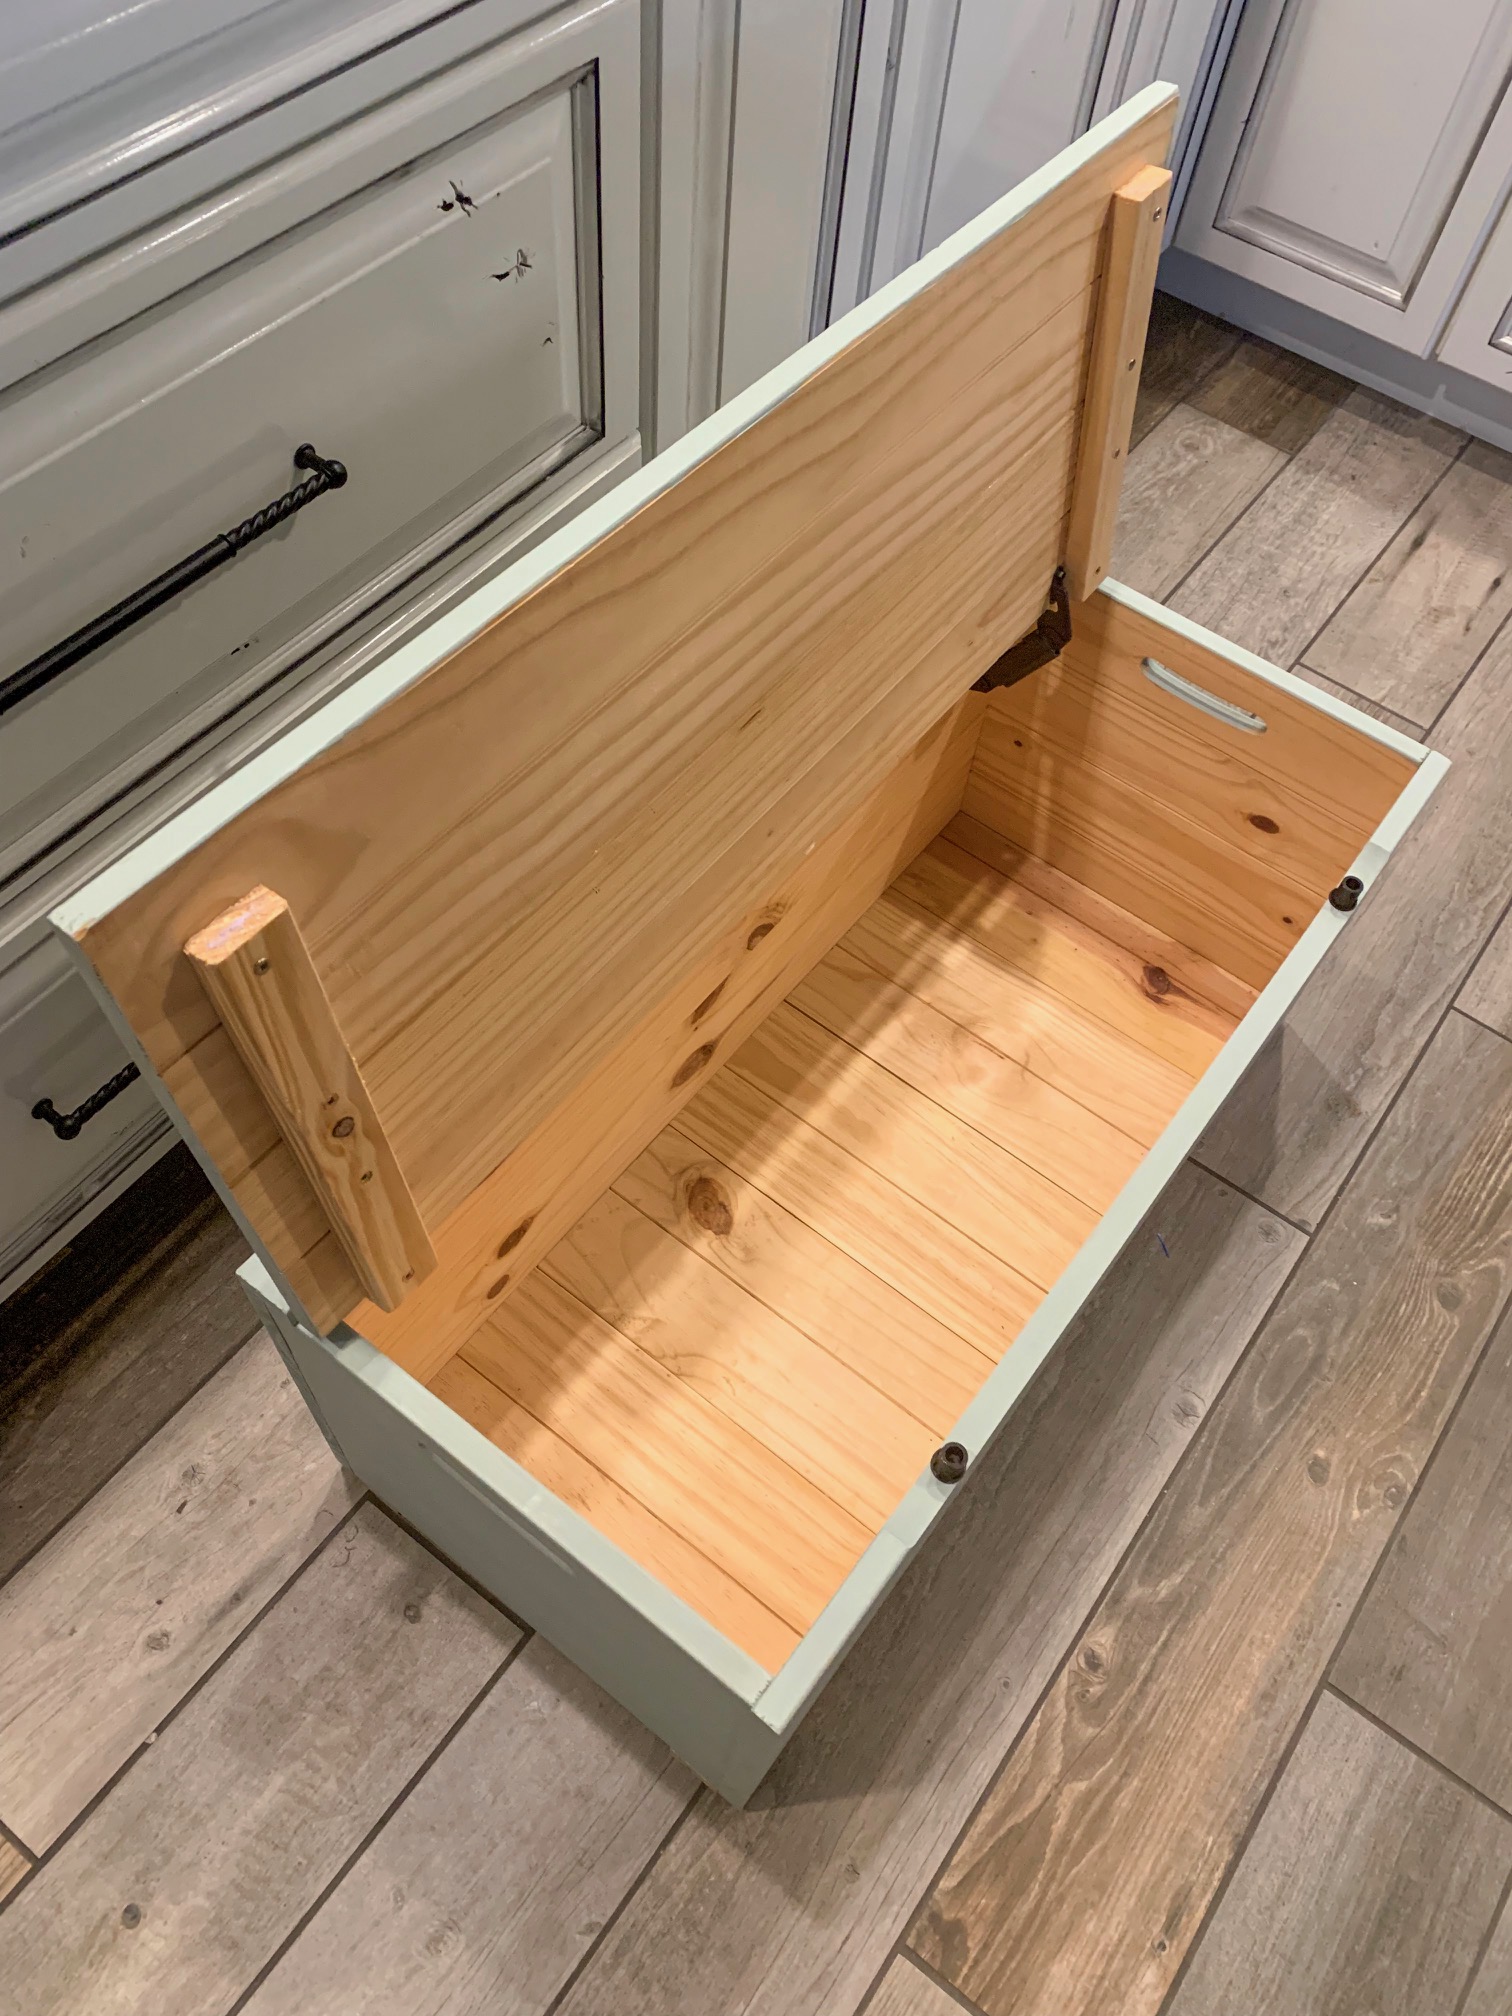

Rubber stopper to prevent pinched fingers